
I started out first thing in the shop today floxing in the phenolic nutplate assemblies that will secure the ELT remote head to the instrument panel. Since the ELT remote head housing is plastic, and I like to have the nutplates set in flox nice and tight, I removed the ELT remote head so it wouldn’t get damaged.
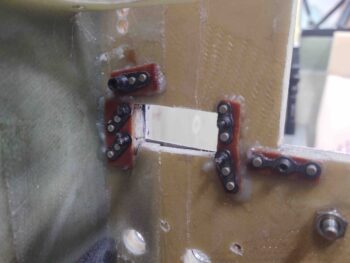
Here are the ELT remote head 4-40 nutplates floxed in place on the back side of the panel.
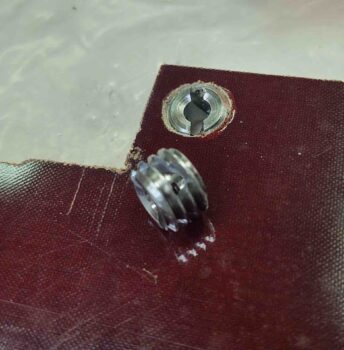
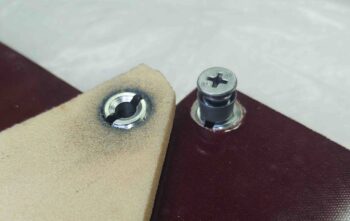
I’ll remind you all that I’ll have 4 CAMLOCs across the top of the instrument panel that will lock into 4 tabs to secure the aft nose/avioncis cover into place. I had originally planned on simply floxing the SkyBolt threaded inserts into the tabs, but upon closer inspection I realized they have grooves commingled in the threads where the posts of the 1/4-turn studs lock into. Clearly I don’t want these full of flox.
I checked to see if I had a 1/2-20 tap on hand, which I did, so I tested out tapping a hole in some 1/4″ thick phenolic I had on hand. It held perfectly.
But phenolic is a bit heavy, even though these tabs aren’t that big. I had planned on using the very dense H250 foam, so out of curiosity I drilled and tapped it 1/2-20 as well. To my surprise it held the threads cut into it and securely held the threaded SkyBolt/CAMLOC insert.
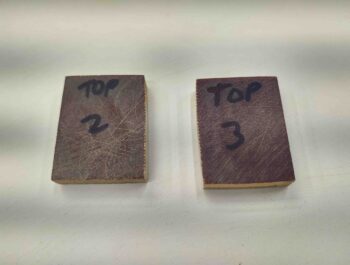
I decided to make the center 2 panel CAMLOC tabs out of phenolic, and the outer tabs out of the lighter H250.
Here are the 2 phenolic center tabs. I forgot to grab a pic of the 2 outer H250 foam tabs.
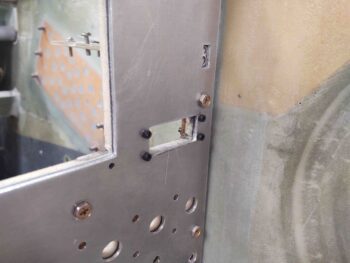
I then finalized the location of the tab through-holes on the top of the aft nose frame, just forward and bordering the original panel bulkhead. I then marked the holes for cutting.

I drilled a 3/8″ hole into each of end of the marked tab through-holes.
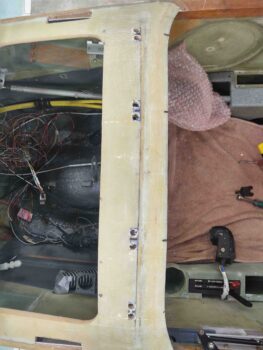
And then finished cutting out the CAMLOC tab holes with the Fein saw. I then taped the holes up with duct tape in prep of 5-minute gluing the tabs to the aft nose/avionics cover.
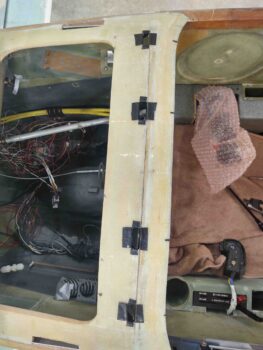
A little bit later, after I 5 minute glued the panel CAMLOC tabs to the underside of the aft nose/avioncis cover, I glassed the forward side of each tab with 2 plies of UNI. I then peel plied the layups.
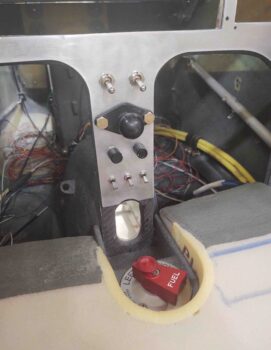
I let the tab layups cure for a good couple of hours while I got to work on cutting, drilling and Dremeling out the switch and dimmer mounting positions on the back side of the panel center strut.
Here’s the result. I’m really pleased with how the components look installed.
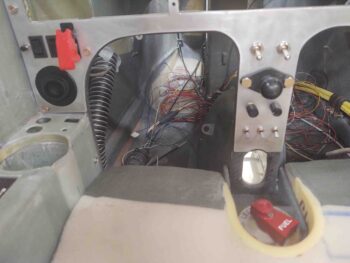
 Another shot, including the lower left part of the panel with the switches I installed last night.
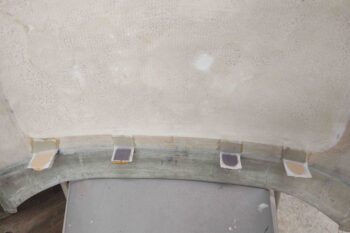
After the panel CAMLOC tabs’ glass cured a bit on the aft nose/avionics cover, I then remounted the cover back on its hinges and weighted/taped it down. I want the tabs to cure inside the through-holes to ensure they are in the correct position.
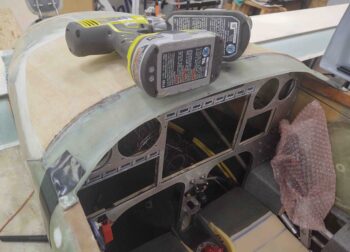
I was going to glass the other (aft) side of the tabs tonight, but considering what a pain they’re being with aligning in the through-holes, I want a full cure on them before I glass the opposite side.
The layup schedule BTW is 2 plies of UNI each side of the tabs. Once cured, then I’ll drill a hole and tap 1/2-20 before installing the threaded SkyBolt/CAMLOC insert. Once the insert is in place I’ll glass each side of each tab with a final 1 ply BID that will overlap onto the threaded insert, both front and back.