
I oftentimes like to do an added extra task that’s off script and not on the day’s task list. Well, today I was curious if I had a 2″ hole saw that I would need to install the panel mounted eyeball air vent. Rootin’ around in the garage I found my old hole saw kit and it had a 2″ diameter bit.
I decided it probably wouldn’t take that long, so curiosity got the better of me and I fairly quickly drilled out the hole(s) for the eyeball vent.
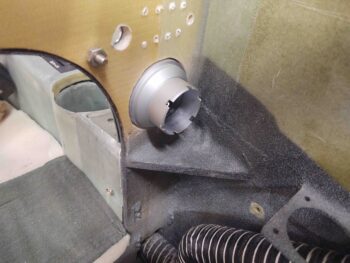
A couple things on this configuration. First, I don’t actually have the vent mounted on the aluminum panel face. If I remove the aluminum panel, it simply slides off around the eyeball vent. This leads to point #2: the exterior diameter of the vent is 2″ (actually closer to 2.1″). However, the mounting diameter on the interior (silver colored) and exterior (black) pieces is 1-3/4″.
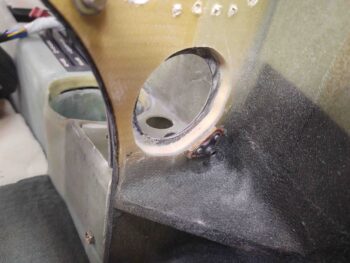
To do this, I started with the 2″ hole saw from the back of the panel (nose) and drilled towards the face of the panel (tail). I carefully closed in on the glass on the front face of the composite panel bulkhead and then stopped just short of it. Then I drilled from the face of the panel toward the backside (again, nose) using the 1-3/4″ hole saw.
I needed to make the ~2″ side just a bit wider in diameter so I used my Dremel Tool with a sanding drum for no more than a minute. It probably took longer to vacuum the mess up then it did drilling and Dremeling it all.
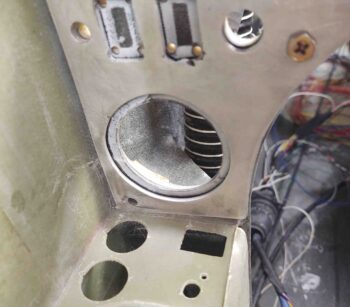
And here’s the mounted eyeball vent. Remember, the panel will be black as well so the seam around the edge won’t be hardly noticeable.
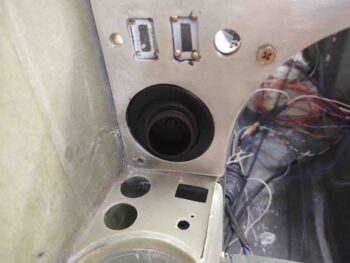
Here’s the back view ….
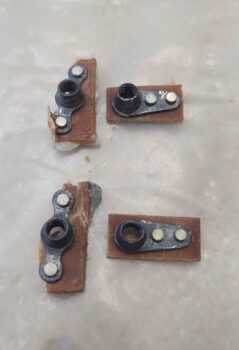
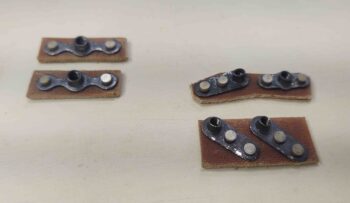
I then removed the 2 offending perimeter nutplates on the right side of the panel. I got busy making up 2 more nutplate assemblies to replace the ones I just ripped out… which took a fair bit of pounding (boy, this flox stuff really works eh?!)
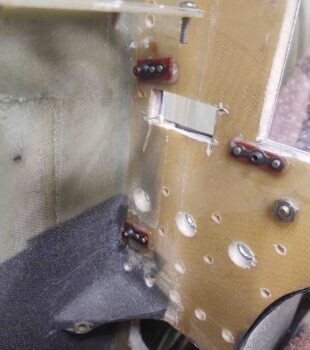
I then floxed the new nutplate assemblies into place.
I had also prepped the 3 new RivNuts for the inboard/right side that will secure the GNS-480 mounting tube. Since their strip of panel on this side is narrower than the RivNuts are deep, I decided that on 2 of them I would keep the top flange and trim off some of the back side (where more threads are), while on the other 2 I would cut the top side off and gain about 1/8″ more thread.
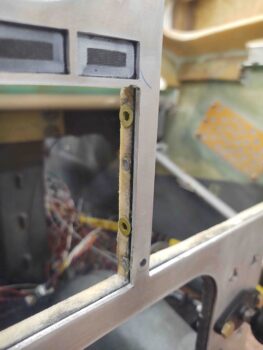
As I did on the outboard side yesterday, I waited a couple of hours until the flox “greened” and then installed the GNS-480 mounting tube and secured it in place with the screws. BTW, once the flox fully cures this officially finalizes the install of all my major panel instruments.
Before I closed off access behind the panel for a while by glassing the aft nose/avionics cover hinge tabs, I mounted the top 2 screws that secure the warning annunciation sub-panel to the top center of the panel.

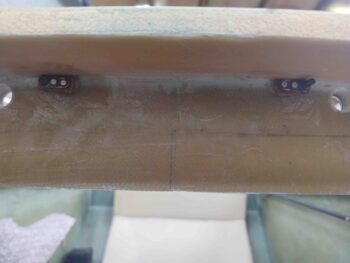
Here are the 2x #6 nutplates for the warning annunciator sub-panel top screws. I need these in place to assess spacing for the aft nose/avionics cover tabs that will sit outboard of these nutplates and be secured by CAMLOCs. You can see the panel CAMLOC holes on each edge of the pic.
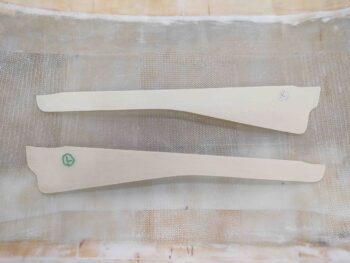
I then spent a bit of time transferring my cardboard templates for the aft nose/avionics cover hinge tabs onto the 1/16″ thick G10 plate, and then cutting them out on the bandsaw.
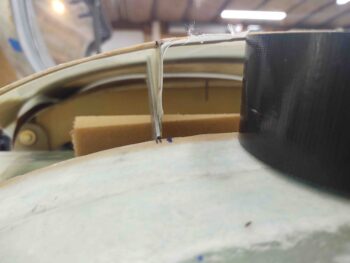
After a number of test fits and adjustments, I glassed the hinge tabs to the underside of the aft nose/avionics cover with 2-plies of BID on the inboard edge of the tabs. I then set the cover in place and aligned the outboard edges of the hinge tabs with the hinges to ensure everything was peachy-keen.
I then made up another pair of #6 nutplate assemblies for the warning annunciator sub-panel lower screw holes (L – I mounted these later in the evening, but failed to get a pic of them in place). I also made up a couple of double 4-40 nutplates for mounting the ELT remote head (R). This round of nutplate assemblies pretty much does it for the panel, at least at this point in time.
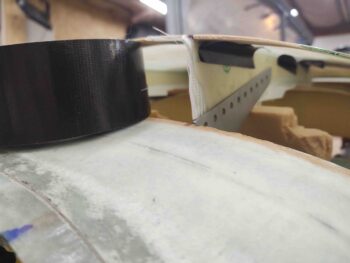
After making nutplates and floxing some in, and also doing an assessment on my CAMLOC situ for the aft nose/avionics cover, I then laid up 2 plies of BID on outboard side of the hinge tabs.
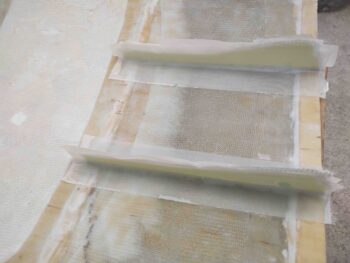
I peel plied those as well and left them to cure overnight.