
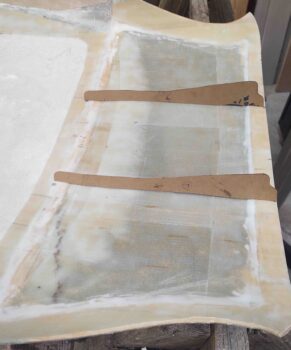
I started off today by pulling the peel ply and cleaning up the layup on the aft nose/avionics cover.
I then left to run some of the errands that I didn’t complete yesterday.
A few hours later I got busy making up 4x 4-40 phenolic nutplate assemblies for mounting the GRT Mini-X EFIS. After some prep work I then floxed the 4 nutplate assemblies into place.
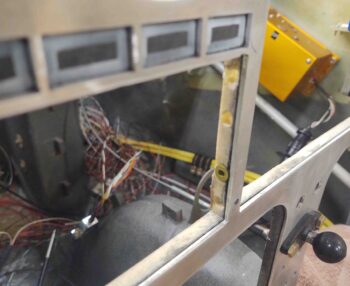
A bit later as I was poking around the aft side the panel figuring stuff out (still…) I noted that I will need to replace the 2 lower perimeter nutplate assemblies on the right side of the panel due to clearance issues (with remote EFIS USB and P-Mag ignition switch). I added a magenta arrow in the lower left corner of the pic to show the lowest of the offending nutplates.
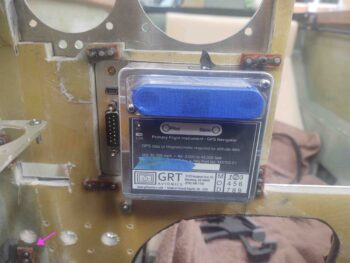
Here we have the bottom two 4-40 nutplate assemblies floxed in place that will secure the Mini-X to the panel.
In addition, I included a green arrow on the left side of the pic to show the second oftending nutplate that must be extricated and replaced.
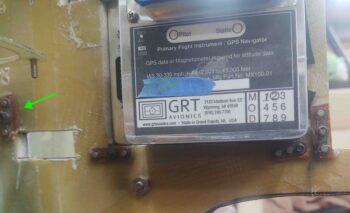
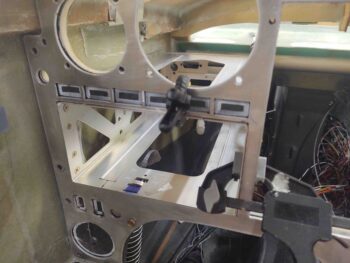
Here’s a shot of the front side of the Mini-X as it serves as a screw placement template for the 4x 4-40 nutplates floxed in place.
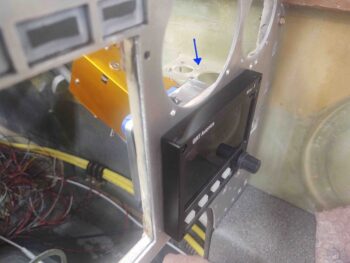
Just over the top of the Mini-X you can see I added a blue arrow pointing at an electrical connector bracket… ah yes, this must be relocated a bit higher and slightly forward as well for everything to fit. Yep, we’re definitely getting to the nitty-gritty details stage of the game where apparently everything has to fit… ha! (Also note that I installed the autopilot pitch servo to ensure the spacing is good when I move that bracket).
Once I got the Mini-X squared away and the nutplate flox curing, and checked a few configuration/spacing items (as noted above), I drilled and prepped 4 holes on the outboard edge of the composite bulkhead panel opening for the GNS-480 GPS mounting tube. I then prepped and carefully floxed in 4 RivNuts to match the mounting holes on the outboard side of the GNS-480 mounting tube.
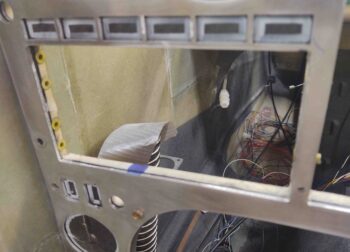
I also drilled and prepped the 4 opposite/inboard side mounting tube screw holes as well. I was only planning on floxing in the 4 outboard RivNuts to start, but since I had enough flox left over for one more RivNut I quickly prepped another one and mounted it on the inboard side.
I waited a couple of hours for the flox to “green” so that it was firm and sticky, but had enough body to let me secure the screws in place. If I had any slight alignment issues, the not yet cured flox would give a little to conform to the screw pattern.
Also, to ensure the weight of the GNS-480 mounting tube didn’t pivot front end down, I clamped it in place.
I then spent a couple of hours dialing in the hinge attach tabs for the aft nose/avionics cover. I had planned on cutting and glassing these in tonight, but by the time I got done with all the nitnoy measuring, aligning, spacing, designing, etc. it was just too late.
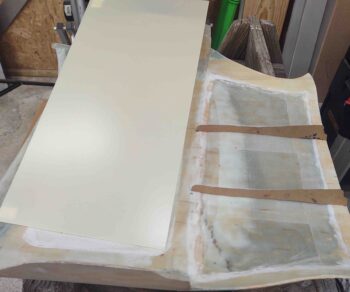
Here’s the G10 plate that I’ll cut these things out of first thing tomorrow and glass them up.
I’m hoping by tomorrow evening I’ll have the aft nose/avionics cover mounted to the hinges and operational in that regard.