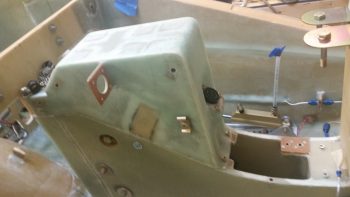
You’ll see at the end of this post that I decided to pull all the existing nose gear wiring out of the nose to allow me to reconfigure the P1 and P2 connectors with the new Marc Zeitlin designed (along with my re-added backup battery) nose gear wiring scheme.
But first . . .
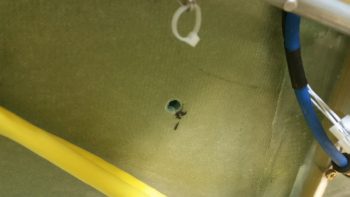
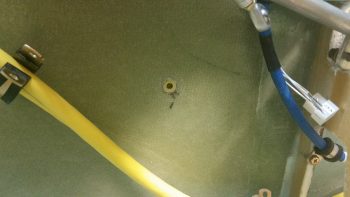
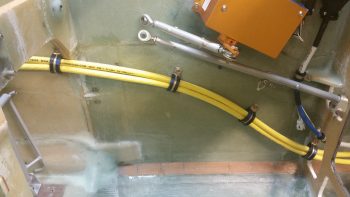
Today I drilled the last hole in the sidewall for what I’m calling “Phase I” of routing the big battery cables from the nose battery compartment to the instrument panel. Again, I’m working everything furiously from the instrument panel forward to get everything I can position, mounted & worked for the upcoming closing up & glassing of the nose. Later I’ll continue to route these big battery cables along the right fuselage sidewall to the firewall.
I placed this new big battery cable Adel clamp sidewall hardpoint about equidistant from the existing Adel clamp hardpoint I mounted in the bottom right access hole on the panel for the control stick cable (lower right of the pic below) and the new Adel clamp I just mounted a little aft of F22.
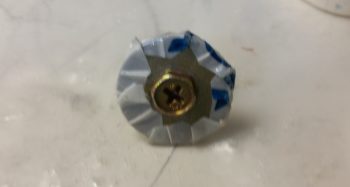
For this Adel clamp hardpoint I chose a RivNut threaded insert and prepped it.
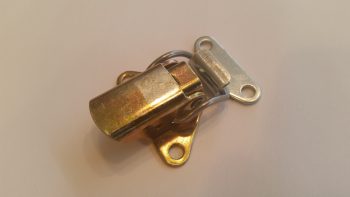
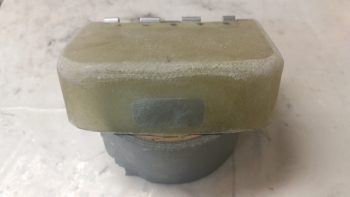
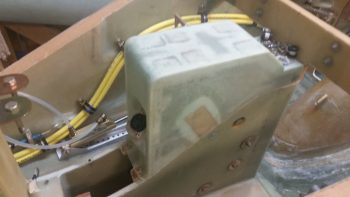
Since I like to consolidate my epoxy & glassing endeavors, I figured I would layup some reinforcement plies of glass on the nose-mounted tool box to allow me to mount a latch on the lid and body of the tool box. I have a couple of styles of Dzus cowling latches, and decided on the most diminutive style of the ones I have on hand to allow better clearance of opening the tool box with the least chance of scraping knuckles on the main battery, which resides immediately forward of the tool box.
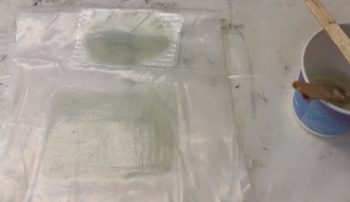
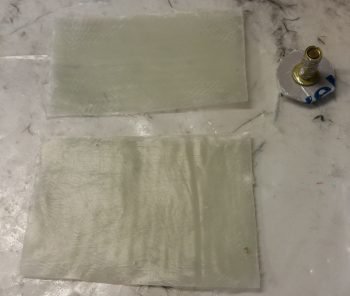
After figuring out my tool box latch, I decided to use 2 plies of BID for reinforcement on the tool box. For a bit more oomph, in addition to the 2 plies of BID, I cut some latch reinforcement plates out some of 0.5mm aluminum that I still have left over from Germany. Once I cut the reinforcement plates (shown below) I could then determine the size of my BID plies. I cut the BID plies, and per my norm I put them in plastic to prepreg them. I then whipped some epoxy and wetted out the 2 sets of 2-ply BID in the prepreg setups.
Here’s a shot of the 2 sets of 2-ply pre-pregged BID and the RivNut Adel clamp threaded insert hardpoint that will get floxed into the sidewall.
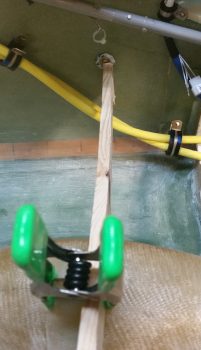
I went ahead ahead and floxed the RivNut into the hole and clamped a 1×2 in place to keep it firmly pressed against the sidewall.
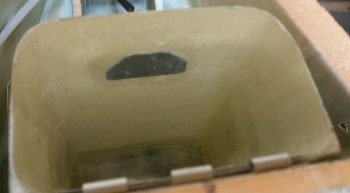
Then, using the flox I had just mixed for the Adel clamp RivNut, I floxed the aluminum latch reinforcement plate to the INSIDE of the tool box (I previously sanded the inside face of the tool box and the outside edge of the lid).
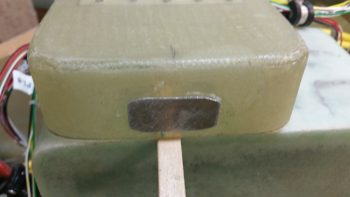
Since there’s not much clearance between the inside of the lid and the outside of the tool box body, I then floxed the lid aluminum latch reinforcement plate to the OUTSIDE of the lid flange.
I then laid up the 2 plies of pre-pregged BID inside the tool box onto the aluminum latch reinforcement plate.
And did the same for the lid. These layups were just a tad squirrelly in that for some reason the reinforcement plates really wanted to slide off their marks when I applied the glass. My thinking is that my flox wasn’t thick or sticky enough to keep them in place, since I used a bit more wet flox early on as I was mixing it up. I got them set in the end, but with a bit more fiddling than I would have preferred.
I then added peel ply to inside tool box reinforcement layup.
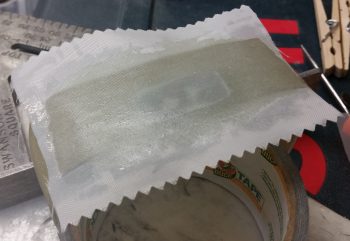
And the lid reinforcement layup.
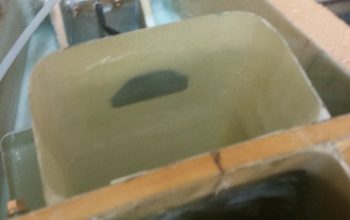
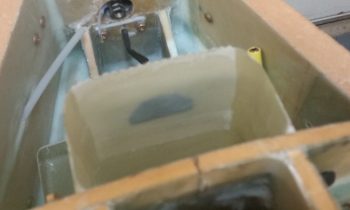
Jumping ahead a number of hours, here’s the inside tool box latch reinforcement layup after I pulled the peel ply.
You can see, with the glass so clear it was fairly EZ to work the glass on the inside of the box while looking at what I was doing from the outside of the box. This shot is after the reinforcement layup had cured.
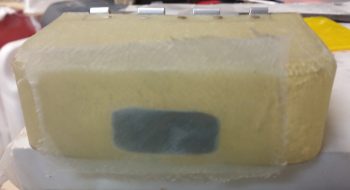
I pulled the peel ply on the tool box latch lid reinforcement layup and then did some much needed sanding on the lid.
Also jumping ahead quite a few hours, this is the big battery cables’ Adel clamp hardpoint after the flox cured. I cleaned up the flox from around the RivNut face.
The floxed RivNut was definitely in the sidewall securely, so I mounted the Adel clamp for that hardpoint, and also another big cable Adel clamp to the pre-existing hardpoint that I had in place for the control stick cable. With this latest hardpoint install, that completes my “Phase 1” routing goal of getting these big battery cables from the nose battery compartment to the instrument panel. Another item off the list!
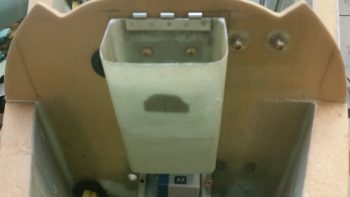
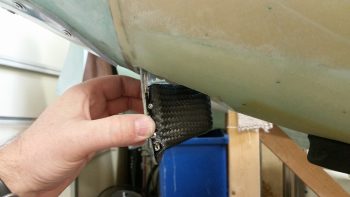
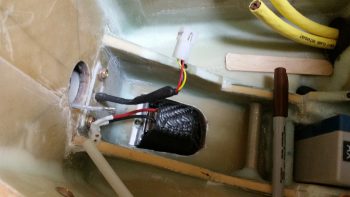
On to the taxi light cover . . . After redrilling the 4 holes in the lower taxi light cover to allow me to mount the cover with two 4-40 screws each side, I then spent a good 45 minutes trimming the existing glass and foam in the nose to allow the taxi light to be stowed into the nose side position when it was in its retracted state.
Here’s a good approximation of what the taxi light will look like when it’s deployed with the light turned on. Remember, the taxi light extension and light coming on all happens with the push of one button on my control stick.
Getting the taxi light nestled back into the nose took a fair bit of trial & error to figure out exactly where the light was snagging on the foam and glass, but after 5-6 rounds of cutting & trimming I was able to get the taxi light –with cover– to seat properly in the hole.
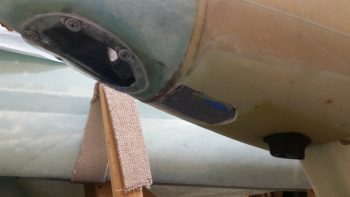
Here’s a shot of what the taxi light looks from the outside. There will need to be a bit of fancy micro finishing work to clean all this up for sure, but I think its well worth it!
My second-to-the-last act of the evening was to pull all the existing nose gear wiring & connectors off of the NG30 cover to allow me to re-use the P1 & P2 connectors for the new nose gear wiring system. In addition, before I build & glass the top of the nose, I want to finish & paint both NG30 covers.
Here’s a shot of the bare NG30 cover from the right side.
My last official act of the evening (no pics… yet) was I spent a good hour sorting, selecting, and terminating wires to finish the initial P1 connector wiring for the new nose gear wiring.
And with that, I called it a night…

