
Today I cracked the case open on the NG30 channel, something that I haven’t done since I mounted the NG30 cover well over a year ago. I unscrewed the 6 screws on the NG30 cover and worked it a bit back and forth before it came right off.
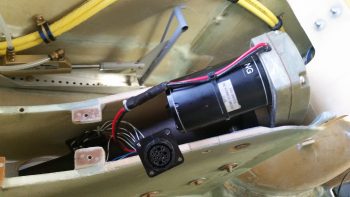
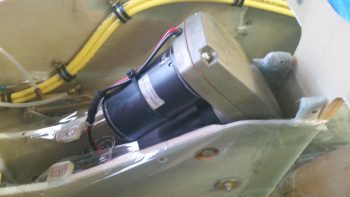
I spent a good 15 minutes getting down into the bowels of the NG30 channel to clean it out. Many additions and a couple pieces of hardware after a couple of years definitely called for a good cleaning. To vacuum out the aft parts of the NG30 channel I used a 3/8″ 4130 steel tube as an impromptu shop vac extension to get access.
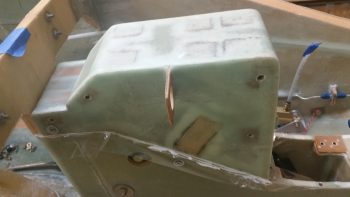
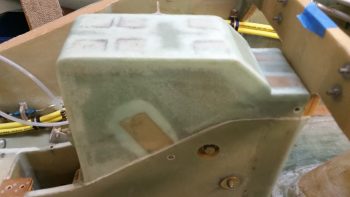
A long overdue task regarding the NG30 that I needed to complete was the filling in of the slight gap between the bottom edge of the NG30 cover sides and the actual top edge of the NG30s. The gap on the left side was slightly more pronounced than the right, but I wanted to get ALL the gaps filled in.
I placed clear packing tape on the top edge of each NG30 side that mated to the bottom edge of the NG30 cover in prep for micro to fill in the gap.
I then whipped up some micro –using West Epoxy– and put a thick bead of it all around the bottom side edges of the NG30 cover . . . technically the aft NG30 cover since there are 2 NG30 covers: aft and forward.
As the micro “greened” and got rubbery, I cut the majority of the packing tape away with a razor knife and cleaned up the sides a bit.
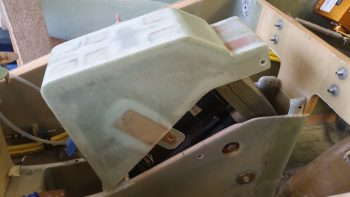
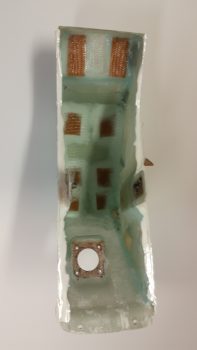
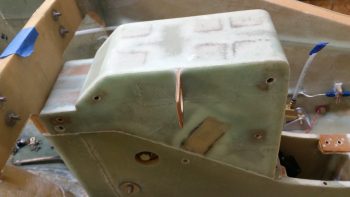
After a number of hours, after the micro was about 90% cured, I pulled off the aft NG30 cover. You can see the pic to the left below the way it looked immediately after I removed it. I then spent about 10 minutes trimming away the excess micro. I got the micro at a really good point since it was cured, but still just a bit flexible enough that it cut fairly easily with a razor knife.
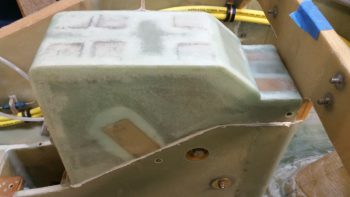
After cleaning up the micro edges on the aft NG30 cover, I put the cover back in place to check the interface between the cover and the NG30 sides. I’m very pleased with how it turned out. Now with the gaps filled, I can give the NG30 cover a quick sanding and finish it to paint.
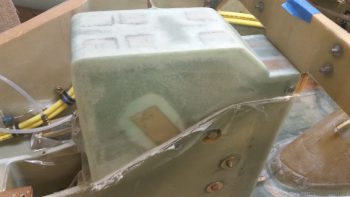
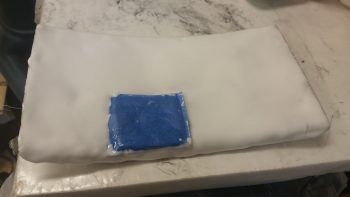
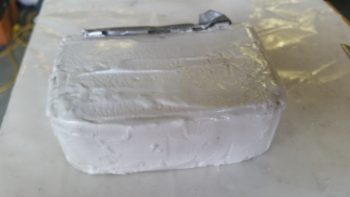
The remaining micro that I didn’t use for filling the gaps on the aft NG30 cover, I used to cover the forward NG30 cover for finishing. I taped up the felt mounting pad for the Matco parking brake, then slathered on the micro.
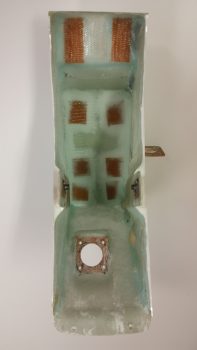
Quite a number of hours later I spent a good 20 minutes sanding down the micro on the forward NG30 cover. The micro was still in its sweet spot “green” stage allowing me to cheese grate it, meaning it sanded way easier than if fully cured and comes off in clumps versus micro dust.
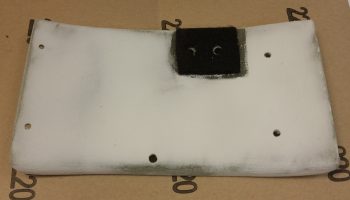
Also, here’s a shot of the tool box lid that I micro’d up with some leftover MGS epoxy that I had earlier in the day. I also cheese grated the lid as well, although I didn’t get an after shot of it . . . yet.
I’ll continue to work instrument panel forward electrical, mechanical and fiberglass component installations until I’m ready to start a concurrent build on both the wheel pants and the top nose construction.