
Happy Easter everyone!
Today before I headed out for some Easter festivities I did a couple of quick layups. The first layup was 2 plies of BID on the exposed foam of the taxi light opening in the nose.
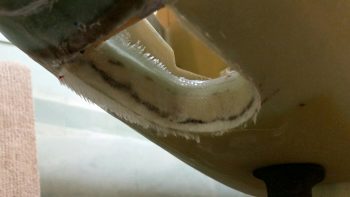
I started by sanding & shaping the opening glass & foam. I then created the wedge-shaped channels along the edges of the respective internal and external glass openings since I wouldn’t be overlapping the glass onto either the internal or external glass surfaces.
In the pic below you can see the top wedge channel cut.
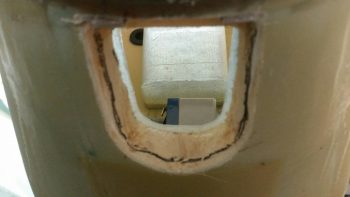
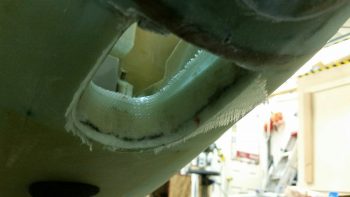
And here is both channels cut.
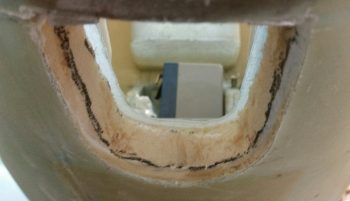
I then whipped up some micro and applied it the foam. For the wedge-shaped channels I added a bit of flox to the micro for flocro corner junctions with the glass.
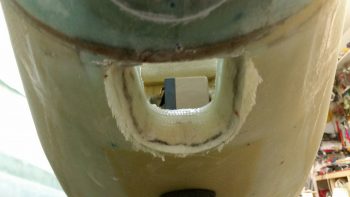
I then pre-pregged the 2 plies of BID and then laid it up in the taxi light opening.
Here’s another couple of shots from left & right angles of the laid up 2-plies of BID.
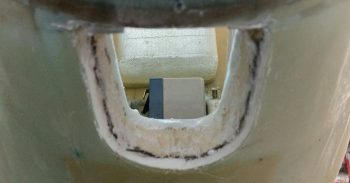
Here’s a final shot of the laid up 2-plies of BID in the taxi light opening.
Lastly, I wanted a way to make my battery tray removable, but still have it meet the purpose for which I glassed it: to keep the battery from sliding left or right under its tie-down strap. After pondering it a bit, I decided to glass in a flange that hangs down on each side, just inside the NG30 plate. That way when the battery tries to slide one way or the other, locked in the tray, the battery tray itself is kept from sliding by these flanges pinning the tray in place.
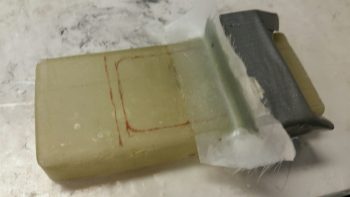
I decided to glass in just one of these hang down flanges to better allow me to figure out where the second one goes… you know, control my variables and all that. I used 2 “good” pieces of glass and a bunch of scraps to make up about 5 plies of BID. Since the battery is a bit heavy, and these flanges won’t be that deep, I decided that 5 plies will give me good strength and still stay very light due to the actual flange sizes.
So, although not much, I did get a couple of significant tasks knocked out today. Again, I’ll continue to work on instrument-panel-forward components in prep for closing in & glassing the nose top.