
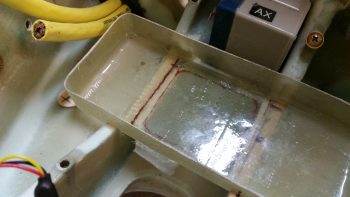
First thing this morning I razor trimmed the cured 2-ply BID layup that covers 3 sides of the bare foam in the taxi light port in underside of the nose. After trimming the glass edges, I then quickly sanded the corners with some 32 grit sandpaper.
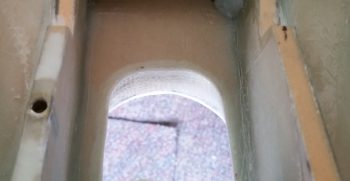
Here’s a shot from below. And yes, with the MGS epoxy it makes it hard to tell there’s ANY fiberglass on the foam surface, let alone 2 plies.
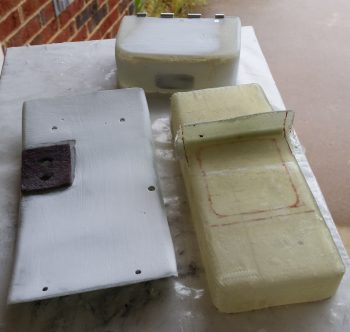
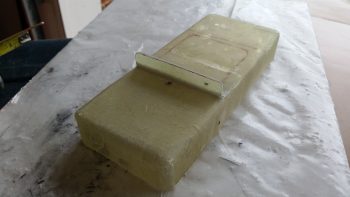
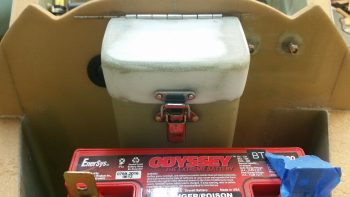
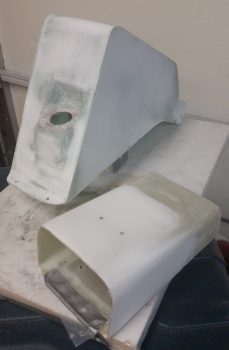
I then assembled some of the nose pieces that I would be working on (clockwise from the top): tool box lid, battery tray, and forward NG30 cover. This pic was taken after I sanded the tool box lid and forward NG30 cover with 32 grit sandpaper. In addition, I had done an initial rough trim on the battery box flange, and right after this pic was taken I trimmed the sides of the battery box flange….
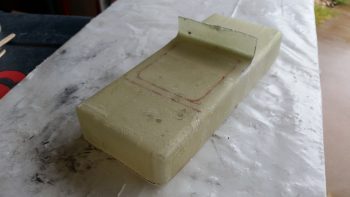
… as you can see here. Again, this flange will slip into the inside of the battery compartment NG30 extension and along with the upcoming right-side flange, will keep the battery secure from sliding left or right.
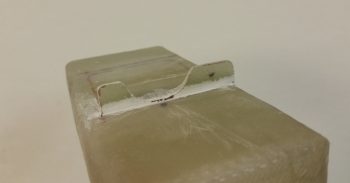
I then trimmed the depth of the flange down to 1/2″.
Since I got a bit overzealous with the flox when I installed the battery strap securing cross tube, I needed to make a decent sized half-moon shaped notch in the flange to clear the flox around the batter strap cross tube.
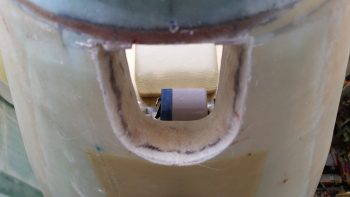
After looking at the setup further and playing around with different configurations, I realized that I could use the battery tray as my securing point for the taxi light mini-actuator. The actuator fits under the battery tray with no issues and with enough room to move slightly up and down. Since the battery, and thus the tray, is offset to the left a bit in the battery compartment —to provide maneuvering space on the right side for the big battery cables in the battery compartment— I could then mount the taxi light mini-actuator to the right in the channel below the battery box and still have plenty of clearance for the battery securing strap.
To implement my plan, I wanted something a bit stronger than just a bunch of plies of BID, so I cut out a piece of 1/16″ G10 Garolite to use as the base of my right-side battery tray flange + taxi light mini-actuator mount. I trimmed the G10 to fit and then set it in place under where the battery tray will sit. I added just a hair more space on the outboard side of the G10 to allow me to layup 1 ply of BID on that side, unlike the bare outboard side of the left battery tray flange.
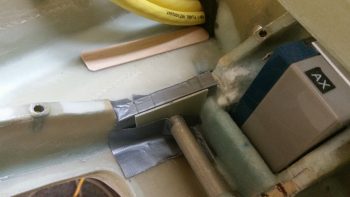
I then whipped up a small amount of 5-min glue and glued the G10 flange to the right underside of the battery tray.
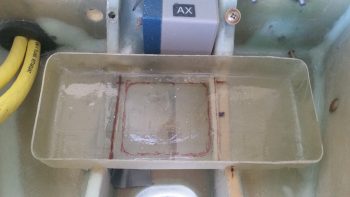
This is a bit later, after I glassed the inboard side of the G10 to the battery tray using 3 plies of BID. The layup was still just a bit flexible, so I put the battery tray back into the nose and pressed the curing right flange up against the inboard side of the channel to ensure the flange cured as closely and tightly to the channel wall as possible.
I then spent about half an hour mocking up the location and configuration of the nose tool box Dzus latch. I started with the bottom latch assembly, got it situated and then drilled the rivet holes. With the bottom latch assembly set in place, I then determined the “exact” location of the top latch assembly, got it set up and drilled the holes for it as well.
With the latch parts ready to be riveted into place, I then pulled them off and started prepping the tool box parts for eventual paint. I want to get the surface painted before I mount the Dzus latch onto the tool box. Now, if I can just finalize a color choice!
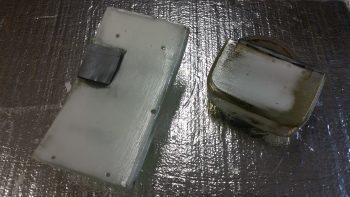
With my battery tray flange curing, here’s all the parts I would be working with: the front & aft NG30 covers, and the tool box lid & body. The front NG30 cover and tool box lid will get 3 epoxy wipes, with 2 hours in between the coats. The aft NG30 cover and the tool box body will both get slathered up with micro for finishing.

This is epoxy wipe #2 (I think . . .) on the forward NG30 cover and the tool box lid.
And here is the aft NG30 cover and the tool box both slathered up with micro. I did the tool box first, and you can see that the micro I applied to it was a bit wetter than it should have been, although it still sanded out fine (as you can see below).
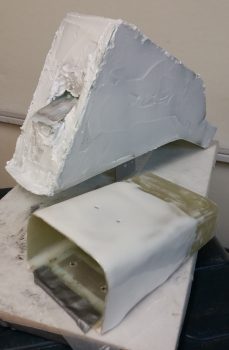
Below represents a good hour’s worth of solid sanding between the NG30 cover and the tool box body.
Tomorrow I plan on laying up 1 ply of BID on the outboard side of the right battery tray flange and then epoxy wiping both the aft NG30 cover and tool box body (above). Either later tomorrow or the day after I’ll start prepping the surface of all these components for high build primer and then paint.