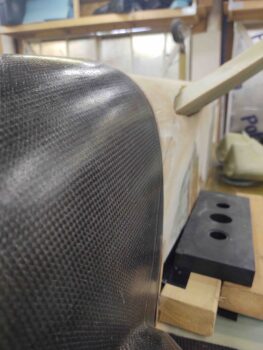
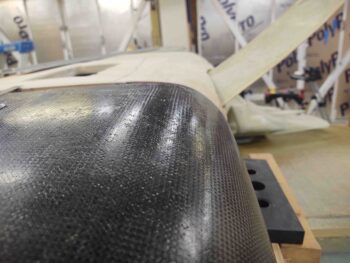
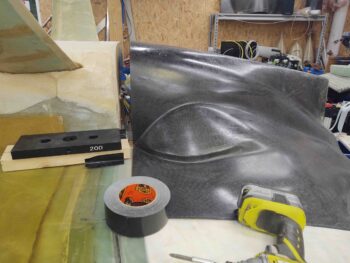
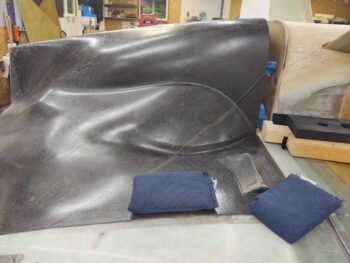
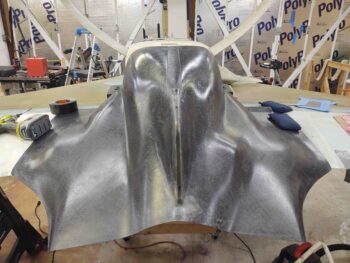
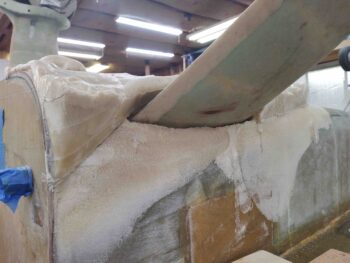
I started out today by setting the bottom cowling back onto the plane and then figured out its install configuration. Since the bottom cowling skews to the left slightly, I pushed it from the left inboard about 1/8″ to find the “sweet spot” that provided the best shape for it to be mounted.
This 1/8″ really does make a difference in shape and definitely impacts the interface and shape of both the lower firewall and aft bottom fuselage, and especially influences the shape at the bottom corners of the cowling. Moreover, it’s just enough movement to get a positive effect on the shape of the cowling while still being within the natural free movement of the cowling… so no excessive force to get the cowling into that configuration.
I then slowly captured this inset position of the bottom cowling around the edge of the firewall by using a magenta Sharpie to mark the latest cowling interface line on the firewall aft face.
I then went through a myriad of iterative cycles of trimming and shaping the firewall while removing and resetting the bottom cowling back into place.
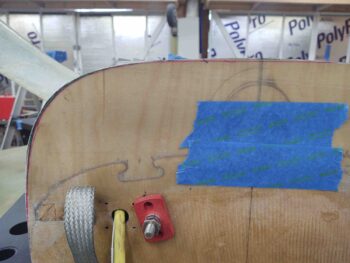
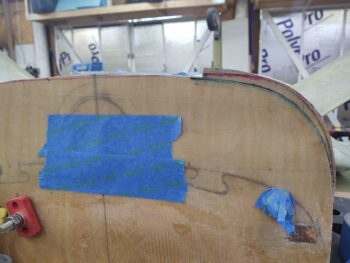
Here are the lower bottom cowling-to-bottom fuselage corners after the firewall was shaped.
And the specific area that needs to be reworked.
The goal here is to get the firewall trimmed to set just a hair inside the cowling’s inside edge… so that when the 2 plies of aft bottom fuselage covering glass is laid up, followed by the 5-ply 1.6″ original plans lip then laid up over the 2 plies around the perimeter of the firewall, that it is very close to matching the exact front edge of the bottom cowling. I’ll then later create the added mounting flange as Mike Melvill did to mod his existing stock cowl mounting lip to accept this new cowling.
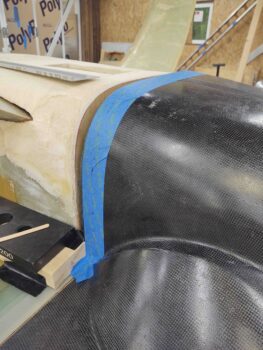
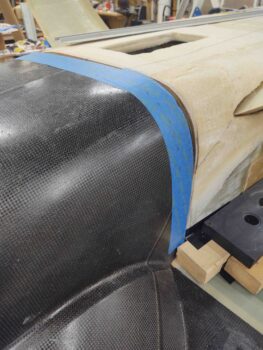
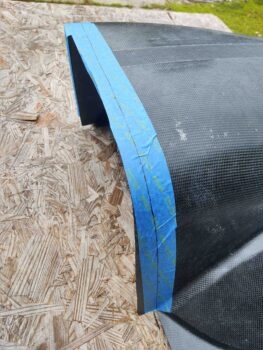
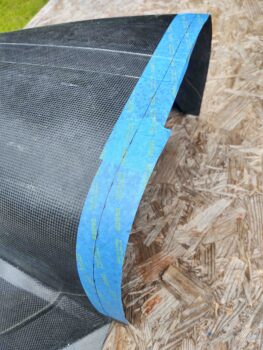
After a half-dozen more sanding sessions on the edge of the firewall, and happy with the interfacing elevation of the firewall, I then taped up the front edge of the bottom cowling and made my tick marks about an inch apart… the marks of course being 1.6″ from the aft firewall face.
I then played ‘connect the dots’ and created a solid line 1.6″ from the firewall, the cut line for trimming the front edge of the cowling. Admittedly, to intersect the existing trim cuts of the horizontal cowling front edges I had to bring this line forward on the sides so that the gap where it converges at the strake/fuselage corner is only about 1.4″ wide.
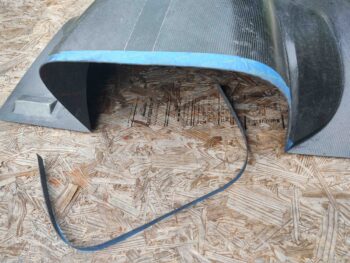
I then carefully cut along the line to give the bottom cowling front edge a trim.
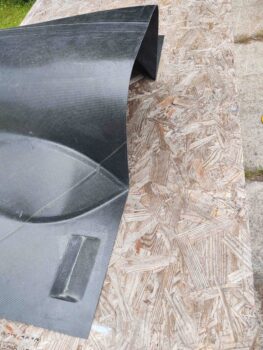
Here we finally have the entire front edge of the bottom cowling trimmed up and ready for install.
I then set the cowling back into place on the bird to check its fit. All looked acceptably good at this point.
A shot from the back with the bottom cowling set in its future install position.
With the front edge of the bottom cowling trimmed, and the firewall also trimmed in an acceptable interface alignment with the bottom cowling, it was time to add some more pour foam to the aft lower left fuselage/hell hole area to allow for a straight line between the mid-fuselage area to firewall edge, considering I had just added to the firewall in that bottom corner.
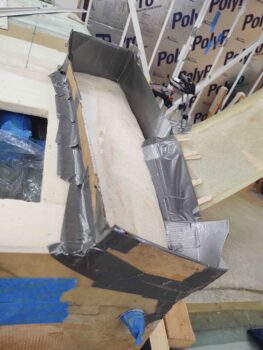
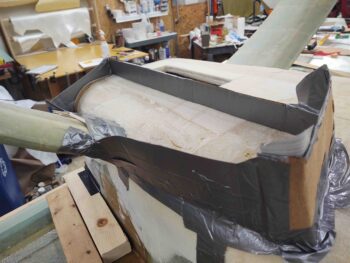
I determined my low points in this area and built a trough around it.
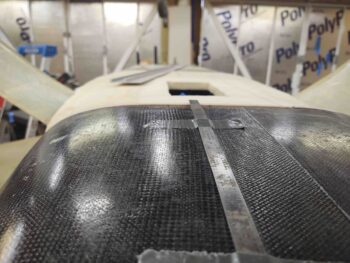
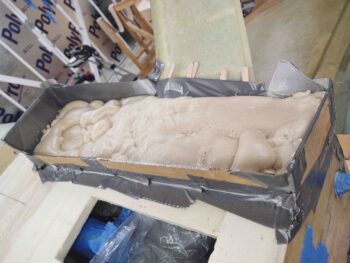
If you look at the far end in this pic you can see the new added edge of the firewall peaking up just at the back wall of the pour foam form trough.
I then mixed up 2 batches of pour foam and poured them into the trough, attempting to be as judicious as possible to get an even spread of foam… I’m looking for a slight added depth of foam here across a wide area, not a deep bit right in one spot.
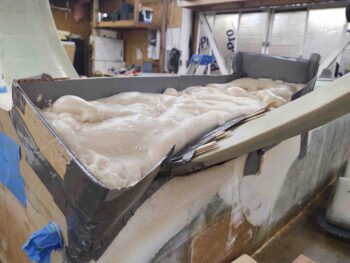
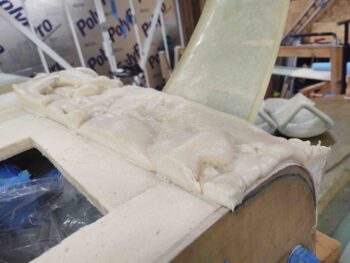
After a good hour or so of cure, I then pulled the trough form walls off this new round of added pour foam.
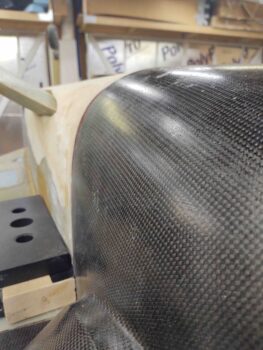
Here’s another shot from the side.
It was getting late so I called it for the night. Tomorrow I’ll shape and level this added pour foam, probably do a few more spot fills (one being below the gear leg above [as situated] along the fuselage sidewall). I then plan on getting the entire aft lower fuselage and hell hole area shaped and leveled to allow me to hard shell it for glassing within the next 2-3 days.

