
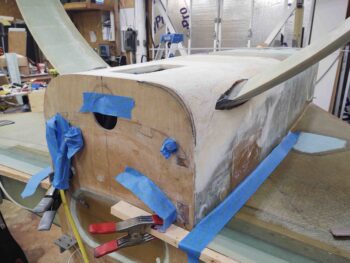
I started out today making up another form to add some pour foam to the area immediately above the left gear . . . a bit more aft-oriented towards the firewall.
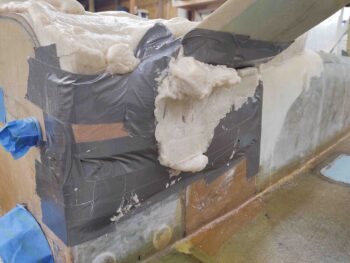
After the foam cured I started dismantling the form . . .
until the foam was bare.
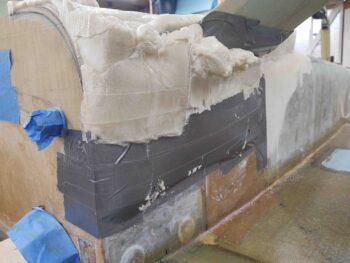
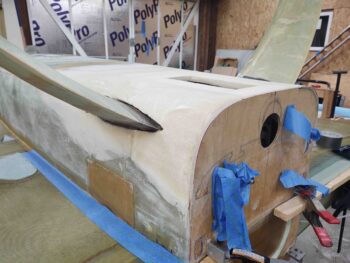
I didn’t get any intermediate shots, but I then spent the next few hours doing a couple of minor pour foam fill additions to some decent sized divots in the foam surface.
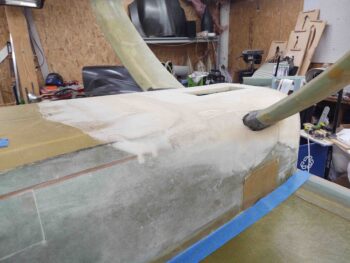
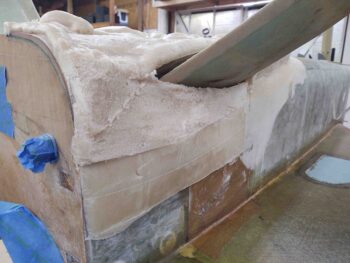
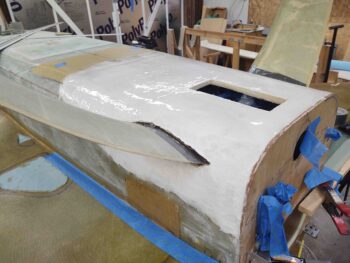
And as you can clearly see, I also spent a good bit of time sanding and dialing in the shape of the aft lower fuselage and hell hole cover.
Moreover, I have to say I’m fairly pleased with how the minor firewall extension on the lower left corner and the subsequent foam fill turned out.
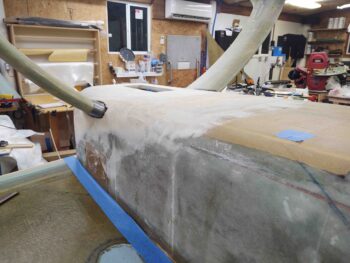
Once I got the shape of the aft lower fuselage and hell hole cover dialed in, I then copied my buddy Dave Berenholtz in hardshelling the foam in this area before glassing it.
I don’t normally employ this technique, but I thought it would be a good way to minimize the surface imperfections in the foam and also I wanted to try it out on something to get at least one experience of hardshelling before I finish this bird.
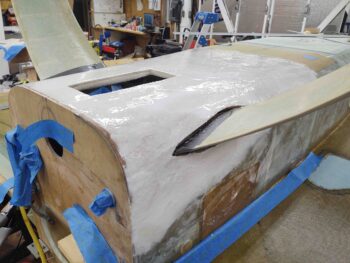
I’m sure I may get some gasps and some thoughts of “that airplane is doomed to fall out of the sky now!” but for the hardshell I used West epoxy. I will resume with MGS when it comes to glassing the skin on this area.
My version of hardshelling was a simply 2-step process: I first applied wet micro just as if I was glassing the foam surface, and then I went over that with micro about as thick as peanut butter, maybe just a hair lighter on the consistency.

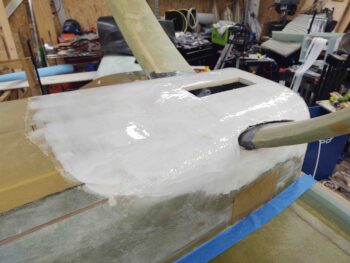
I then left the micro hardshell to cure overnight.