
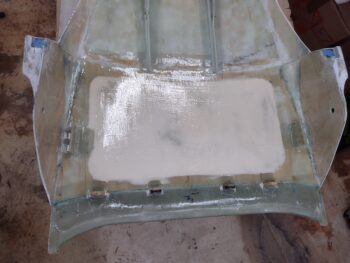
I started off today with a final sanding of the inside of aft nose/avionics cover. After cleaning up the dust I then epoxy wiped the micro/West 410 filled area with 3 rounds.
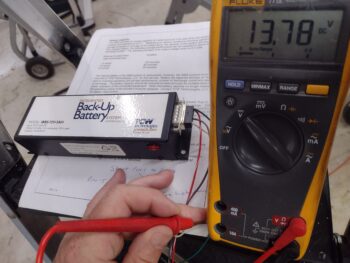
As I let the epoxy wipes cure on the aft nose/avionics cover, I then did a quick check on the charging status of my TCW Technologies Integrated Backup Battery System (IBBS). As this now is a little long in the tooth (I can relate!) anything between 13.5 and 14.5 volts is good, so I’ve very happy that the unit is reading 13.78 volts. After taking this picture, I then put it back on the charger and will continue to monitor it to see if this voltage value goes up any.
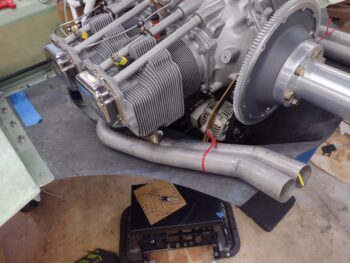
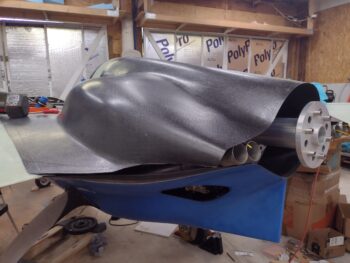
After another visual review of Mike Melvill’s cowling configuration, I then marked the top cowling for a bit of a trim on the aft sides. The flare out that you see is persona non gratis on Mike’s bird, so it will be on mine as well. This area is actually just a sort of a rounded rectangle that makes up the aft opening of the cowling on Mike M’s Long-EZ.
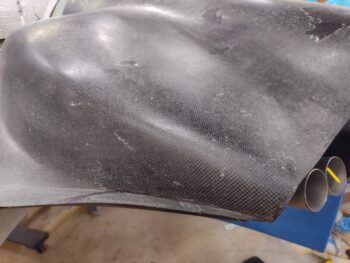
I then also marked up the aft lower cowling for trimming as well . . .
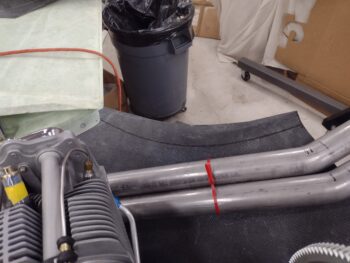
Here’s one final look at the stock aft cowling sides before I trim them.
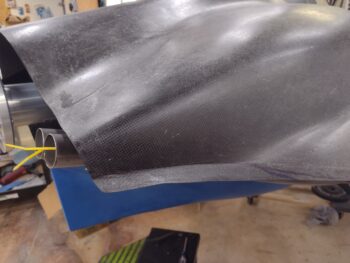
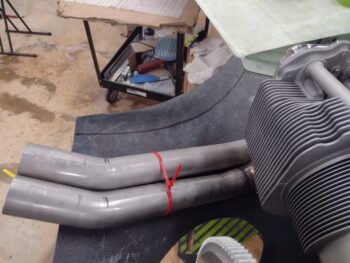
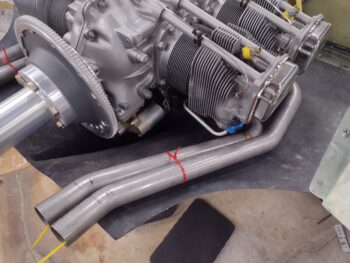
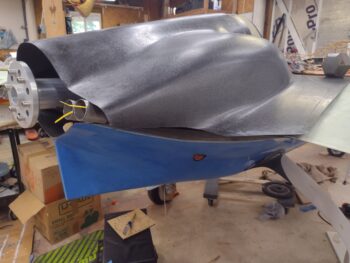
And here are the aft lower cowling sides trimmed up. The sharp “trailing edge” of the cowling actually is on the upper cowling as it rests on the lower cowling and gets secured with a series of CAMLOCs.
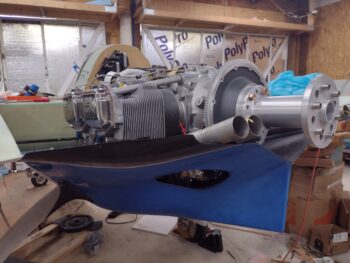
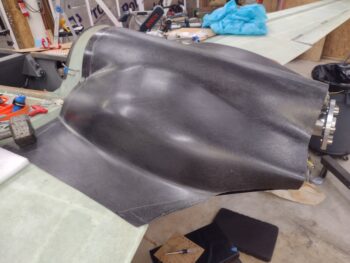
And here is the upper cowling with its hind quarters trimmed a bit as well. I’ll note that the top cowling looks a bit cleaner here since I spent a good bit of time hitting it with Simple Green, water, a 3M pad and even a wire brush to remove the PVA (mold release agent) from the surface.
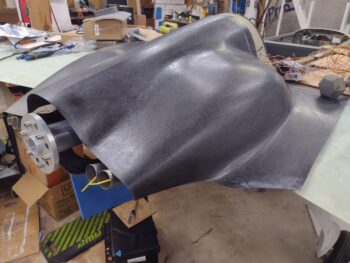
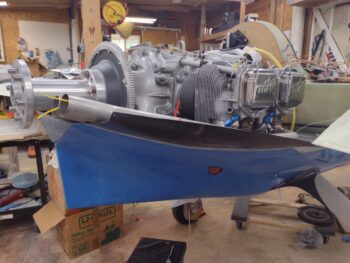
Here’s a look at the aft hind quarters of the upper cowling and its current interface with the lower cowling. I’ll of course continue to work this and dial it in, but a good amount of glasswork will most definitely be required and ensue in these areas.
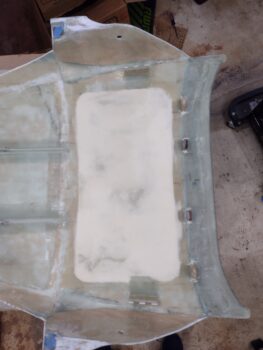
I then got back to working the inside of the aft nose/avionics cover. I sanded the cured epoxy wipes and cleaned up the area (there are some areas outside the immediate “window” that I wasn’t as thorough with currently).
I then taped and covered the surrounding surfaces around the immediate “window” area and then primed it with a few light coats.
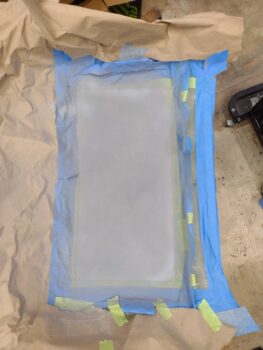
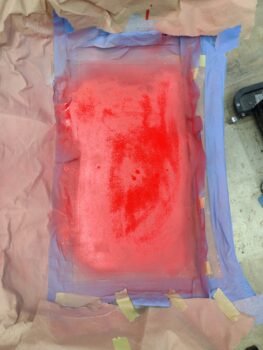
Today –and tonight– was very hot and humid, and I’m guessing that it had something to do with my red paint turning out so blotchy and nasty. I’ll sand it down and hit it with another couple coats tomorrow.
And with that folks, I called it a night!