
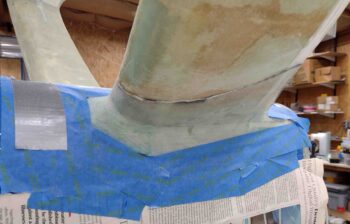
Today was all about getting the main gear fairings installed. Following the example of the brilliant and benevolent Mike Beasley, I cut up a bunch of cardboard 1/32″ (0.031″) spacers.
Using painters tape I then secured the spacers a few inches apart underneath the edge of each gear fairing.
After painting on a thin application of epoxy to the mating areas on the gear, I then applied flox to the gear leg and slid each gear fairing down into place, so that it rested on the 1/32″ cardboard spacers.
I then taped and clamped the gear fairings in place to ensure the edge was nice and tight against the gear… to result in the smoothest transition as possible from fairing to gear leg. I then left the flox to cure.

I then started work on reinstalling the nose gear actuator.
After a number of canard aircraft pre-buy inspections, Marc Zeitlin has reported some issues with the Jack Wilhelmson EZLift nose gear actuator securing pivot bolts coming loose. It’s been an active thread periodically on the Cozy discussion boards. Various cures to these ails have included Jack’s new pivot pins with star washers (on hand), Nord Lock washers to secure the pivot bolts in place (on hand), and ANH5-12A drilled head bolts to secure with safety wire (on hand).
However, when I was reading the original install instructions, I ran across something interesting where it stated that if you swap out the bolts, ensure they are the same length. If too long they can hit the internal threaded screw and lock up the actuator. I would surmise that this would result in damage as well…
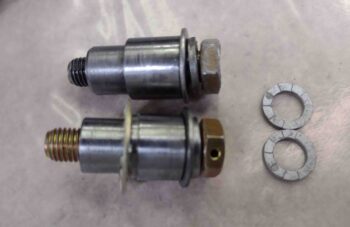
I do have the same size replacement bolts on hand, just with drilled heads for safety wire. But the Nord Lock washers (light blue arrows) present a potential problem, since they are much thinner than the original split ring and standard washer pair… about 0.1″ difference between the two setups.
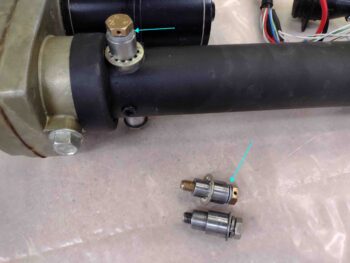
Hmmm… what to do? So I called Jack. He said that the issue was that there is a slight pivot of about 5º each direction as the nose gear transits up and down. Moreover, if there is a slight misalignment during install it will cause one or both bolts to slowly loosen up due to this pivoting action.
Thus, the Nord Lock washers —designed to really lock down a bolt against vibration— are not the best suited for this application, and also why there is a split ring washer in the mix. Jack did think safety-wiring was the best option to keep the bolts in place, as even with the slight pivot action occurring there would be just a hair enough give in the wire to allow for the minute movements required.
Between the spacing issue and actually too good of gripping action with the Nord Lock washers, I pulled them from the lineup and went back to using the original flat and split ring washer setup. I am still using Jack’s upgraded pivot bolt pins with star washers, and the drilled bolt heads for safety wiring (the bolts in the pic below are actually the same length, just angled in different directions).
With my hardware squared away I then prepped everything to reinstall the nose gear actuator back into the nose of the plane. However, I then encountered a clearance problem with the NG3/4 bracket catching the edge lip on the nose gear actuator arm. Essentially the NG3 that wraps around the nose gear strut protrudes about 3/16″ farther aft than the interior NG4 bracket and is catching the lip on the actuator arm. It did this very slightly before, but after remounting the NG3/4 brackets with industrial adhesive it is pronounced enough to block the insertion of the actuator arm.
I didn’t grab any pics of this, but will. I’ll ponder on my corrective actions and will report back in another day or two.
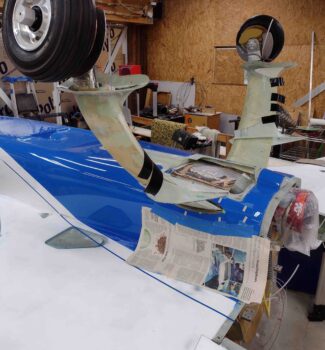
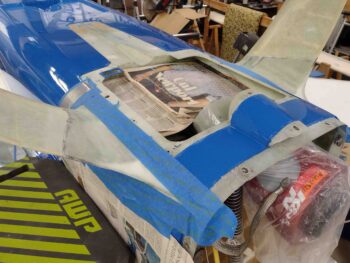
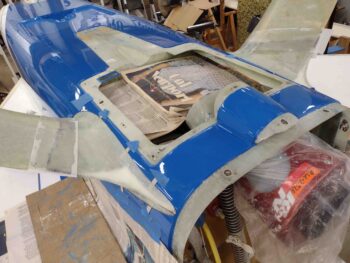
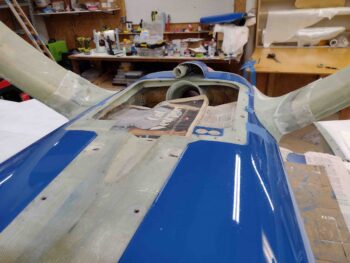
With the flox still curing on the main gear fairings install, I then grabbed the epoxy-wiped aft nose/avionics cover and took it outside for a good sanding. I spent almost an hour sanding it down in prep for minor surface refills and primer.

After it dried from the wet sanding, I saw a few more spots I need to hit. But for the most part this thing is ready for next steps.

Nearly 8 hours later I pulled the tape and clamps off the floxed in place main gear fairings.
I cleaned up the excess flox and then sanded down the fairing edges at the seam with the gear leg surface.
I then cut a single ply of BID about 2″ wide and laid it up over the seam on each gear fairing, with a minor bit of flox at the transition between fairing and gear leg. I then peel plied the layups.
Here’s another shot of the 1 ply layups securing the gear fairings to the main gear legs.
I then left the gear fairing glass to cure and called it a night.