
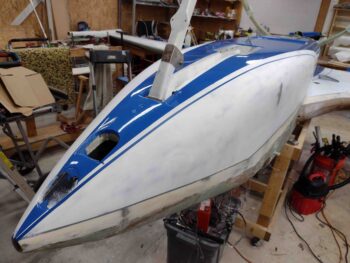
Before I flip the fuselage back upright I plan on having the black accent stripe that borders the bottom fuselage blue paint complete, as well as the white paint on the strake and fuselage/nose sides.
These upcoming colors —white & black— traverse across the GIB strake windows and thus I want the window edges to be in their final state before pressing forward on the application of these paint colors.
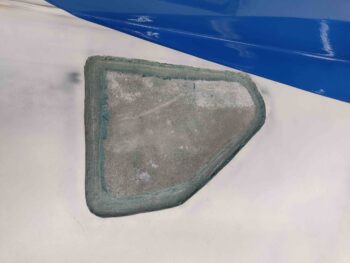
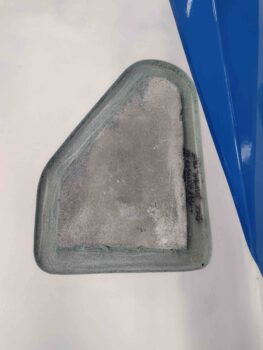
Starting off, the GIB windows needed some TLC… here we have the right one. The left looked pretty much the same.

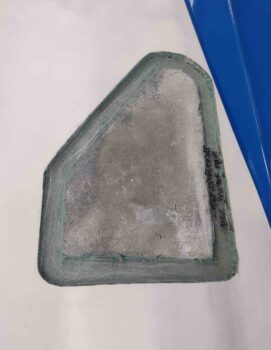
I started off by cleaning up the edges and removing the foam to get a sanding block down in there to shape the sides. Again, here’s the right side.
And here’s the left side.
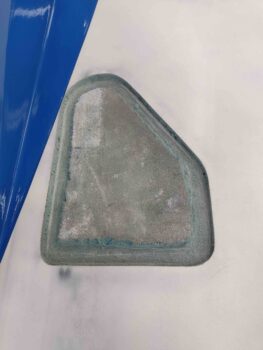
To ensure my GIB strake window cutouts matched the window pieces, I grabbed my template and taped it in place. Apparently I had some glass creep inward from when I glassed the bottom of the strake and my initial glass skin removal from the window area.
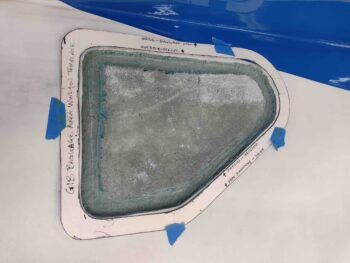
I then outlined the internal edge of the template onto the surface of the strake with a fine mechanical pencil.
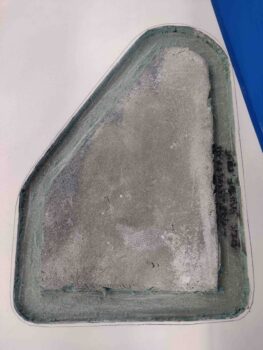
I then used my Fein saw to carefully cut just inside the inner edge of the lines, on both strakes, and then finished the edges with sanding blocks. All told, I spent over 2 hours on these strake windows, but voila… GIB strake windows’ external edges ready for paint.
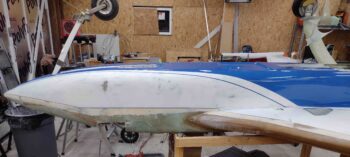
I then pulled the 1/4″-wide blue fine line tape along the edge of the fuselage/nose bottom blue paint to design and lay out the edge of the black accent stripe that will border the existing blue paint on the bottom of the fuselage/nose and strake. The rate of widening from the nose is 1/2″ approximately every 24″.
As with the blue, the black accent stripe will flow off of the fuselage and onto the strake.
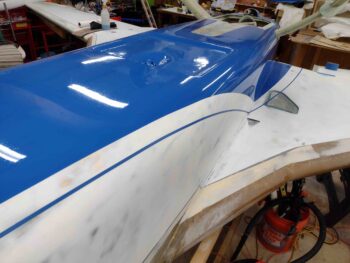
Here’s a side shot of the border for the black accent stripe. It will be another day or two before I get to painting the black stripe, so I let this design germinate a bit in my mind before pulling the trigger. I may rework the fuselage-strake corner just a hair . . . Also, to be clear I taped up this accent stripe on both sides of the plane.
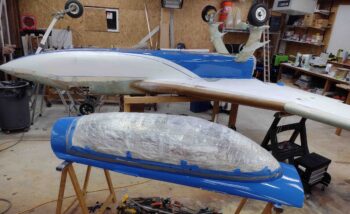
I then took a break from the fuselage to use the last little bit of daylight left outside of the shop to spend about an hour sanding down the second coat of blue paint on the canopy frame. I also sanded down the nose gear fairing since it had gotten a few hairs on its surface and just needed a refresh/do-over.
I then mixed up some blue paint and applied the 3rd coat to the canopy, another coat to the nose gear fairing and a few minor touchup spots on the fuselage: one spot right above the right gear leg that actually extends out from underneath the fairing. The aft edge of the forward nose gear pocket. And a spot right near the taxi light that I missed when painting the final coat. All together these fuselage/nose touchups were less than 2.5 square inches.
I will note that although I clean the surface and use a tack rag before every application of paint, on the canopy frame little 1/4-1/2″ black hairs kept showing up all over the front area. I would pick the hairs out and then re-tip the paint, but as it got dryer my tipping caused a bit of a rough surface. The bottom line is that I will have to do yet another coat of blue paint on the canopy frame.
After the blue paint, I then mixed up some white primer and applied it the nose, fuselage sides and strakes. Again, on both sides.
I then left the paint and primer to cure and called it a night.