
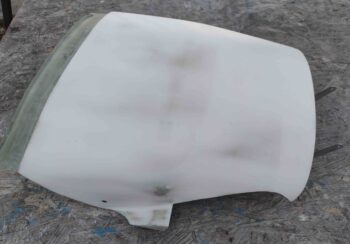
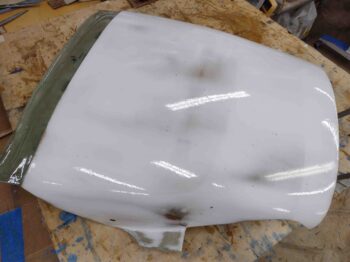
Since I was up fairly late last night I had planned on cheese grating the micro finish on the aft nose/avionics cover before I headed in for the evening. But I forgot, then fell out, so I started on it first thing this morning. I’ve observed in the past that although 3-6 hours is around the optimum time to cheese grate micro finish, it can still be fairly easily cheese grated within the next 24 hours… definitely 12 hours is within the window.
So I spent a good 45 minutes cheese grating the micro on the aft nose/avionics cover. I couldn’t really get in close on the micro piled up on the inboard elevator fairings, so I grabbed a piece of 36 grit sandpaper and went to work on those.
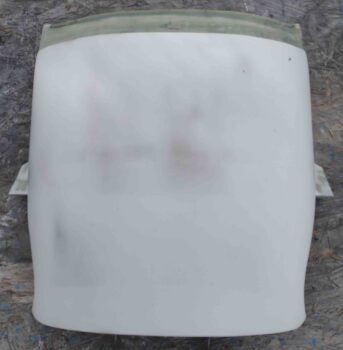
What I discovered was that the micro had cured and was sanding just fine. I went ahead then and spent well over 2 more hours sanding down the micro to contour it. I then cleaned off the micro finish and immediately applied the first epoxy wipe [see way below].
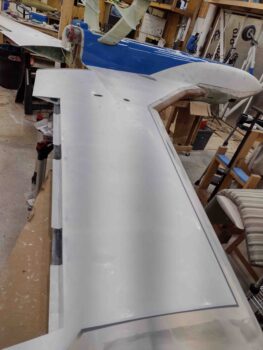
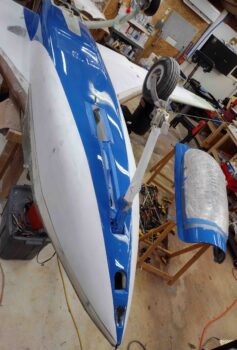
I then got to work wet sanding the white paint on the underside of the wings. This took about 45 minutes per wing.
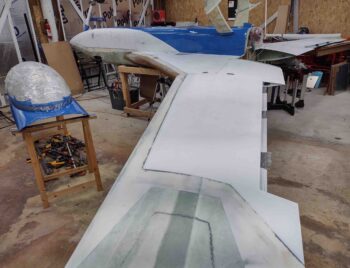
I used mainly 500 grit sandpaper, but in some of the stubborn spots I used 400 grit. As you can see in these pics, I also removed all the tape and paper that protected the fuselage and strake whilst painting the blue paint on the underside of fuselage and nose.
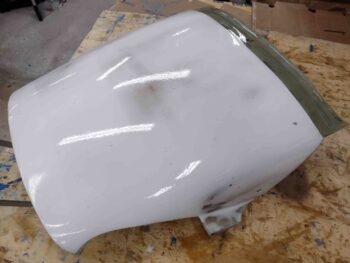
By this point in the day it was starting to get dark, but I powered through and took the bottom cowling outside and wet sanded it out there.
There are a few spots I missed that I will have to go back over, but for the most part it’s ready for its final coat of blue paint… which again, it won’t get until after I mount and marry up the upper cowling to this guy. What it will get though is about the first foot of the black accent strip just to establish where that will be. I’ll then dial in the exact paint scheme on both the top and bottom cowlings when both are installed.
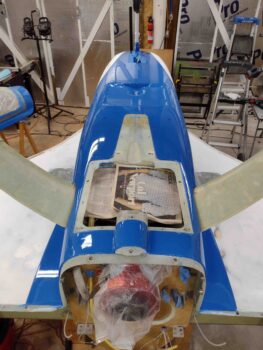
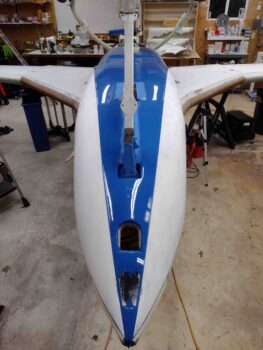
I then grabbed some shots of the mostly cured bottom fuselage/nose blue paint. At this point I had not yet pulled the blue colored fine line tape at the edge of the blue paint.
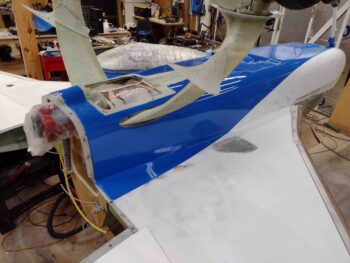
I will say that the color and shininess of the paint is stunning, but it truly is one of those paint jobs that looks awesome from greater than 6′ away. It really needs some TLC in very fine grade sanding, buffing and polishing to get rid of both the dust specs and a few paint runs… and to generally smooth out the surface a good bit more.
That all being said, I’m super happy with the color and I’m definitely learning the paint nuances a bit more.
My swoosh on the lower side of the fuselage is is not exactly how I designed my original paint scheme in that it is rounder and lower than what was in my original depiction, shown here.
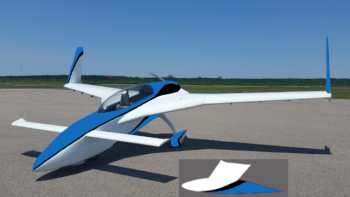 The original swoosh above was definitely a longer one that was “flatter” in that it was more horizontal than the one I ended up with. It also was a bit farther forward on the fuselage side than what I have now.
 I did the swoosh slightly different to keep it lower on the fuselage so that the bordering black accent stripe would be out of the sun pert near all the time. Plus, I liked the idea of a narrower spike-style bottom blue stripe… in my mind I lessened the curb appeal just a tad with the curvier, farther aft swoosh when the bird is on the ramp, but will have a better look when flying and viewed from below. Rationalization and fantasy are key on these things… ha!
The main thing is that it is getting done and I’m quickly progressing towards getting this bird flipped back upright and getting it finished (read: in the air!).
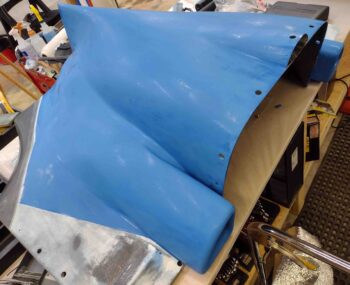
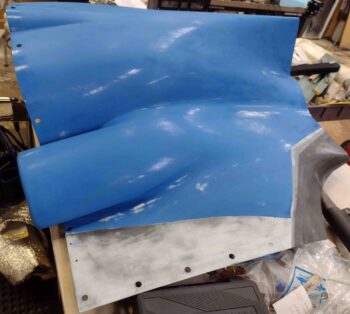
Just as I was going to cheese grate the micro late last night and didn’t get to it, I had also planned on doing 5 full epoxy wipes on the aft nose/avionics cover… but alas, I ended up crashing out again and only got 4 epoxy wipes in the bag. Oh, well. All is good.
I do have just a few divots that I don’t think the epoxy wipes filled, which is why I had intended on doing 5 wipes total. I will probably have to do a few surface fills before I primer it. I will most likely only do one coat of primer since I may have to sand down and add more filler as I match up and mate this cover to the nose, canopy, canard, etc.
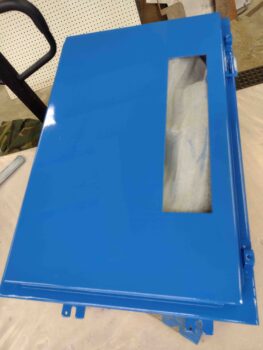
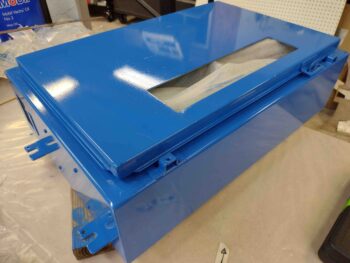
Finally, with the blue paint cured enough that it won’t act like super glue, I was able to finally close the door on the freshly blue painted milling machine CNC control box. It was quite serendipitous that I had some extra paint and was able to knock this out… but I love this color and it really spiffy’s up the control box!
And with that, I called it a night…