
After a decent little bit of research, even on my own site, I was having a heck of time over the last couple days removing the nose gear actuator out of the inverted NG30 housing. I honestly couldn’t remember exactly how it went in when I installed the actuator into the gold anodized mounting brackets… did I have to remove the brackets and install them all as one unit? It didn’t seem like it. And my own build log wasn’t clear on this issue (perhaps I should do better reporting on my build actions… ha!).
The bottom line is this sucker did not want to come out. And the mounting pins on the side did not want to come out either and seemed permanently installed into the gold anodized mounting brackets. Thankfully fellow builder Brian Ashton had a better memory than I did and was able to remind me how it all went together, and thus how it should —in theory at least— come back apart.
With Brian’s helpful reminder in hand I was able to remove the nose gear actuator… and to be clear: NOT with ease! It still required quite a bit of machinations and expletives to get those side bolt pins removed. I guess having such a tight tolerance between pins and mounting brackets is probably a good thing operationally. Plus reaching up into the dark nose didn’t help the removal process any.
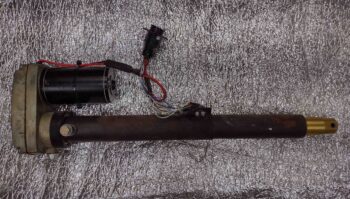
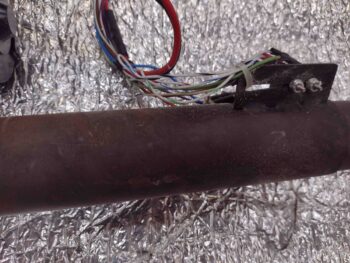
One reason I needed to remove the nose gear actuator is simply that it is filthy… and rusted. As you can see in the pic above and below. It needs a good cleaning and I’m thinking some judicious application of primer and paint to keep it rust free for as long as possible.
Also, I’ll be swapping out both the side mounting pins for new ones that Jack Wilhelmson makes for this unit, and drilled bolt heads to secure them with safety wire so they don’t loosen over time.
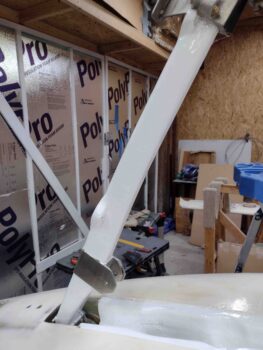
With the nose gear tied up into position I then applied another coat (#2) of white paint to the nose gear strut, strut channel and wheel well. Note the access I had with the nose gear actuator removed to completely cover the inside of the strut channel with paint… allowing me to cover the small unpainted patches that were immediately adjacent to the nose gear actuator, and thus inaccessible. Not anymore of course…
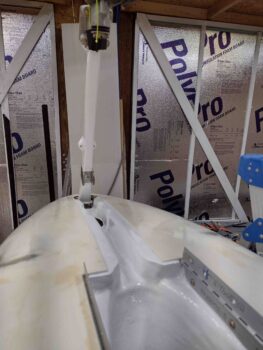
Here’s a closer up shot of the painted nose gear strut.
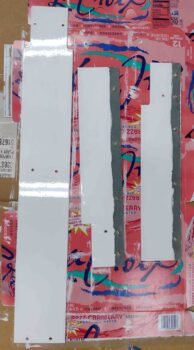
Of course I applied another coat of white paint to the inside surfaces of the nose gear fairing and the nose gear doors.
With that, I called it a night and left the painted surfaces to cure.