
My primary focus right now is the nose gear strut, strut channel, wheel well, internal strut fairing and inside wheel well doors painting. But since I need a good 24 hours between coats, I had a fair bit of time to work other issues.
So besides painting, which ironically I fell down on the job and didn’t get any pics of (all looks pretty much the same as the pics over the past few days!), my main focus today was refitting the landing brake and the RAM air scoop/hell hole hatch cover back into their micro-finished “pockets” on the bottom of the fuselage.
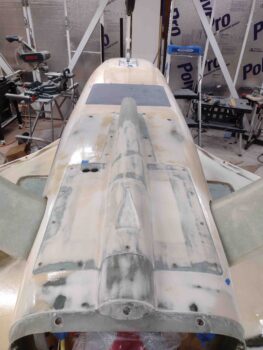
Yep, it appears that adding 5 coats of epoxy to the micro tends to make it so that the things that fit before with a decently tight tolerance, no longer fit into place. It took a good hour on the RAM air scoop/hell hole hatch cover (Above — btw, in my notes I always shorten that label to RAS/H³C) edge to sand down the epoxy both on the interior horizontal and vertical edges to get to the point that would allow the actual RAS/H³C to be mounted back into place.
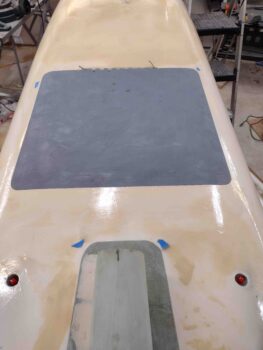
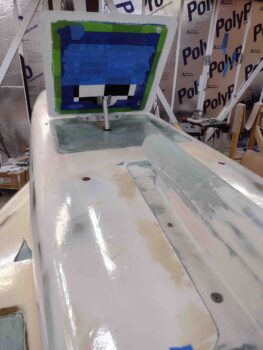
It took about 45 minutes of sanding and shaping the epoxy-wiped perimeter fuselage edge around the landing brake for it to fit back into the “pocket.” Of course these were those iterative processes where I would sand and contour the edges, then attempt to reset the components back into place, just to find more sanding & contouring was needed. Even in the pic above and below you can see blue tape pieces, that represent areas that need further work/refining… notably almost always at the corners.
That’s not say that I am not happy with how all this is turning out. Although these nitnoy refitting tasks will always be required to-do stuff, overall I’m very pleased with how these components fit into their respective bottom-of-fuselage “pockets.”
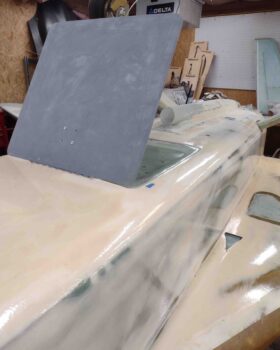
Here’s yet another shot of the gray primered landing brake in front of the RAS/H³C, Again, note the blue tape that represents areas that need to be tweaked.
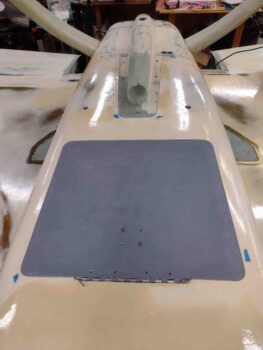
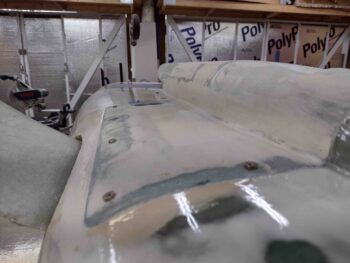
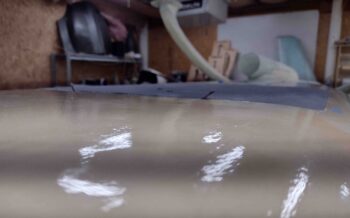
I tried to include a couple of shots to show the transition between landing brake and fuselage bottom, as well as the RAS/H³C and fuselage bottom.
And a couple of shots, front and aft, with the landing brake open….
A bit later I got back to work painting the final coat of white on the nose gear strut, strut channel and wheel well. I also painted the nose gear strut fairing and gear doors, both on the inside, with their next-to-the-last coat of white. These latter components get an extra coat since I’ll actually be buffing them out to get rid of some of the dust particles that settled into the paint.