Today I had one objective: remove the flox-secured NG3 and NG4 brackets from the nose gear strut and remount them using industrial adhesive.
The reason for doing this is twofold:
First, during Oshkosh a canard owner had the NG3/NG4 bracket break loose and slip out of place on the nose gear strut. I was remiss in not immediately downloading the pic from the discussion on FaceBook (I searched for it but couldn’t find it). In that discussion Gary Hunter recommended using silicone to secure the NG3/NG4 brackets, where James Redmon recommended using industrial adhesive…. which again, is the route I chose.
To be clear, some other folks recommended drilling a hole through the strut and securing the brackets with a screw/bolt, but I wanted a better attachment than flox that did not require drilling through the nose gear strut.
Second, I figured with the recent issue our fellow canardian experienced at Oshkosh that as I took the time to work other nose gear strut issues with my plane inverted that I would also knock out this task.
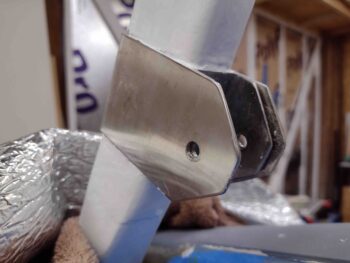
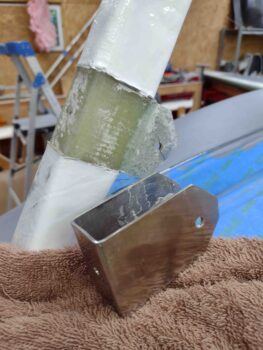
Here is the “before” pic that shows a gap between the NG3 and NG4 since, not surprisingly, securing pieces of stainless steel together without welding is of course tricky, especially using some type of epoxy or adhesive.
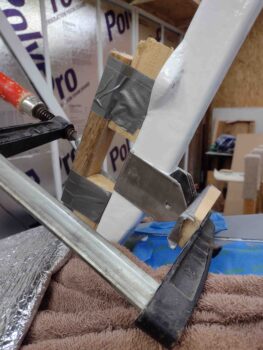
I started by setting up a clamp with a wood bridge that would allow the NG3 to pop free.
I wanted to simply warm up the bracket before hitting it with a soldering iron to break the flox hold on it, so I hit it with a heat gun for less then 10 seconds on each side. Very interestingly and surprisingly, with just a fairly minor bit of heat, the NG3 popped free.
I then slowly and carefully pried off the NG3, leaving only the NG4 bracket in place.
Again, after some minor dead flox removal in a short order of time, the NG4 just fell off without any effort. The initial release of the NG3 after just a bit of heat applied and the NG4 falling off while working on removing flox from the side area drove home both Gary Hunter and Jame Redmon’s points that flox is not the best securing medium for these stainless steel brackets.
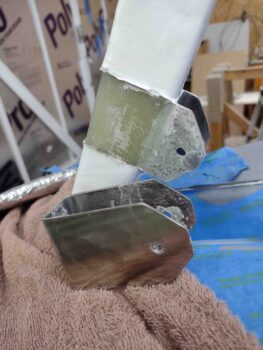
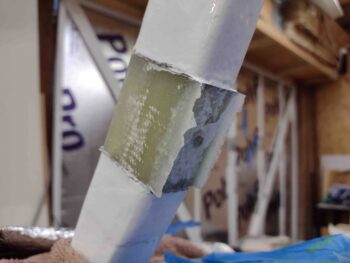
Note the center nub both on the front and aft side of the gear strut from the original flox application. I left these nubs in place to use as guides when remounting the NG3 and NG4.
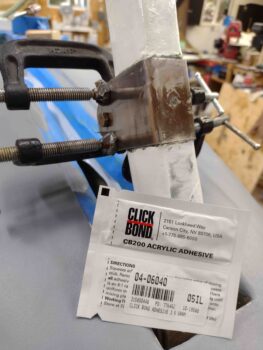
Yep, I failed to get some intermediate pics during the re-mounting process of the NG3 and NG4 using industrial adhesive, which would have shown the bracket area glass much cleaned up and sanded in prep for bracket reattachment. I’ll note that while doing my research on which exact industrial adhesive to use I found on Aircraft Spruce and McMaster-Carr that the acrylic industrial adhesive seemed to have the strongest grip, so I went with that (shown below).
After mixing the 2 part adhesive and applying it to the gear strut, I then slid the NG3 bracket into place —again, using the original cured flox nub for alignment— before then sliding the interior NG4 bracket into place, also using the aft remaining nub for alignment.
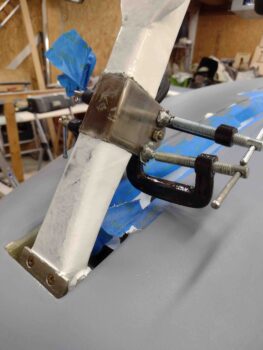
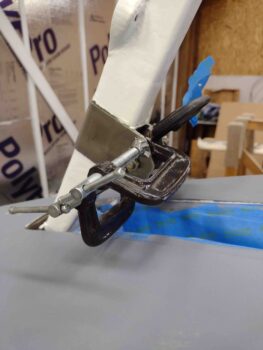
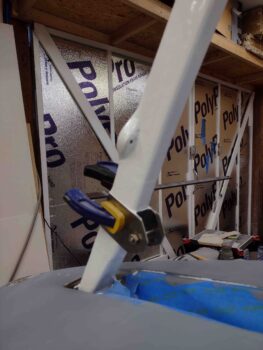
With a bit of fiddling to get the 2 brackets aligned, I then slid the AN4 bolt through the side holes to align and secure the brackets. Then, to secure the inside walls of the NG3 to the exterior side walls of the NG4 I clamped the top and bottom edges on each side.
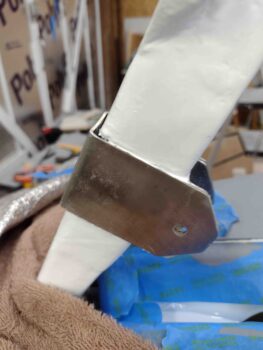
I then left the “glued” NG3/NG4 brackets to cure. Here you can see the original flox center nub peaking through the front center hole in the NG3 bracket.
Also, I placed the second packet of the acrylic industrial adhesive that I picked up from ACS in the pic. I chose the Click Bond adhesive since it comes in a small 2-part ez-mix packet that doesn’t require a separate mixing nozzle or applicator assembly. Best yet, these small packets are less than $3 each.
A number of hours later I mixed up some white paint to apply to the inside surfaces of the nose gear doors and the nose strut fairing, so I repainted the edges around both the top and bottom side of the NG3 and NG4, thus finalizing the re-install of these brackets.
I didn’t grab a shot of the white paint applied to the inside surfaces of the nose gear doors and the nose strut fairing since it looks exactly the same as prior pics.
I’ll note that I really don’t like redoing tasks that I’ve previously completed, but I do attempt to be prudent when opportunities present themselves (inverted fuselage + nose gear strut work) to optimize functionality and safety on this bird.

