
Today I started the task of wet sanding the gray primer that is the initial primer coat covering the bottom surfaces of the plane: fuselage, nose, strakes and wings.
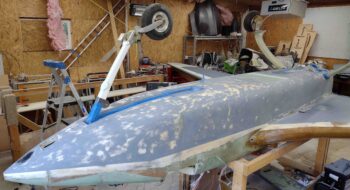
I’m sure an expert could tell a story of what all the resulting splotchiness on my fuselage and nose surfaces indicates, but nonetheless I’m pressing forward.
The wings and and strakes didn’t have nearly as many breakthrough spots as the fuselage and nose… simply because the curves are much less pronounced, eh?
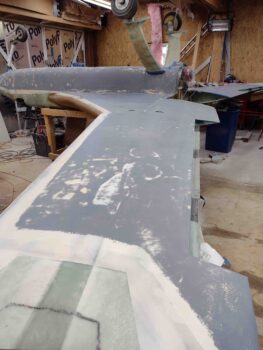
The next round of the primer will be white. If you’re wondering why I used gray for the first coat it was simply to act somewhat as a guide coat so I could note the different levels of primer as I worked the finish on this bird.
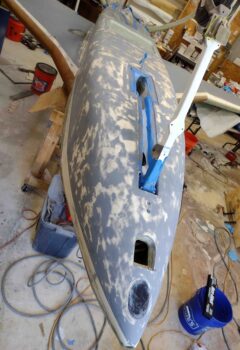
Here’s a shot of the other side after I finished the sanding of the gray primer. I will note that the most difficult area to dial in is the corner junction between the inboard strake and the top of the fuselage. It really has been a bit of a pain to sand one side aggressively without tearing up and/or damaging the surface 90° to it.

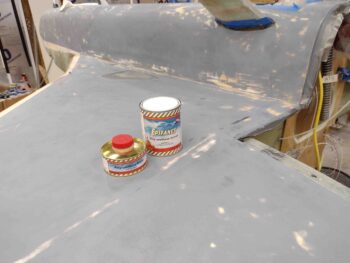
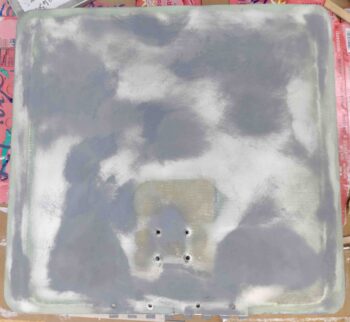
In addition to sanding, tweaking and prepping all the gray primered surfaces, I also added some more thickened (with micro) gray primer to a few areas on the landing brake.
After A LOT sanding today I’m taking a break before diving into the final prep and application of the second, white primer coat.