
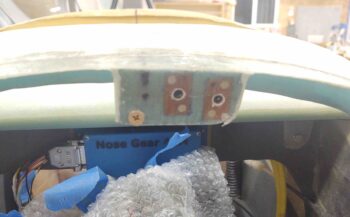
I started out today laying up a few plies of glass along each side edge of the nose hatch latch mounting plate (pic below) to add a bit of strength to it.
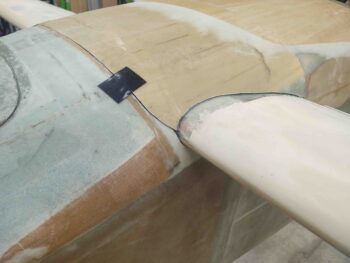
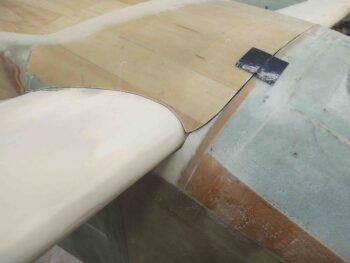
I then let that cure while I slowly trimmed the front corners of the aft nose/avionics cover to fairly closely match the added fuselage corners in front of the canard LE.
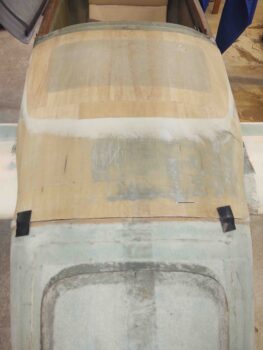
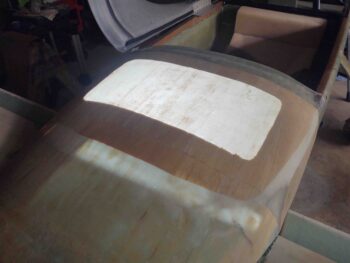
With my initial fitting task out of the way, it was now time to enroll the aft nose/avionics cover into “fat camp.” Yep, when I took this thing off it originally weighed in at just a hair under 4.1 lbs. Pretty chunky for a cover.
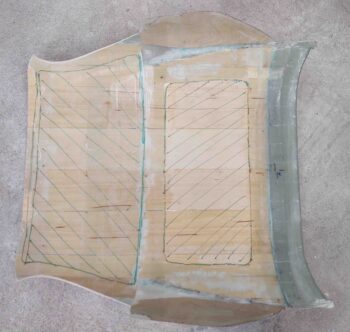
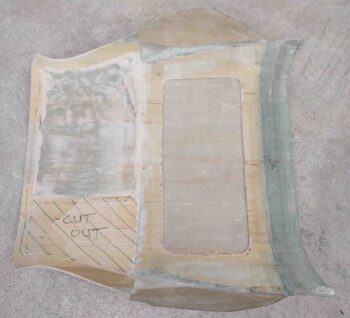
I hatched the areas that would be losing glass and wood, leaving only the exterior glass.
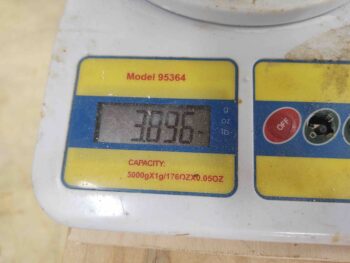
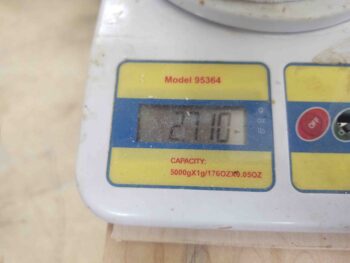
At the state of the cover above, it weighed in at 3.9 lbs.
After 2+ hours of work, it looked like this. Note there’s still a decent sized chunk of glass and wood in the lower left corner –as situated in this pic– that still needs to come out.
This is tough work, so my goal was to stop for the night when I removed a pound of weigh off the cover. Well, I exceeded that goal by a bit.
Removing the last segment that I ID’d for removal with the hatch marks will most likely drop the overall weight of the cover down below 2.5 lbs.
I was hoping for sub-2 lbs, but I don’t think it’s going to happen. Moreover, I’ll be adding some weight back in with a couple plies of glass and all the attachment tabs, hardware, etc. So the final weight of this cover will be in the ballpark of about 2.5 lbs, my best educated guess at this point.
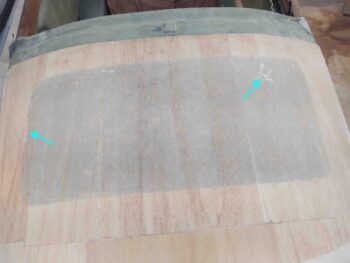
I also had a few oopses and broke through the surface in around 4 spots. The glass in this area is particularly thin, maybe 2 plies thick, because it was the final top finish.
For fun I turned off most of the shop lights and chucked an LED work light into the avionics bay. Looks pretty cool with that thin cover glass.

By this point my glassed nose latch mounting plate was cured, so I trimmed and cleaned up the layups. I also cleaned out the holes in the nutplates and drilled a #10 hole in the flox hardpoint for the adel clamp screw.
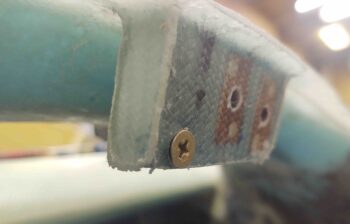
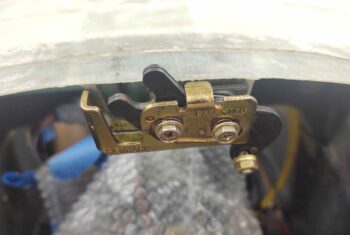
Here’s a shot from the front with the nose hatch latch mounting plate ready for action…
I then mounted the nose hatch latch. Here it is in the close/locked position.
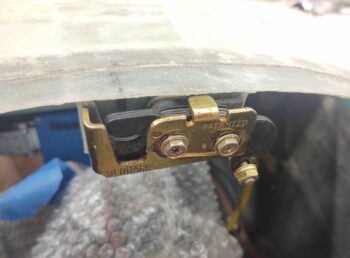
And here we have it in the open/unlocked position.
I was ready to move forward with floxing and glassing my striker plate onto the nose hatch door, but the material I was going to use for the bracket just wasn’t up to snuff (I glassed a hefty 9-ply angle bracket) compared to my test/mockup bracket I’ve been using to dial in the latch… however, in my haste I drilled the hole off center in the test striker bracket.
That alone isn’t causing all the issues, but it’s leading to other alignment/mounting issues so I need to either weld the hole in and re-drill, or cut a new angle bracket for the striker.
However, I did do a good amount of testing on the striker configuration and I’m pleased with how this latch setup will function.
With my night cut short due to a change in striker plans (it was too late to fire up cutting saws, etc.), I came back in the house and spent nearly an hour updating my electrical system wiring diagrams in CAD.
I plan on getting the striker situation squared away first thing tomorrow and get the striker bracket floxed and glassed onto the nose hatch door ASAP.