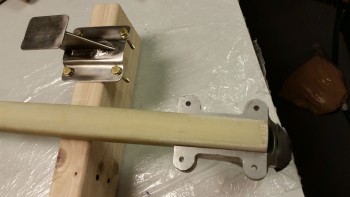
I started out today working on permanently mounting the NG15 (technically the MKNG15B) casting to the end of the nose gear strut.
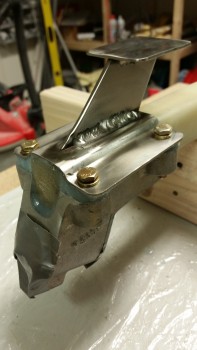
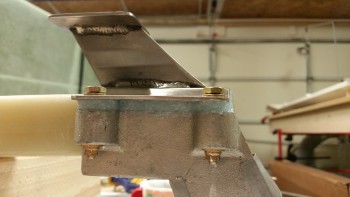
I attached the stainless steel foot rest after slathering up all the surfaces with flox. Here’s the end result.
I find that both the original plans and a lot of vendors that sell parts for the Long-EZ often call out for bolts that are simply too long. The same holds true for mounting the NG15 in that CP#51 recommends that builders upgrade to AN3-14A bolts, which were way too long. So I ended up using AN3-12A bolts like a number of other builders I know.
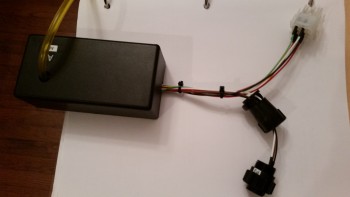
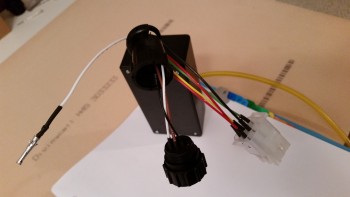
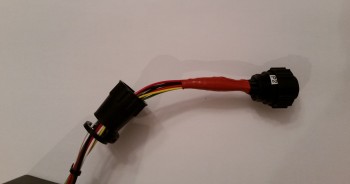
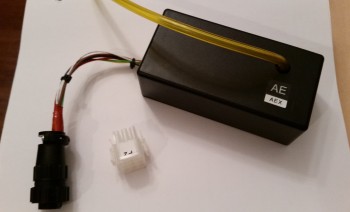
As the flox cured I worked on converting the P2 connector on the AEX from a 9-pin Molex to a 9-pin AMP CPC connector. Below are a couple of shots mid-mod.
I then wrapped the wires with self-amalgamating (“centerline”) tape.
And finalized the conversion by mounting the cable clamp.
Now, I’m going to quickly get on my soap box. I’m incredibly grateful as an airplane builder to have a company like Aircraft Spruce to buy the stuff required to build an airplane that would be close to impossible to find anywhere else.
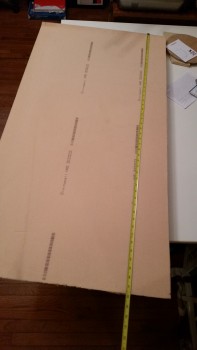
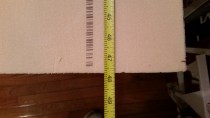
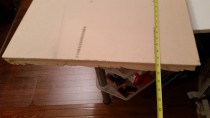
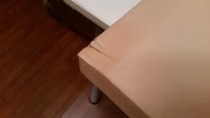
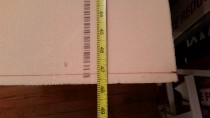
With that being said, as much money as I’ve spent there over the past 5 years, you’d think that when buying an almost $100 piece of foam that is supposed to be 24×48 inches, that I’d actually get what I paid for… not one that is short and malformed on one end and cracked at the other corner on the other end.
The good news is I still had enough to cut out the nose panels, although the foam that ACS delivered is unsat & not cool.
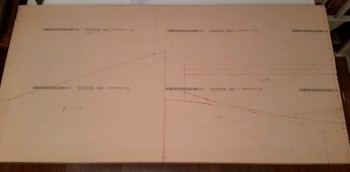
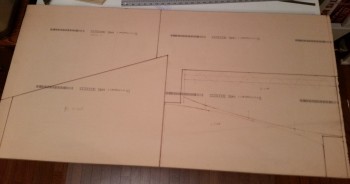
Now, back to the build. Since I only bought one piece of this foam, I needed to squeeze every square inch out of it that I could. I spent a bit of time figuring out a cut sheet to optimize the foam usage. I came up with the configuration below and marked up the foam.
Once I verified the dimension were correct I marked the actual cut lines that I would use for the initial cutout of the panel with my Skil saw.
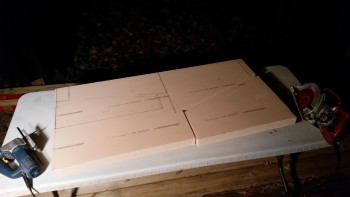
I then set up a cutting table out back and cut the panels out.
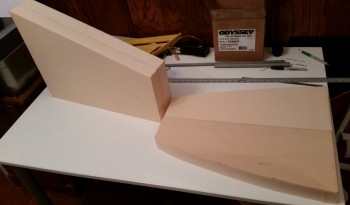
And here are the results.
Tomorrow I plan to shape the panels to their final dimensions, work on the rudder pedal placement and install the floor pans.

