I started today by double-checking the hard point positions using Jack Wilhelmson’s EZnoselift actuator as a guide.
Before I used the paper NG30 template to mark the hardpoint centers, I sanded the NG30 plates’ edges to match.
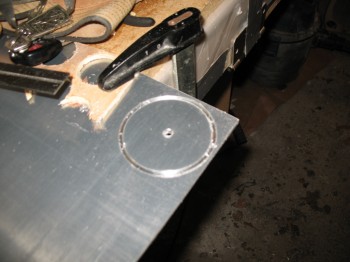
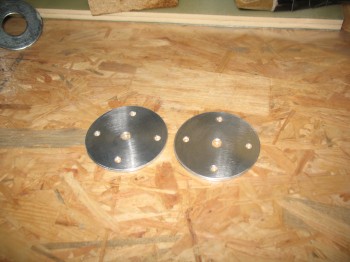
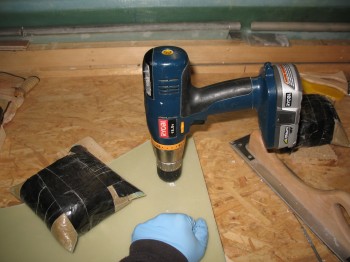
I then focused on cutting 2 each NG8 aluminum disks out of a 0.125 in. (1/8″) 2024-T3 plate. These discs will reinforce the glass hardpoints and will help carry the loads of the pivot bolt that the NG6B Nose Gear Pivot Casting (and the front gear strut) pivots around.
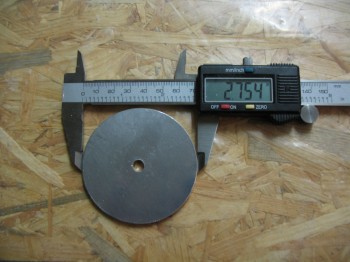 Per plans, the NG8s are supposed to be 2.8 inches in diameter. Considering I’m using a electric hand drill with German metric hole bits, I’ll take my 2.754″ inches diameter and be happy about it.
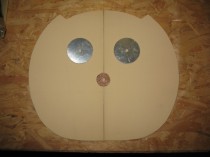
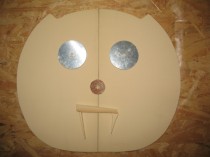
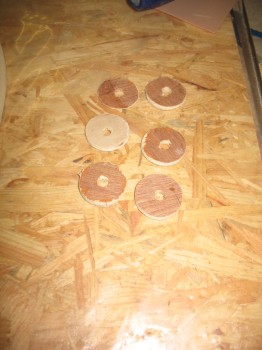
And because I have an incredible sense of humor (yuk, yuk . . . see?!) I had to use these NG8s for Napster’s eyes before I drilled the 4 smaller screw holes:
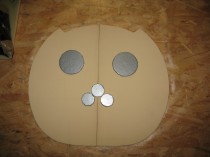
And then here’s a serious shot with the 4 smaller #12 screw holes drilled in the NG8s.
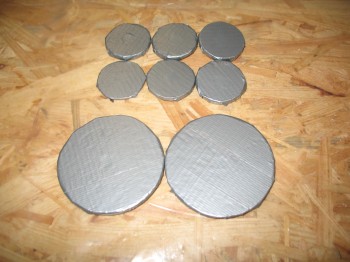
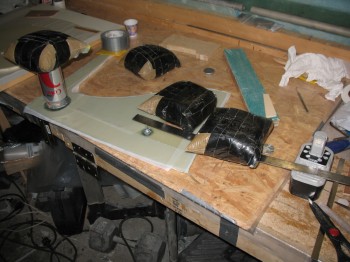
In addition, I drilled a number of circular wooden plates that I covered with tape to use in weighing down the glass in the circular hardpoints.
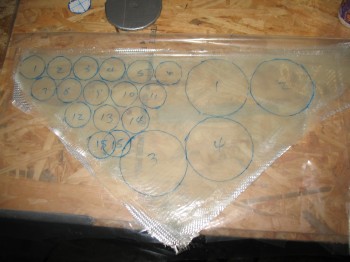
I then located some scrap BID & set up my pre-preg layups for the hardpoints (shown below).
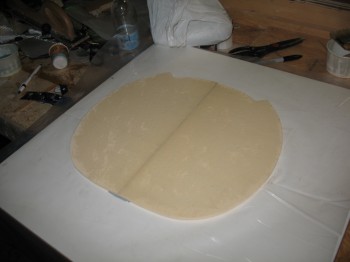
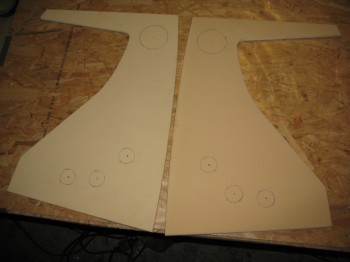
I used my NG30 paper template to transfer the hardpoint centers to my NG30 plates.
I then drilled the marked holes to lock in & ID the center positions of the hardpoints.
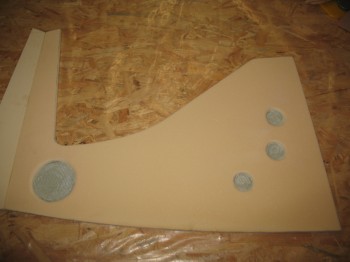
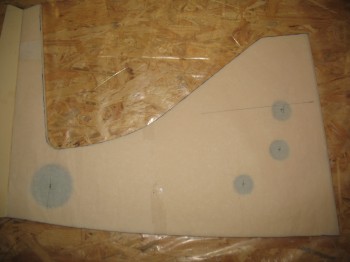
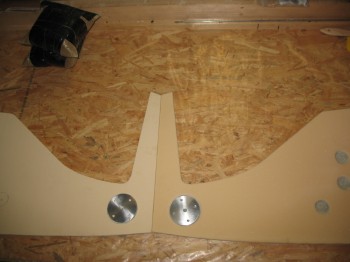
I then marked the outlines of the hardpoints, and starting with the Left NG30 plate, removed the foam down to the inside of the Inboard 4-ply glass. I sanded & prepped the “bottom” of the hardpoint positions for the 15-plies of hardpoint BID that would get laid up into each hardpoint position hole.

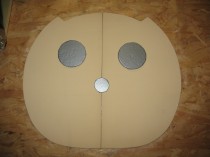
I put the paper template back over the NG30 to confirm the correct positioning of the hardpoints. I also set the NG8s (2 pics below) to get an idea how they would look when positioned.
 I wet out the BID in the pre-preg setups & then cut the circles out for the hardpoints. There’s 3-plies of BID in the pre-preg setup, so stacked it will make the total number of BID plies required for all the hard points.
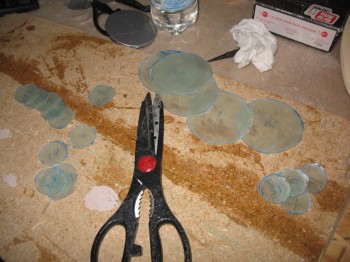
Since the 15 plies came out thinner than I expected, I threw an extra 3-plies into each hardpoint ‘hole’ for a total of 18 plies per hardpoint. Before the hardpoint BID layups were glassed at each point, I had whipped up some flox & spread it around the foam edges to fill in any gaps and irregularities. I then glassed the NG30 Outboard side just as I had the original Inboard side, with 4 plies of BID at alternating biases: 2 plies at 45° & 2 plies at 90°. I also added an extra strip of reinforcement BID (as per Jack’s suggestion) just aft of the front hardpoint and focused on the upper curved section of the NG30… it ends above & just forward of the aft 3 hardpoints.
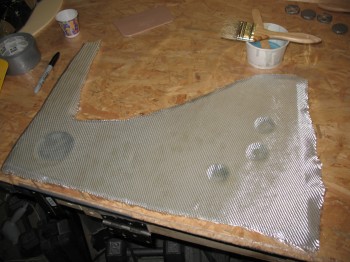
Once I glassed the 4-ply BID layup on the Left Outboard NG30 plate, I peel plied it & weighed down the hard points for a nice tight strong layup at each hardpoint.
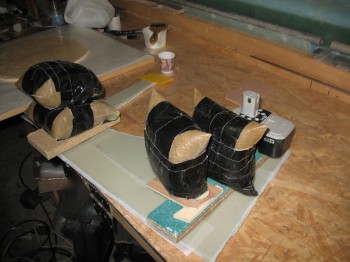 I didn’t like my initial hardpoint weight schema since I didn’t have good eyes-on with the glass surround the hardpoints, so I switched it up to that shown below.
I also micro’d the Napster (large bulkhead) halves together and then glassed a 2-ply BID layup & peel plied it.