
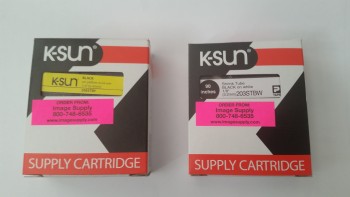
I thought I’d start out today showing a couple things I just received for the build. The first one is the shrink tube for making wire labels.
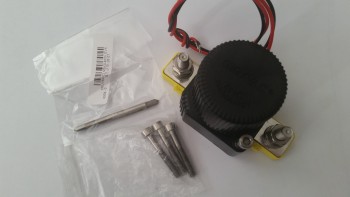
The other is the titanium metric M5 bolts and an M5 tap for mounting my battery contractor in the nose.
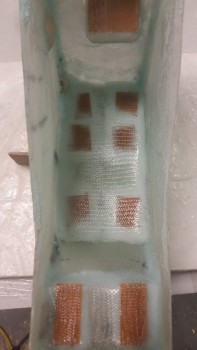
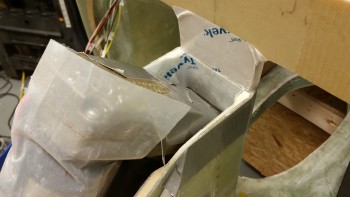
Back down in the shop I checked out the inner top cover layup from last night. Looking good!
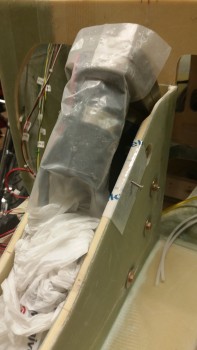
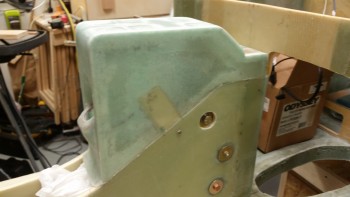
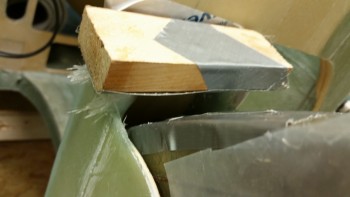
After ensuring the last layup was good, I started working on mounting the NG30 cover to the NG30 nose gear box. Since the sides of my NG30 cover are basically just 3 plies of glass, I needed to add a spacer between the mounting tab and the inside of the NG30 cover sides. I grabbed some scrap H45 Divinycell foam and cut to shape & dimensions the spacers for the NG30 cover mounting tabs. As you can see below I left just enough on the outside of the foam to allow for the thickness of the cover side panel skin, which will result in the outer side skin being fairly close to flush & even with the side of the NG30.
 Once I verified that the spacers were good on both the right & left side I then prepped the NG30 gear box to protect it all from the gooey, nasty sticky stuff.
I then used 5-min epoxy to mount the foam spacers to the cover mounting tabs. I taped them and clamped them in place.
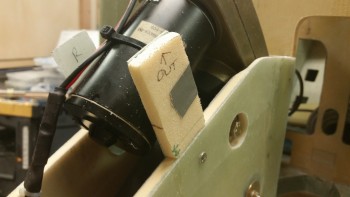
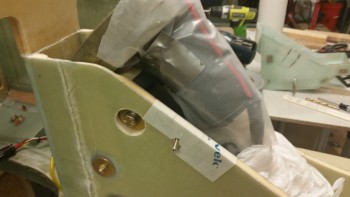
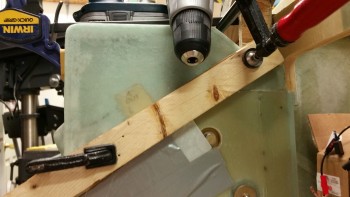
As the mounting tabs were curing I started working on the mounting holes for the P1 & P2 connectors. The P1 connector will be located on the front of the NG30 cover, whereas the P2 connector will be located on the mounting tab located on the cover’s right side. I started with the P2 connector that connects the AEX to the nose gear actuator main P1 connector.
After I finished drilling the main hole for the P2 connector I drilled the 4 holes for the mounting screws. I then drilled the hole for the main P1 connector, starting with a small pilot hole that I drilled with a hand drill.
I then finished drilling the hole for the P1 connector.
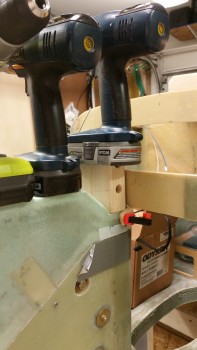
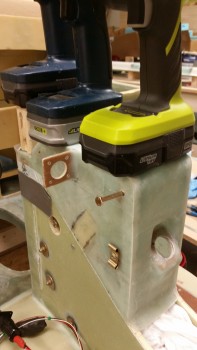
With the foam spacers firmly epoxied to the cover mounting tabs it was time to attach the outboard sides of the spacers into the inboard side panels of the cover. I placed pieces of blue foam in between the nose gear actuator motor and the NG30 cover mounting tabs to keep the tabs biased outboard and pressed firmly against the inner sides of the cover panels during the 5-min epoxy cure.
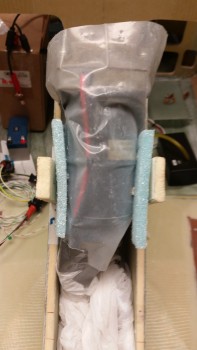
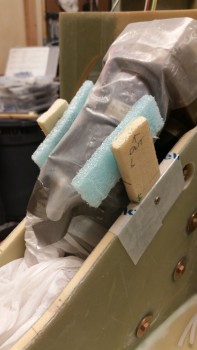
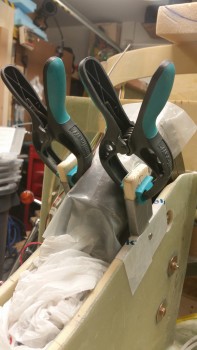
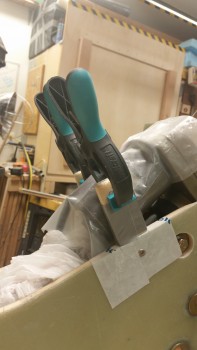
I whipped up some 5-min epoxy and slathered it onto the outboard sides of the foam spacers attached to the mounting tabs. I then placed the cover into its normal position on the NG30 nose gear box.
Clearly I created a modern work of art masterpiece that I call, “Tower of Drills” . . . ha! I clamped and weighed down the cover in place until it cured. Now, even though I used 5-min glue to attach the mounting tabs & foam spacers to the NG30 cover, I went to dinner and let it cure for almost 2 hours.

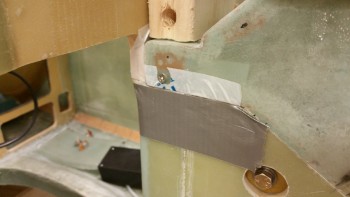
Here’s a long shot.
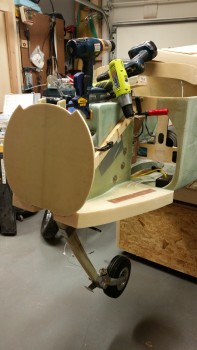
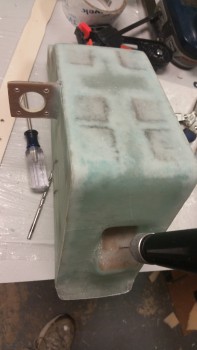
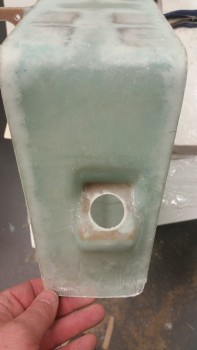
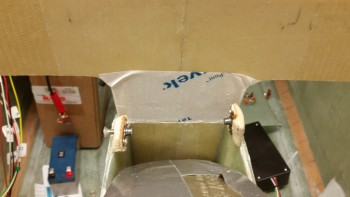
Here are a couple shots of the the officially mounted NG30 cover!
And it’s still spot on as far as the longitudinal axis.

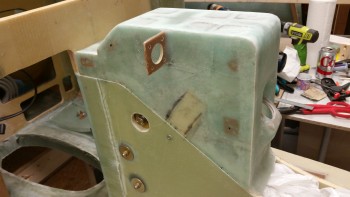
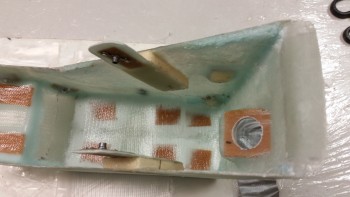
I then prepped the aft area for the mounting of the two nutplate assemblies embedded in foam, one each side.
I also prepped the aft area on the cover in order to mount the aft screw mounting tabs with 5-min epoxy, first the one on the left, then the one on the right.
Here’s another shot of the mounting of the aft right screw mounting tab (the tab is of course on the inside).
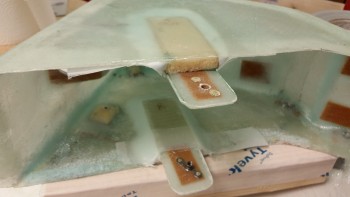
Here are the aft screw mounting tabs with the embedded nutplates glued in place with 5-min epoxy. The one on the right (left in pic) is installed in the landscape vs profile mode due to the nutplate installed immediately above it.
I then glassed in the aft screw nutplates with 3-ply BID layups that turned out pretty ugly. They may need some work later on.
Here’s a shot of the glued-in-place middle mounting tabs.
And here are the middle mounting tabs glassed in place with 2 plies of BID. I clearly had a total brain fart when I created the foam spacers without any forethought of the eventual glassing, since I didn’t angle the sides. So I had to use a fair amount of dry micro to make a ramp around the tabs for the glass to lay down smoothly. Beyond simply having to add a bunch of micro, the layup went smoothly.
Tomorrow my major goal is to finish all the remaining nitnoy things that need to be done to check the Aft NG30 Cover complete. BTW, I intentionally did not work the front two screw mounts because I need to research more how that will possibly affect any future nose & gear build actions (i.e. gear strut cover install) as far as if they’ll be in the way and more of a hindrance now if I mount the nutplate assemblies on the top inside edge of each NG30 plate.