
I started off today checking my floxed-in-place nose hatch door hinge tabs… they cured nicely and kept their alignment.
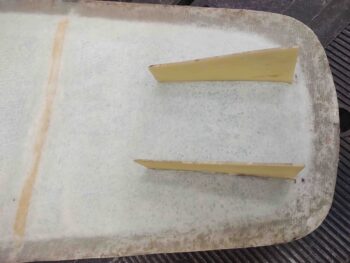
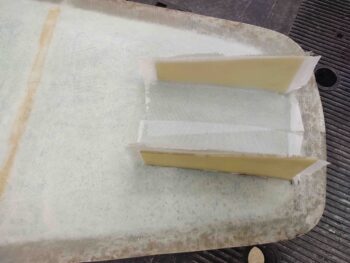
With the tabs good I then laid up 2 plies of BID on the interior tab walls overlapping onto the underside face of the nose hatch door. Normally I would use simple BID tapes here, but I went all the way across since I’ll be laying up glass over this and wanted the transition as clean as possible… and at 3″ apart, we’re only talking a 1″ x 4″ added strip.
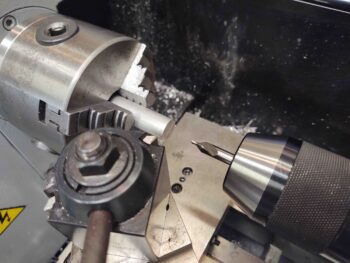
While the layup above cured, I got busy working on the 6061 aluminum “bungs” that I’ll weld to the exterior side of the hinges to keep the nose hatch door securing pins more secure, and more aligned.
What I needed/wanted was essentially a 5/16″ ID tube with a at least 0.090″ wall thickness. So a 1/2″ OD tube with a 5/16″ ID would have worked great… IF I had it on hand. Which I didn’t. Thus my lathe work.
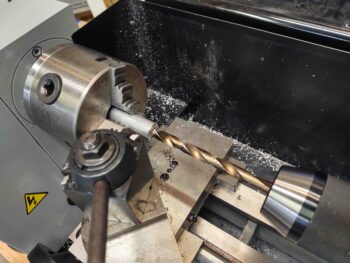
I started out by center drilling a length of 1/2″ dia. 6061 rod.
I then drilled out the center to 5/16″ to a depth of about 1 inch.
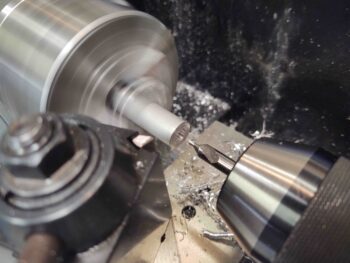
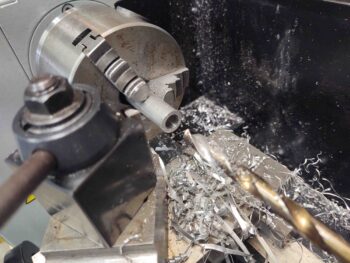
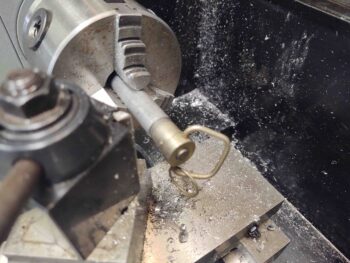
I then test fitted my aircraft grade hinge pins.
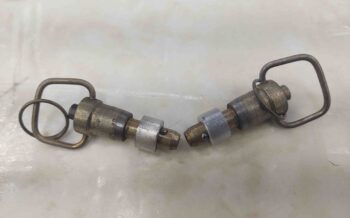
I didn’t get pics of the remaining process, which was fairly easy. I just lopped off the nubs on the horizontal bandsaw and then faced the end(s) to length, which is 0.322″.
And Voila! Here they are. The fit is nice and tight on the hinge pins. The gap between each bung and the top flange of each pin allows for the combined thickness of the hinge and the hinge tab.
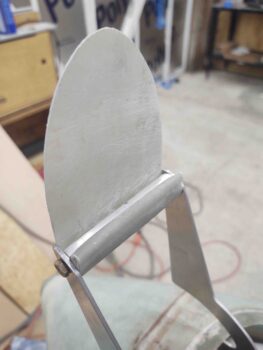
I then cleaned up the nose hatch door hinge crossbar securing clip. I rounded the aft side of the tab part that will get secured to the underside of the nose hatch door.
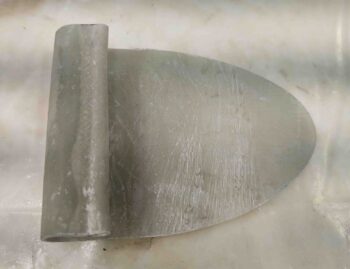 Here’s a side view, albeit a bit blurry.
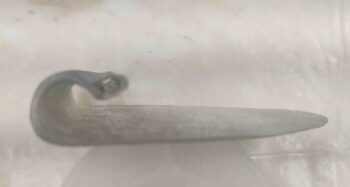
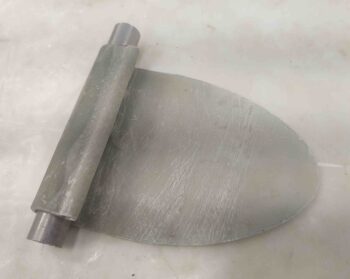
And a shot with a test 1/2″ bar inserted into the clip. This bar is the same diameter as the crossbar at the aft end of the hinges.
I then installed the clip on the hinge crossbar.
It fit well, so I pressed forward with my nose hatch hinge install plan.
By this point the inboard layup on the nose hatch hinge tabs had cured. I pulled the peel ply and cleaned up the overhanging glass.
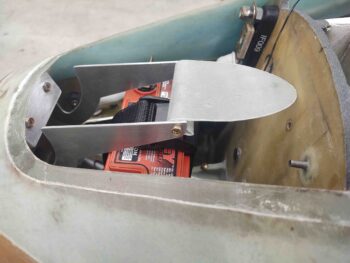
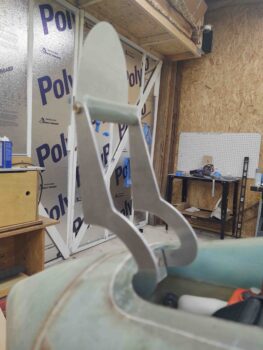
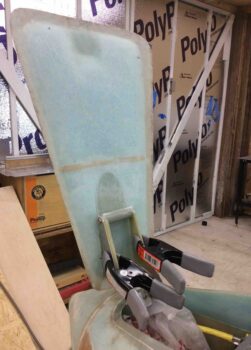
I then used clamps to position and hold the nose hatch door to the hinges.
And test the operational geometry of the nose hatch door and hinges… which I’m happy to report was excellent! (Again, a big shout out to Mike Toomey for his advice on the hinges!)
I then 5 min glued the hinge clip tab to the underside hatch door surface and the tube part of the clip to the top (as situated here) of the nose door hinge tabs (I had previously cut circular notches to match the OD of the tube part of the clip).
I gave the “5 minute” glue a full hour to cure while I engaged in other shop shenanigans. About every 10 minutes I would cycle the door from open to closed, and vice versa, to ensure that the pivot geometry and alignment was still good.
I then removed the nose hatch door with the hinge crossbar clip secured in place via 5 min glue.

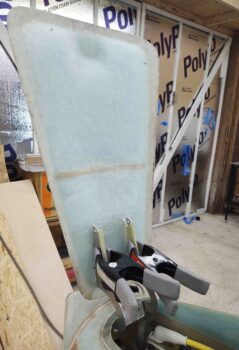
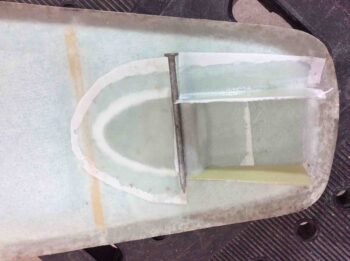
I then did 3 layups: starting first with a ply of BID over the hinge crossbar clip’s aft semi-circular tab.
Next I laid up 1 ply of BID on the outboard right hinge tab (top in pic).
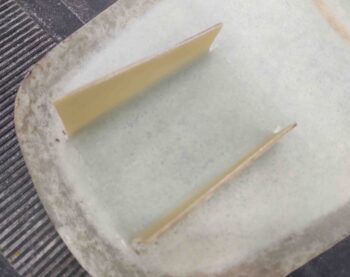
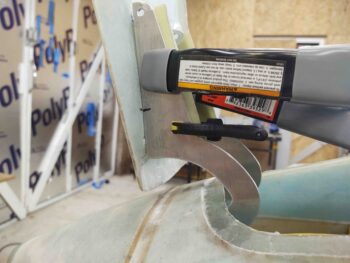
Lastly, I filled in the narrow gap beneath the hinge crossbar clip aft semi-circular tab with a a mixture of wet flocro. Then on the front corner at the junction of the exterior clip tube and the nose hatch door surface I created a fairly large flox fillet. I then glassed in 2 plies of BID from the clip tube near the top and overlapping forward onto the nose hatch door (onto the previous inboard 2-ply layup between the hinge tabs).
I employed the thick heavy nail again to weigh down the peel ply and keep the glass on the top of the clip tube pressed against it.
I then closed up shop for the night and left these layups to cure.