
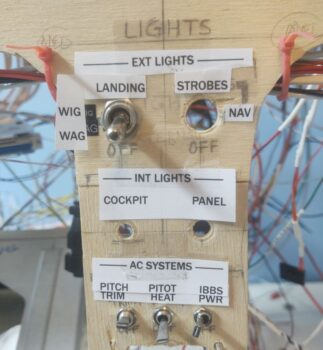
After I posted last night’s blog post I went back to an email my buddy Dave Berenholtz sent me that contained a bunch of good info that he compiled regarding instrument panel labeling. The boiled down info is that there are essentially 4 accepted fonts (and their differing variants) for panels: Helvetica, Futura, Arial and Franklin Gothic… the first 2 used by NASA.
I played around with Helvetica and Futura for a bit, and then tried out what some of the bubbas on the VANs Air Force forum recommended: Arial and Franklin Gothic. The VAF info also recommended 12 pitch font. I noted Franklin Gothic looked better not bolded, but the size seemed smaller than the others so I bumped it up to 13 pitch. I played around a bit more with all of them, but I kept coming back to Franklin Gothic as my label of choice. And also un-bolded at 13 pitch. I printed out a quick sheet and cut up the labels just to check font size. I’m really liking what I’m seeing so I plan on sticking with this one (thanks for the info Dave, very helpful!).
I went out to the shop and decided to quickly knock out rounding the corners on the nose hatch door hinge tabs. I marked the radius using an AN970 washer.
And then trimmed the corners with the Fein saw. I then hit each corner with the sanding block and called this task good.
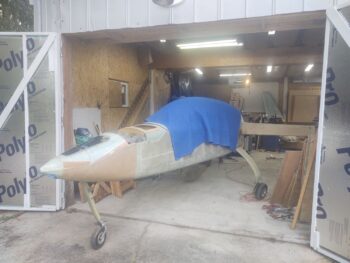
I had to run out to an auto parts store to finally get the correct color trunk paint for the interior nose. Upon returning, I pulled the fuselage out in front of the shop. Luckily it was another nice warm day.
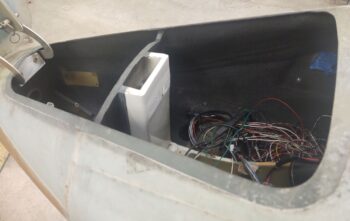
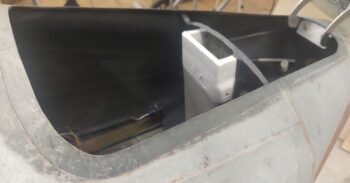
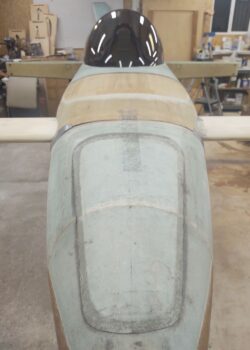
Here’s the nose interior a bit later. Although the front battery compartment and the NG30 area compartment are painted 2 different colors, unless we’re getting really technical they look pretty darn close to the same. I finished up with hitting both compartments with a couple coats of matte clear coat in the upper areas where tools or hands might rub against or ding the sidewalls.
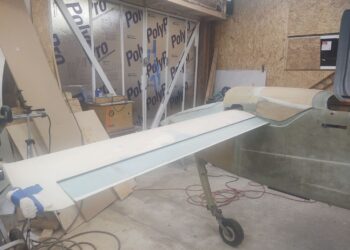
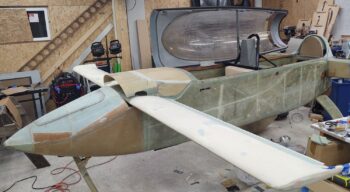
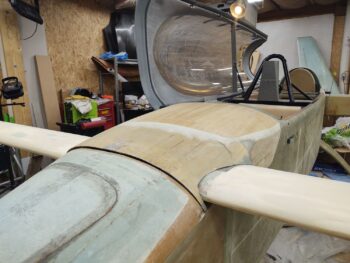
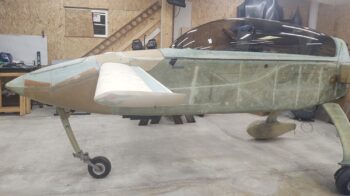
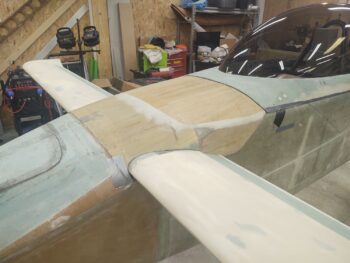
I then mounted the canard. I have to say I was pleased that all the bolts went in without much fuss.
As a point of note, this is the first time the canard has been installed on the plane since the upper nose and canopy are in place.
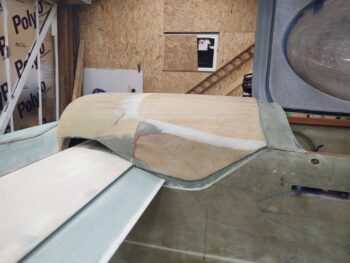
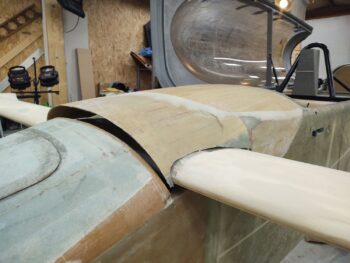
I then set the aft nose/avionics cover in place and got to work dialing it in to fit over the canard.
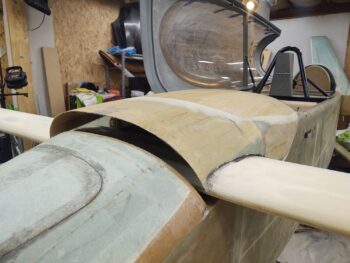
Here we have the untrimmed, unaltered aft nose/avionics cover.
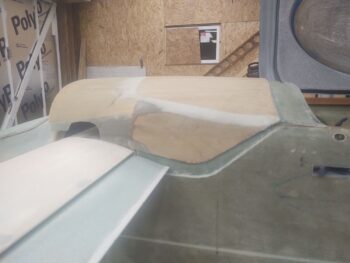
You can see from the front there is quite a large gap.
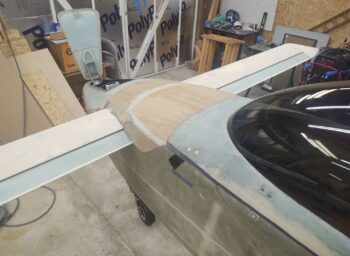
Here are the successive rounds of trimming I did. The pics below show 5 rounds, but I missed one set of pics, so it was actually 6 total rounds of trimming with the Fein saw.
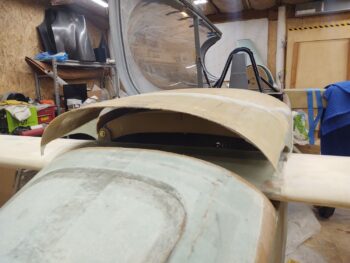
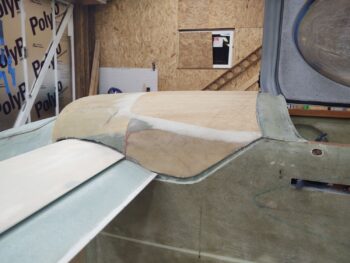
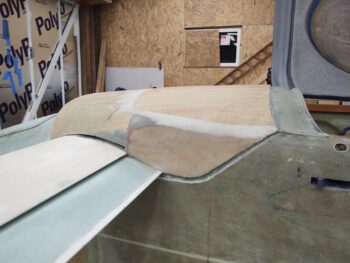
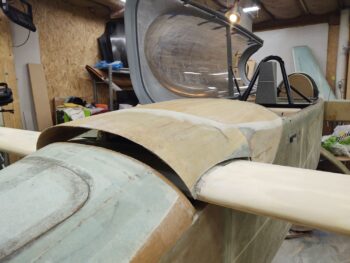
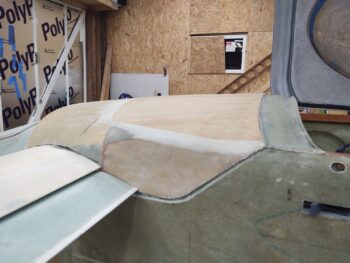
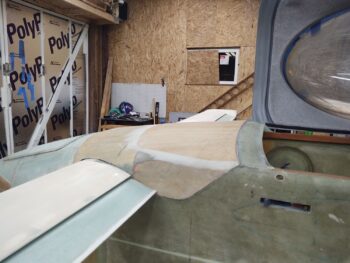
I ran out to grab a quick bite to eat, and when I returned I dialed in the rest of the aft nose/avionics cover fit onto the canard pretty much by hand. After another half hour I was very close.
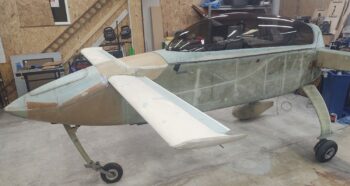
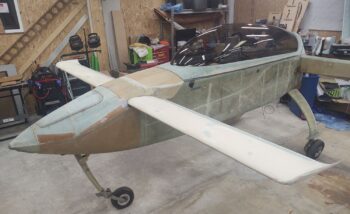
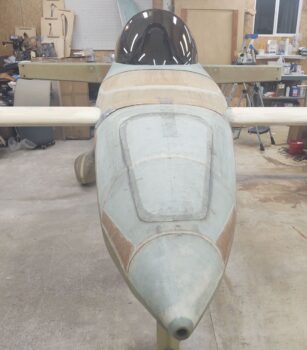
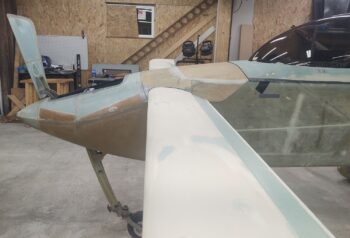
The following are just a bunch of pics of the canard installed for the first time with the nose, aft nose/avionics cover, and canopy all in place.
A side profile shot.
A couple more shots.
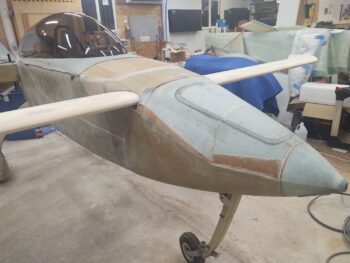
Some head-on nose shots.
A closer in shot…
And a couple shots with the nose hatch open:
Tomorrow I’ll start working the nose hatch door latch in earnest, and the aft nose/avionics cover attachment points as well.
What’s with the big hole in the tip of the nose?
Swing down taxi light. I have it removed while painting. Either that, or the nose hatch! haha ;)