
Since I didn’t have enough BID on hand to glass the canopy, I made today all about finishing up as much as I could on the nose.
I will say that –except for 1 external ply of BID (or perhaps 2 plies of UNI) and 3 BID tapes– the nose structure is FINISHED!
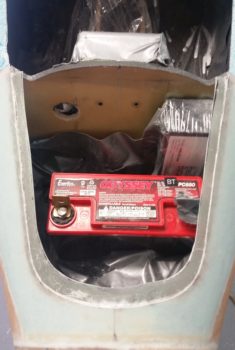
I started off the day with a quick check to see how the battery fit inside the nose compartment. It fit like a champ and the only issue is the fact that to put the battery in or take it out I’ll have to remove the tool box. No biggie really.
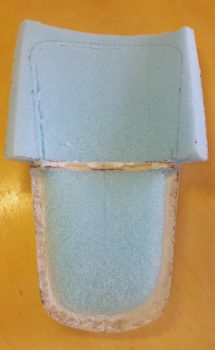
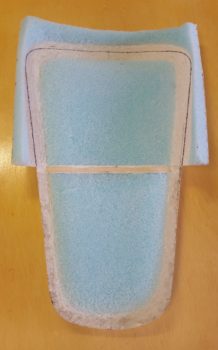
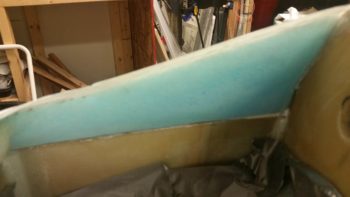
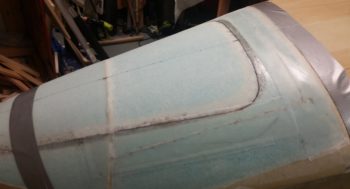
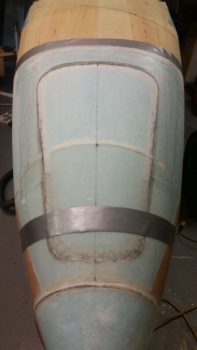
I then got to work on the nose hatch and the adjacent foam structure on the aft end that in reality is part of the nose structure of the aircraft, not the hatch’s.
I started off by identifying where the hatch outline was and then started cutting and digging out foam.
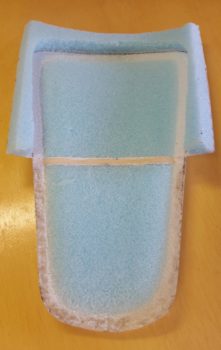
I got the hatch door cover side of the foam removed and the hatch outline door/opening line exposed, and some of the aft door foam shaped to match the front half foam. Note that I trimmed down the little mini-bulkhead that had been in place as a sort of a template atop Napster’s head.
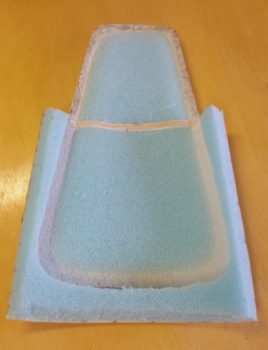
I really had some thinking to do and some decisions to make regarding the nose hatch, and specifically the adjacent foam structure…. as you can see, I didn’t leave myself much space at all to work with. I knew this going in after I had mounted the nose sidewall pieces into place in the area between the intermediate bulkhead and Napster, but I thought it would be tight, but workable.
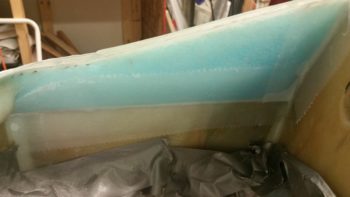
I considered cutting the bottom of the nose sidewalls to allow me to have a flatter approach on the nose side of the foam adjacent to the hatch door. But then I asked myself why?
A few mental walk-throughs with the hatch assembly in hand told me that the only operational impact that having steep sides adjacent to the nose hatch door was that it looked different than the convention. I could still make the steeper sides work, and I wasn’t impinging on anything within my nose. Not to be Mr. Snarky, but I realized the only thing I would be impinging on is the standard that I’ve seen on a lot of canard nose hatches. So, I pressed forward!
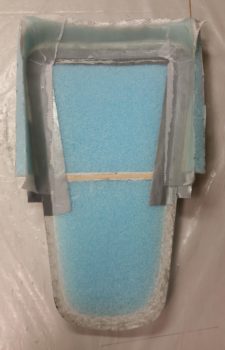
Now, the edge of the hatch opening on nose side in the few inches just forward of the rounded corner is fairly narrow, around 0.2″. So I decided that instead of laying up the glass in an “L” shape coming off the sidewall, and trying to get a good glass-to-glass bond at the inside corner of the “L” shape, that I would just layup 2 flat strips of BID first with the edge of the glass nice and snug up to the edge of the foam. Then I laid up 2 plies of BID coming off the foam side wall in a standard “L” shape. Along the aft side of the nose hatch I went the standard 3 plies of BID and then in the corners I added an extra ply that overlapped quite a bit both inwards and forwards, giving the narrow edge areas an extra ply.

I then of course peel plied the layups since these edges will get BID tapes to secure them to the interior walls of the nose.
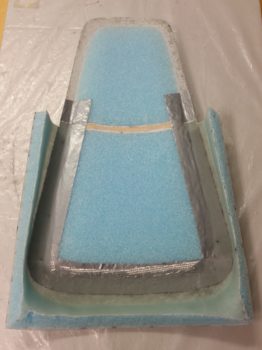
A number of hours later, I pulled the peel ply and cleaned up the layup. The layup looked good and I felt confident that it was cured enough to get reinstalled into the nose.
However, to give the glassed nose hatch assembly just a little bit more time to cure, I then got to work laying up the BID tapes in the nose battery compartment. As I mentioned at the beginning of the post, knocking these out would knock one more structure to-do item off the list in getting the nose pert near done.
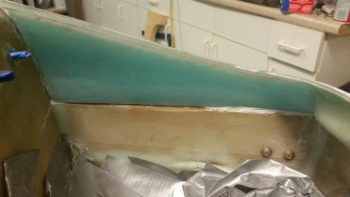
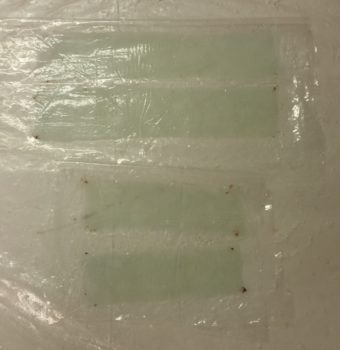
Here’s some before shots of each side inside the nose battery compartment.
I then cut some glass and set up some prepreg assemblies for the BID tapes. I then mixed up some epoxy and wetted out the glass.
After applying flox fillets in the corners and filling some gaps in the seams, I then laid up the BID tapes. I then peel plied the BID tapes and left the layups alone to cure.

After finishing up with the BID tapes, it was time to micro, flox and glass the nose hatch and adjacent structure back into place in the nose. I used micro on the foam and flox in the small seam on each side of the hatch on the aft side of what would be Napster’s ears.
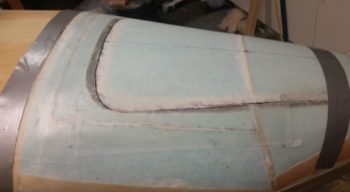
I then laid up a 1-ply BID tape on the top and each side of the hatch door adjacent structure (plug) that had been removed along with the nose hatch door . . . the layups overlapping onto the nose skin of course. I then peel plied the layup in preparation for the one final layup that the nose will get.
Tomorrow I’ll cut out the nose hatch door to check how everything looks inside, but that’s pretty much it since I’ll be in full on packing mode for the next haul down to NC (I did a bit of prep today, but no real packing . . . so gotta get on it!)