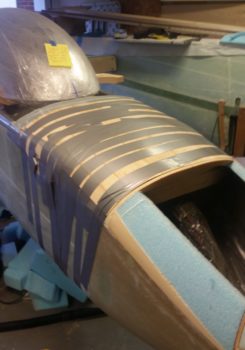
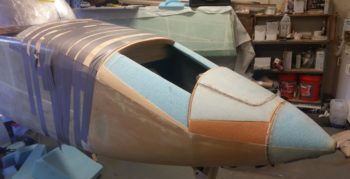
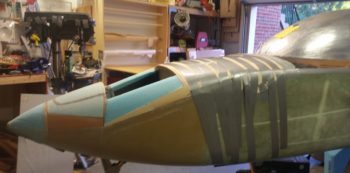
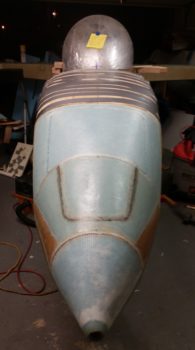
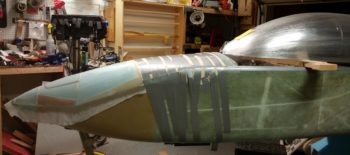
That’s right folks, the nose is glassed!
At least the initial round…. with another round or two of glassing to follow.
I started off the day by taking a piece of paper and drawing a line down the center horizontally to create 2 panels. On the top I drew out my front nose layup and all the associated tasks for completing that layup. On the bottom I drew out the aft nose cover layup/construction and all the associated tasks for that endeavor. Then, with it on a clip board downstairs I added a a few more points to watch out for and another few tasks as I was thinking about my upcoming layups as I cleaned and organized the shop.
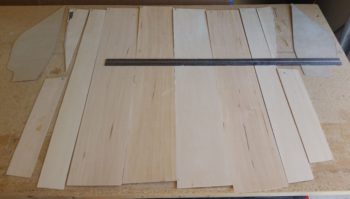
Down in the shop, I started by laying out my thin Basswood and Birch plywood strips in an organized manner off to the side.
Like I mentioned above, I then spent about 30 minutes cleaning and organizing of the shop. Wanna start fresh, right?!
With the glass cutting table cleared off I then cut all the BID required for the foundational underlayment for the wood strips above that will make up the aft nose/avionics top deck cover. As a point of note, the glare shield structure will get another ply of fresh BID to tie it into the wood strips/cover structure that will get laid in over the fresh BID.
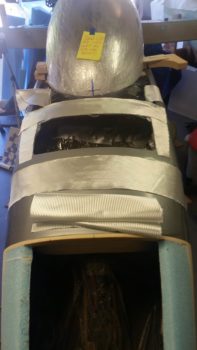
I then laid up all the glass on top of the protective duct tape barrier/mold releases I taped up last night.
Now, here I should have been a bit better on the uptake QA (Quality Assurance) wise and even noted my error in my blog last night when I was discussing getting the tape applied only 1 ply thick where I could. My plan –that I did not follow for some reason– all along was to apply at least 3 plies of tape on the sides of the fuselage where I made the depressions. So, I’m thinking the cover is going to fit a bit too snugly when I put it back in place once remove it… nothing that some sanding won’t remedy, but shows what lack of foresight and not following your own plan gets you: wasted time. Still, better to be a bit too tight in this scenario than too loose!
Nonetheless, as hairy going as it went for a while (with me thinking ‘who’s crazy idea was this to put all these damn wood strips on here?!’) herding cats with all the wood strips going off in different directions, I finally wrangled them all into some semblance of order and strapped them down like nobody’s business!
A bit of irony is that I would have used the thick Gorilla duct tape (as I had mentally planned to do) on the sidewall depressions for added thickness on the mold release, but I ran out of it using the really long strips I needed for more holding (“clamping”) pressure of the tape to keep the considerable pressure I needed on the wood strips –especially at the corners– in place. The 3M duct tape worked good for the 2 spots that I used it, but I’m thinking had it had to carry the entire load of keeping the wood structure in place, this would be an entirely different report altogether!
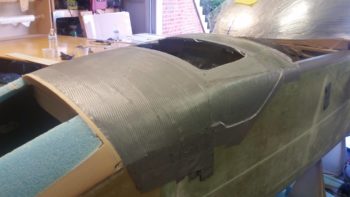
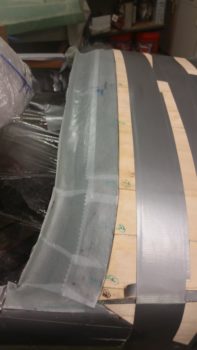
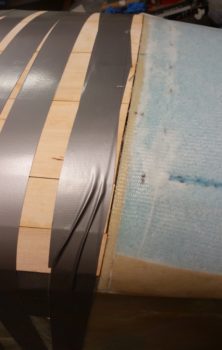
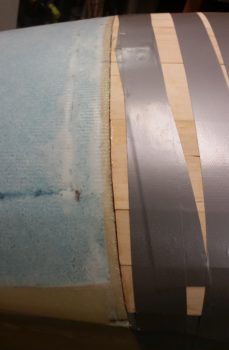
Here’s a shot of both the freshly re-glassed glare shield and the aft edge of all the wood strips, that when combined together collectively make up the cover-side raised break line interface with canopy skirt.
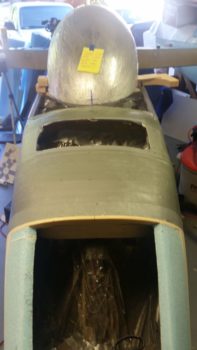
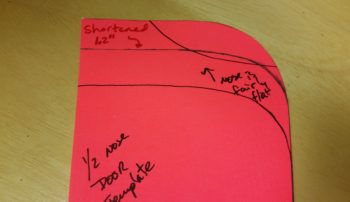
With the aft nose cover curing I then set my sights on the front half of the nose. I spent some time assessing the nose hatch and the required components that would be mounted in, near and around it. I realized that with the nose hatch latch installed, along with the hinge mounts for the aft nose/avionics top deck cover, that I just didn’t have enough nose real estate on the aft side of the hatch. In short, the hatch was just too long and was eating up too much precious real estate on the inside of the nose in the area between the hatch and the aft cover. I simply had to shorten the hatch length.
I spent another 10 minutes assessing the space required, and then ascertained that if I lop of 1.2″ off the aft end of the hatch that I could most likely squeeze all I needed to in the area between aft cover and front nose hatch.
I then got busy glassing the front side of the nose.
After the requisite sanding down the edges of the existing glass for smoother glass transition, and angling the sides of Napster just a hair, I then micro’d/floxed the battery compartment/front hatch structure into place.
It’s always a point of amusement, or at least interesting I guess, that the majority of the glassing process is applying the micro to the foam surface! It’s amazing how long it takes compared to the actual process of putting the glass in place and wetting it out . . .
Nonetheless, rest assured micro was applied to all bare foam and then I laid up 1 ply of BID on the entire forward nose structure, overlapping onto the existing glass the requisite 1 inch.
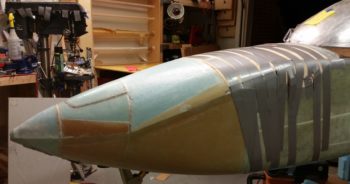
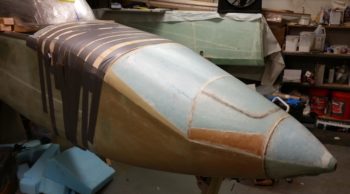
I grabbed these shots from both the left and right sides of the front nose vs aft nose cover intersection. This will be the one visible line that traverses across the nose other than the nose hatch door outline.
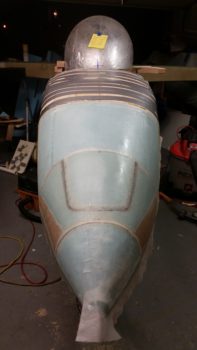
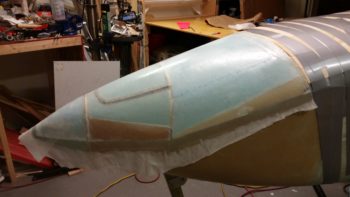
I then peel plied the entire forward nose layup. Earlier I had considered laying up the 2 plies of BID prior to cutting out the nose hatch, but then decided against it since that would then require using only BID tapes to re-secure the aft nose hatch structure when I glass it back into the nose after creating the interior nose hatch perimeter on the underside/interior of the nose structure. Nope, as much as I don’t like splitting up layups, the nose was getting only 1 ply of BID at this point…. so peel ply it is.
A couple more side shots of the peel plied forward nose layup.
And a wide angle shot showing the profile of the nose. I really am loving the shape of this nose, and it’s incredible how long and narrow it looks without the canard installed to break it up.
As I let the glass cure on both the front and aft sides of the nose, tomorrow I will be focused solely on the canopy and will try to knock as much as that out as I can over the next couple of days. Monday I go back into packing mode to prep for hauling another load of stuff (a BUNCH more airplane stuff this time around) down to NC.

