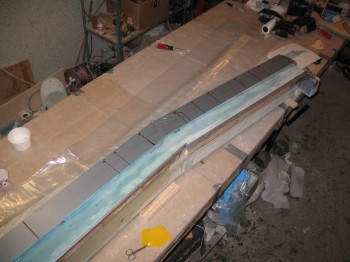
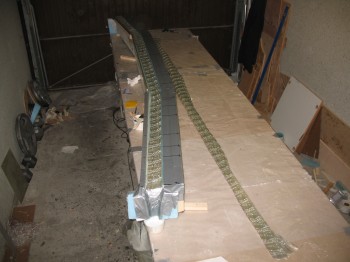
Today I removed the peel ply from the CS spar bottom spar cap trough repair layup… it looked good.
I sanded down the spar cap trough & cleaned up the peel ply goobers.
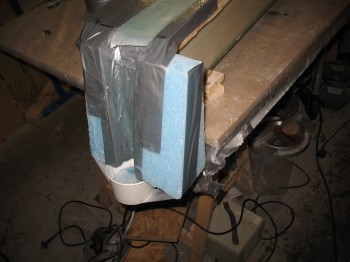
I then used 1x2s for the lower spar cap Outboard dams, and because I’m cheap (and slightly retarded) I reused a recycled piece of 1/4″ ply from the top spar cap layup for the center dam piece. I bondo’d the dam pieces to the CS spar for the lower spar cap layup.
I did a final sanding & cleanup of the lower spar cap trough & vacuumed the entire layup area. I taped the foam adjacent & lying next to the spar cap trough & then marked the BLs for the individual lengths of 3″ UNI tape that would be glassed into the spar cap.
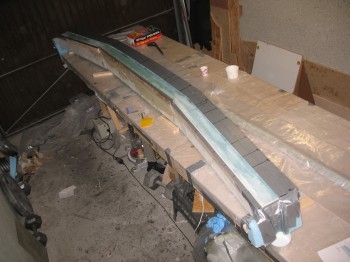
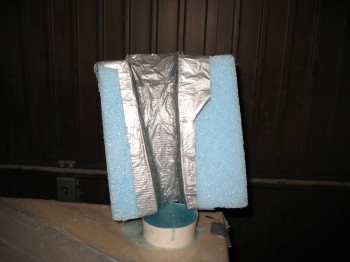
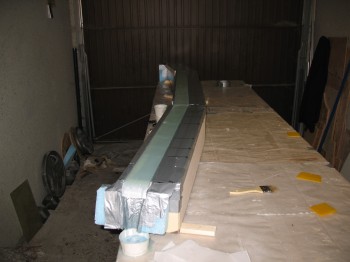
I mounted the epoxy runoffs on each of the spar and repositioned the spar lower & secured it in place. I needed it lower because hours & hours of glassing these spar caps will give you carpel tunnel & make your hands numb from the odd position they’re in while glassing.
I floxed the front of the channel again just like I did on the upper spar cap, before laying in the 3″ UNI tape. I then glassed the lower spar cap. I started around 8:30 pm & finished at half past Midnight (4 hours).
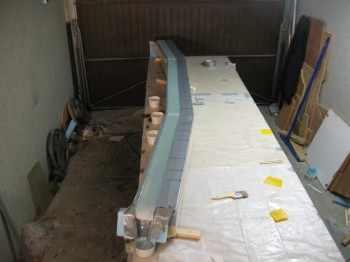
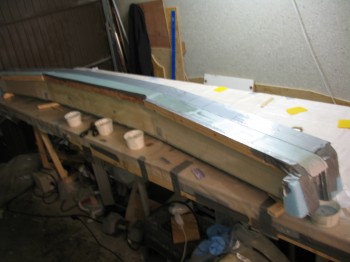
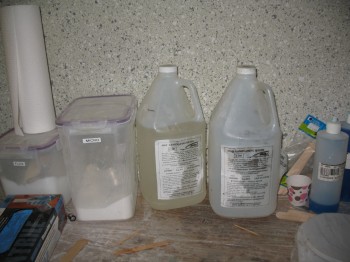
I peel plied the spar cap and called it a night. Below is the total amount of epoxy I have left from the huge container I bought in May. So far, I’ve used about 8 gals of epoxy since I’ve been in Germany.