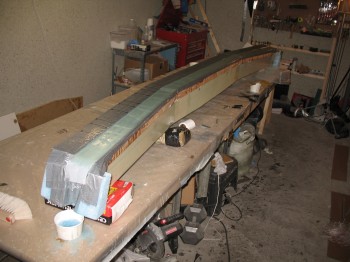
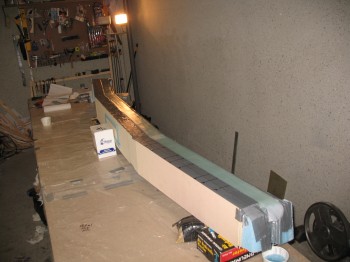
I cut & sanded the glass overhanging the edge at the end bulkheads using the Fein saw. I hit the edge with a sanding block & cleaned them up nicely. I then pulled the peel ply off the cured CS spar shear web layup. The layup looked good.
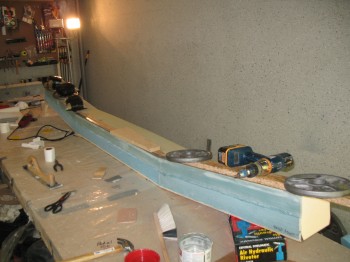
I cut up a bunch of the 1/4″ ply that had been used as the “sled” for the fuselage bottom to use as dams for the top spar cap layup. Just like the wing, a dam is required to keep the 3″ UNI tape in place as it’s laid up. Unlike the wing, which only required a dam for a small section of the spar cap channel, the CS spar spar cap sits on the entire aft edge of the spar–one on the top side & one one on the bottom–so it requires a dam the entire full length of the spar.
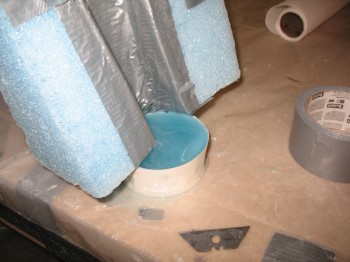
I then bondo’d & weighed down the dam sections into place.
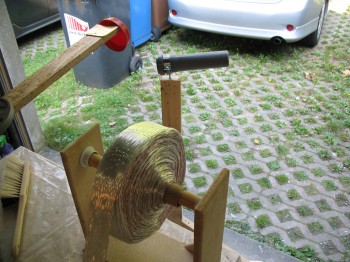
I cleaned off the table & then grabbed my 3″ UNI tape dispenser. Due the large number of cuts I need to make, I threw my UNI tape onto my table top peel ply dispenser. The CS spar caps take A LOT of 3″ UNI tape, the top a fair bit more than the bottom. It makes sense of course since the spar holds the wings onto the fuselage.
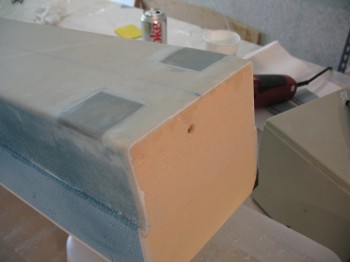
Once the bondo on the dam had cured & I had all the 3″ UNI tape cut, I thoroughly sanded the spar cap trough.
I vacuumed the spar cap trough & all the foam, and then taped up the edges of the foam lying next to the spar cap channel.
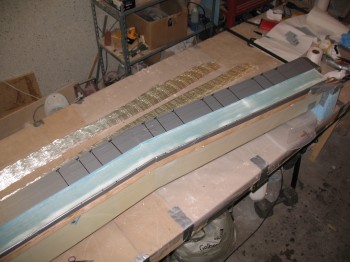
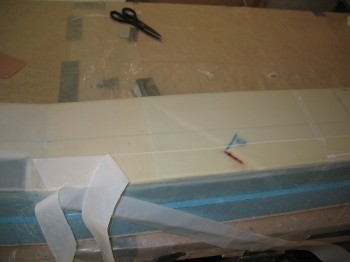
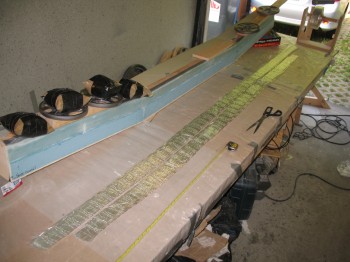
In preparation for laying up the spar cap, I measured & marked the BLs for each length of 3″ UNI tape. The top spar gets a few full length pieces, and then they start to get successively shorter in pyramid fashion. And just like with the wings, the warning in the Canard Pusher Newsletter mandates to test the cured thickness of the 3″ UNI tape being used, and add plies if it cures too thin. The test I did before I glassed the wings showed my 3″ UNI tape was too thin, so I’ve added a number of lengths of 3″ UNI glass here as spelled out in the plans change.
In wetting out the spar cap channel before glassing, I didn’t like the significant gap that was present along the outside dam edge, due to the radiused corner (although it was only about 1/8″) of the foam when the shear web got glassed. Even though it meant a little more weight, I lined that edge with a flox fillet to keep the layup even & intact, and to ensure the edge would cure strong. I also added some flox along most of the inside foam edge as well since I had it left over.
I spent hours & hours laying up the CS spar top spar cap (I want to say start to finish was literally over 10 hours).
The pics don’t do it justice, and it seems like so much epoxy should NOT be wasted and should be able to be reused. I did actually reuse a ton of epoxy, but it just takes so long to prep, wet out, layup & squeegee one length of 3″ UNI tape, that by the time you get around to even attempting to reuse most of the epoxy, it has already started turning gummy & gloomy (even with a hair dryer… which I fried BTW!)

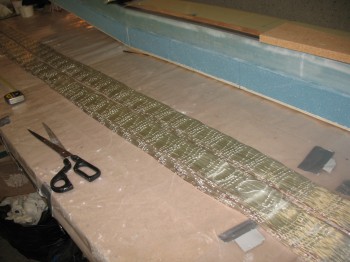
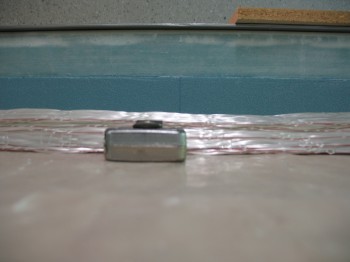
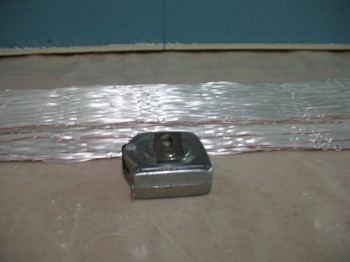
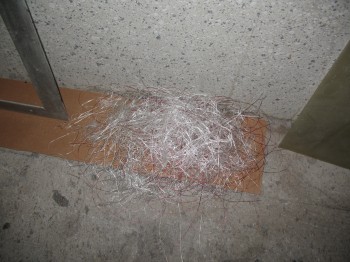
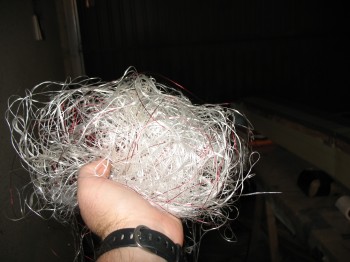
The pics below give a decent idea of the shear amount of volume of 3″ UNI tape that was used… below is just the pile of roving string & red side strings that get cut in multiple places and then carefully pulled & extracted from the 3″ UNI tape so as not disturb & completely jack up the fibers in the glass tape. The only thing that remains after these are removed is the long fibers of UNI… a good majority of them running 10 feet in length.
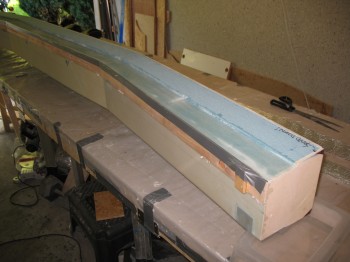
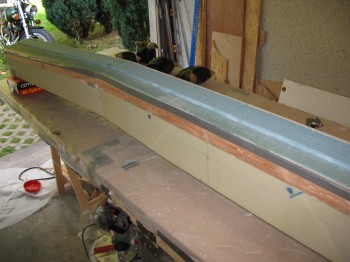
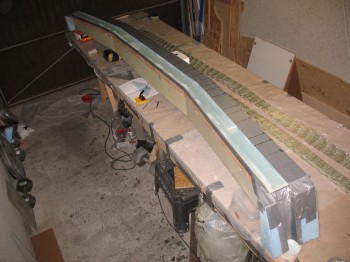
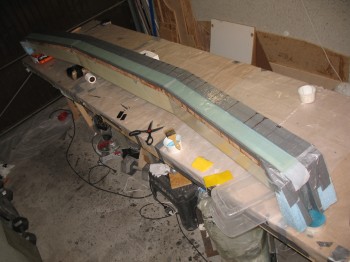
 Finally, below are some shots of the completed & peel plied upper CS spar cap.