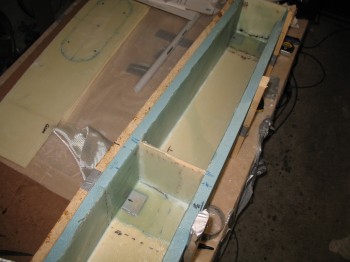
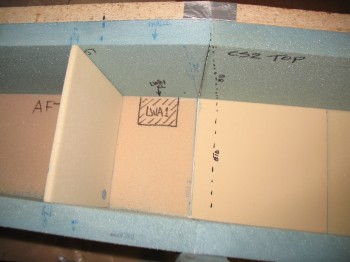
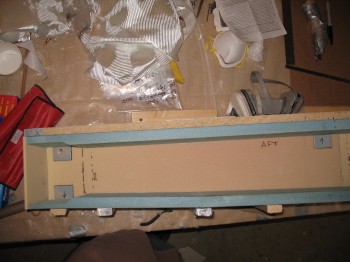
I marked up where the Outboard aluminum extrusions (LWA1) will go (on the inside of the spar box).
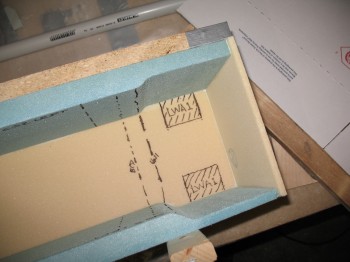 I then marked up where the Inboard aluminum extrusions (LWA1) will go (on the inside of the spar box).
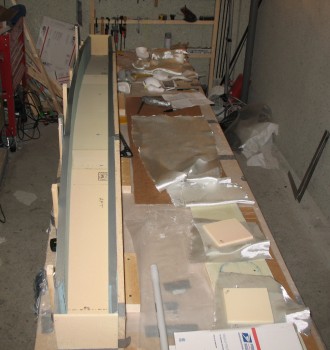
Below is a shot of all the aluminum extrusions on the Right-hand side of the CS spar. The extrusions will sit at the back of spar box & align with the aluminum extrusions on the Right wing. A 5/8″ hole will get drilled through all the extrusions at each of the 3 hard points, and 3 large 5/8″ wing bolts will hold each wing on.
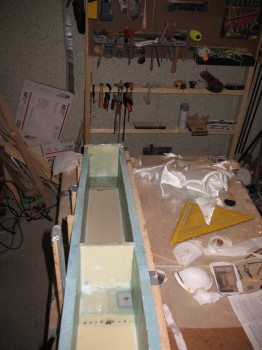
I pulled the 1″ peel ply off the CS spar front face pieces (yellow foam/CS4) & then cut the edges smooth with the “Fein” saw.
Another mod I found somewhere, I don’t remember right now (It may have been a Marc Zeitlin or Vance Atkinson noted mod from the Cozy world … but don’t quote me), is installing a permanent plastic conduit between the outer end bulkhead and the interior bulkhead on each side, about 1″ round in diameter, as an electrical wire/antenna cable conduit. So I cut & played around with some nice, thin lightweight conduit I picked up at the Aviation Dept at Praktiker (German Lowes). You can see a bit of the grey thin-walled conduit–much thinner than PVC pipe–in the pic below at the bottom.
I made 4 each ~4-pound sandbags to use during the remaining build projects.
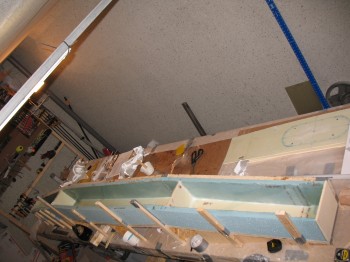
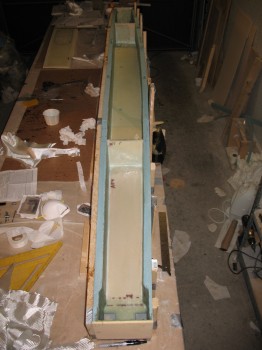
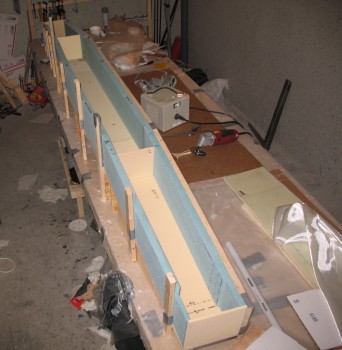
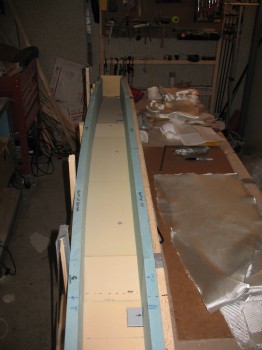
I cut BID for the spar box & individual pieces for all 4 bulkheads. I then sanded down the joints between middle blue foam pieces & the outer foam pieces to align them.
I vacuumed the inside of the spar & then taped off the front of the blue PVC foam.
I spread dry micro as a fillet in the corners & microslurry on the large foam “fields.”
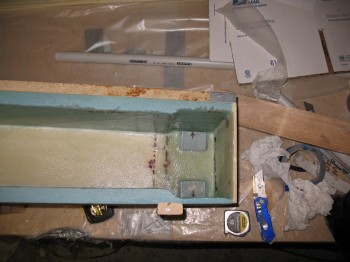
I then glassed Layup #2, which is the whole interior of the spar box (technically 3 individual compartments with the 2 interior bulkheads) with 1-ply of BID.
I glassed Layup #3 which is a staggered 3-plies of UNI over the interior aluminum extrusions. That then gets covered with 1-ply of BID.
I then glassed Layup #4 which is essentially the same as Layup #3, but since the aluminum extrusions are opposite sides of the back foam wall (top & bottom when on the plane, front & back as it lies on the jig), the 3-plies of UNI cover both extrusions with a 1-ply of BID covering as the last ply for reinforcement.