
Today was all about getting the front left armrest and storage compartment hinged cover primed then painted.
I started by prepping the front seat area and storage compartment hinge cover for paint.
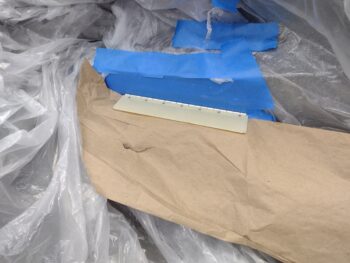
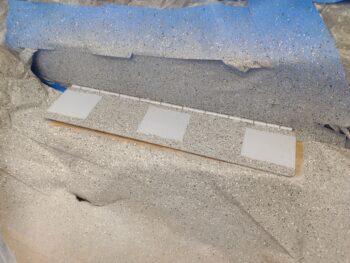
I hit the cover and hinges with a couple coats of light gray primer, before then shooting a few coats of the gray granite paint. I taped off 3 square patches where the velcro for the armrest pad will get attached to maximize adhesion by not having the velcro attaching to the lumpy granite paint.
After a few hours, when I opened the cover to ensure I didn’t paint the hinge permanently into the closed position, half the paint on the hinge tabs came off or bunched up into a pile. It looked really ugly so I just scraped off the hinge paint with my finger.
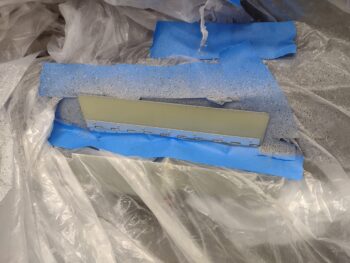
After a couple more hours of cure, I then applied dark gray primer to the hinge with a brush, just to have it blend in a bit more since the light gray hinge really stood out. Remember, 90% of this cover will itself be covered with the armrest pad. After another hour or so I shot a light and then 2 medium coats of clear onto the cover and hinge.

Here it is even later with the cover opened. It still scraped just a bit of the hinge paint off, but not nearly as bad as before. I’m calling this done and will remove all the tape and plastic tomorrow.
I had been working throughout the day on prepping the left front armrest for paint as well. I actually epoxy wiped the entire armrest with a single thick coat of epoxy and also filled a couple of divots with micro. About 5 hours later I sanded it down thoroughly, and shot it with a couple coats of primer.
About an hour after the last primer coat I taped up some areas (opening edges, label strip areas and velcro attach points) before hitting it with 3 successive coats of the gray granite paint. I have to say, for as nasty as the surface looked previously the results of this paint on this armrest came out very nicely.

In addition, I finished the main wiring on the oil heat sub-panel, but then had an issue with one of the mini-Molex connectors (not a huge fan of these… this is why!) and spent a good 45 minutes figuring out (note: not fixed yet) where the culprit is located. I was able to prove my circuit works, but I have to get to the bottom of this wonky connector connection before I can press forward. I seriously think I should have pics of all of it for tomorrow.
Pushing onward!