
I got back from my overnight Wilmington, NC trip late this afternoon and after a quick unloading and unpacking, I got into my work duds and headed for the shop.
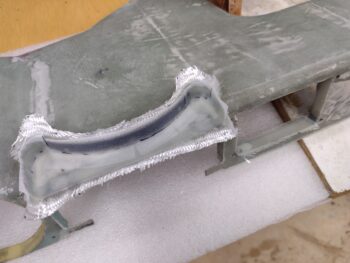
There I prepped the visible outside (technically inboard edge) foam and area of the throttle/ mixture friction lock pocket. I cut 2 plies of BID and after prepping the flox corners and wet micro on the foam I laid up and peel plied the 2 plies of BID.
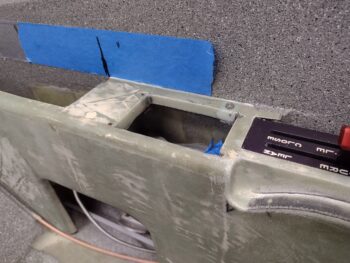
You can also see that I laid up a ply of BID on the outboard, inside edge of the oil heat sub-panel opening after inlaying some flox along the face there as well. Again, I don’t want these small cross pieces cracking with the repeated stress of me getting in and out of the plane.
Later in the evening I razor trimmed the layups, pulled the peel ply and cut the slot for the throttle/mixture friction lock. My fear of crowding the throttle mixture lever pretty much came to fruition as the lever was tight in the slot, as well as really tight getting the knob onto the lever… yep, the 2 plies of BID on each side is crowding the 0.040″ thick lever.
A good bit of aggressive sanding is in my future tomorrow to free up just a hair bit more space for both the lever and the handle knob.
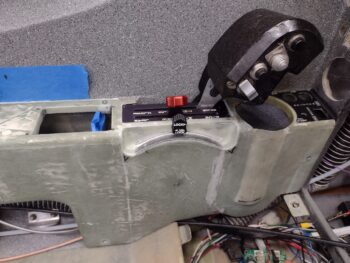
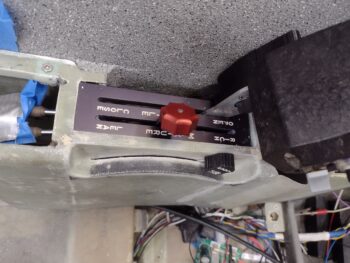
In fact, I actually cracked the 3D printed knob when trying to push the lever full forward and aft as it jammed on the vertical outboard wall of the pocket. You probably noticed I had painted the lettering on the knob… not sure if I’ll 3D print the next one with the lettering on it or not. It only took about 20 minutes to paint in the lettering, but clear-coated labels would look much better anyway if I was so inclined to really have the knob labeled.
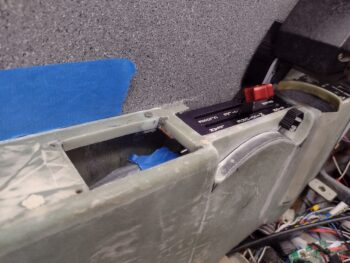
Here’s another shot of both the nearly complete pocket for the throttle/mixture friction lock handle and the also the newly floxed and glassed outboard edge of the oil heat sub-panel opening (now all 4 sides of this opening are floxed & glassed).
I’m comfortable now in knowing that the left front armrest has been reinforced enough to ensure that it’s robust enough to handle any stress put on it during me climbing in and out of the plane, etc. I do have some more reinforcement layups to complete, one being the tabs on each side of the throttle electrical cable channel… which is more cosmetic in keeping those secured level with the top of the armrest vs turning upwards at the slightest bit of pressure.
I also have one more armrest mounting bracket to mount and I’ll be done with the technical mounting of the left front armrest.
With that, my evening report is complete and I’m calling it a night. Within the next couple of days I plan on being done with the armrest proper: have it painted and in the finished column. As I’ve mentioned previously, I do plan on wiring up the oil heat sub-panel… with its specific Korry lights due to be delivered by mid-week.