
In looking at attaching the handle/knob to the throttle/mixture friction lock I realized that I just wasn’t going to be able to acceptable thin down the 2-ply BID layup that was inside the armrest pocket to provide the throttle friction lock push-on knob the clearance it required. I got a lot of the new glass knocked down, but I just wasn’t going to thin it down any more… I simply needed another way to attach the handle.
Well, PETG is pretty strong plastic, and even on my first iteration that included an embedded nut I had the hole threaded going through the plastic. I decided that over 3/8″ depth of threaded plastic will be plenty to hold this knob to the friction lock lever. But I needed the hole at the very top, which meant at least another 0.150″ more at the top of the lever to place the hole. This would give me access to slide the screw in —just clearing the top of the armrest— and thread it into the handle knob.
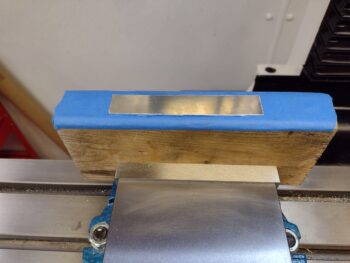
After modifying the design of the throttle/mixture friction lock lever in CAD, I cut another piece of 0.040″ thick aluminum off the sheet and prepped it for machining on the milling machine.
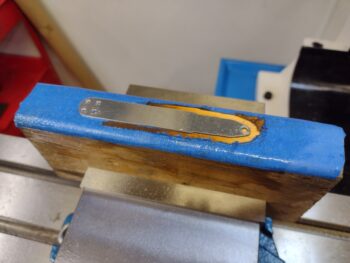
About 45 minutes later, Voila! A new throttle/mixture friction lock handle. Note that the handle knob attach hole is about as close to the top end as you can get. Also, I bumped the screw size down to a #8 vs #10.
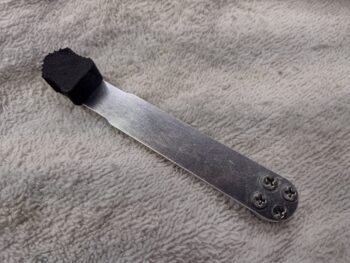
Here’s the new throttle friction lock handle setup. Again, I went back to screwing the top PETG plastic knob in place, but didn’t use the embedded nut… and relocated the hole as high up as I could get it to clear the top of the armrest.
I then mounted the new throttle friction lock. So far so good, but then . . .
I realized that although with a good bit of finagling I could get a Philips #8 CS screw into the lever top hole, the problem then became getting a good enough grip on the screw with a 90º screw driver to get it mounted. After a good 10 minutes I realized it just wasn’t going to happen.
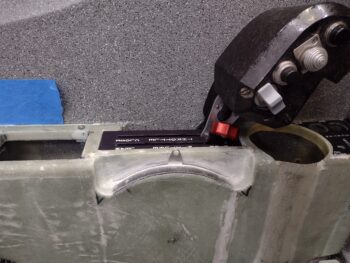
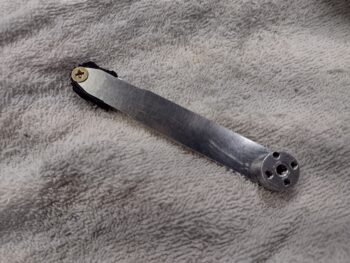
Thankfully, even though I made a wide countersink on the lever top for a #8 screw, I found that a #6 screw would still hold in that top hole. I have a bunch of SS hex drive #6 screws on hand, so I simply made the screw hole a smaller #6 thread in CAD and re-3D printed the knob. Bingo! It worked.
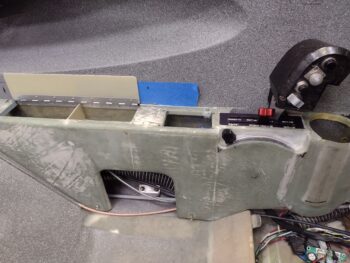
I then put it through its paces by moving it from aft end stop to forward end stop. I still need a good 0.1″ on each end to call the full pivot good, but much, much better and freer travel with both the external and inside BID plies sanded down thoroughly [note that I was assessing the functioning of the storage compartment hinged cover in prep for getting it mounted into place].

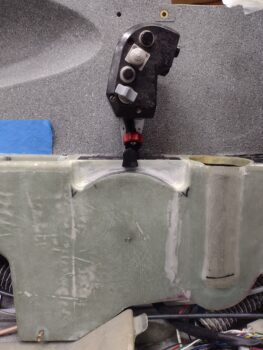
Here’s another shot of the new throttle/mixture friction lock handle in line with the mixture and throttle handle to show the clearance between them all.
I think I’ve finally found a final throttle/mixture friction lock handle mounting solution that will allow me to somewhat easily remove & remount the handle whenever I need to take the front left armrest off. This was kind of a curveball, and I didn’t plan on spending pretty much all day on it, but it’s done and I’m pressing forward!