
Unfortunately, this means getting back to work on the house to finish prepping it to sell versus the few hours I got to work on the plane build today before I left out for home.
I started off today in a failed attempt to follow the plans in using Bondo (aka “Builders Bog”) to set the C8 latch plates in place on the canopy hard points. I don’t know if the Bondo was too old or if the C8 surfaces were too smooth and shiny for bonding, but being in transition meant I had no Acetone or accessible mineral spirits to clean up the C8 edges for bonding.
Wanting to get these canopy tasks moving forward, I simply crawled into the cockpit and set the C8s in place one-by-one as I marked where they needed to be attached with a finer-tipped Sharpie. I then held up the C8 to its respective outline, adjusted for the Sharpie line width and then marked the holes for drilling.
I will point out that my C8 install is unlike the plans steps where you Bondo the undrilled C8s to the canopy hard points, then drill through both the attached C8 and canopy hard point in one step, to later then drill out and tap the C8 mounting holes. My install is different since I’m using Jack Wilhelmson’s Canopy Latch Kit which included predrilled and pre-tapped C8 latch pieces.
To ensure my alignment both in drilling the C8 mounting holes correctly spaced and C8 alignment in relationship to the C2-L latch hook –including proper clearance with the longeron– I started each C8 install by drilling one hole, setting the C8 in its proposed spot, climbing into the cockpit to check clearances & alignments, then remarking before drilling the second and final hole.
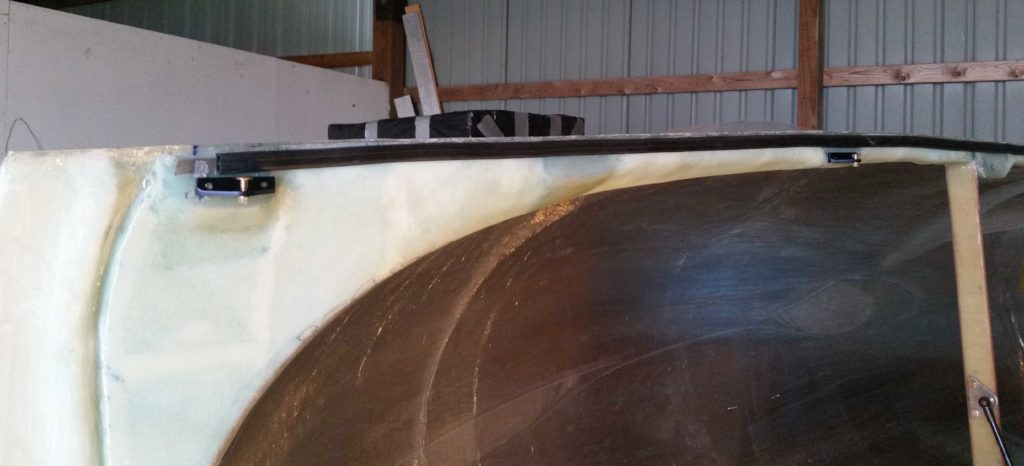
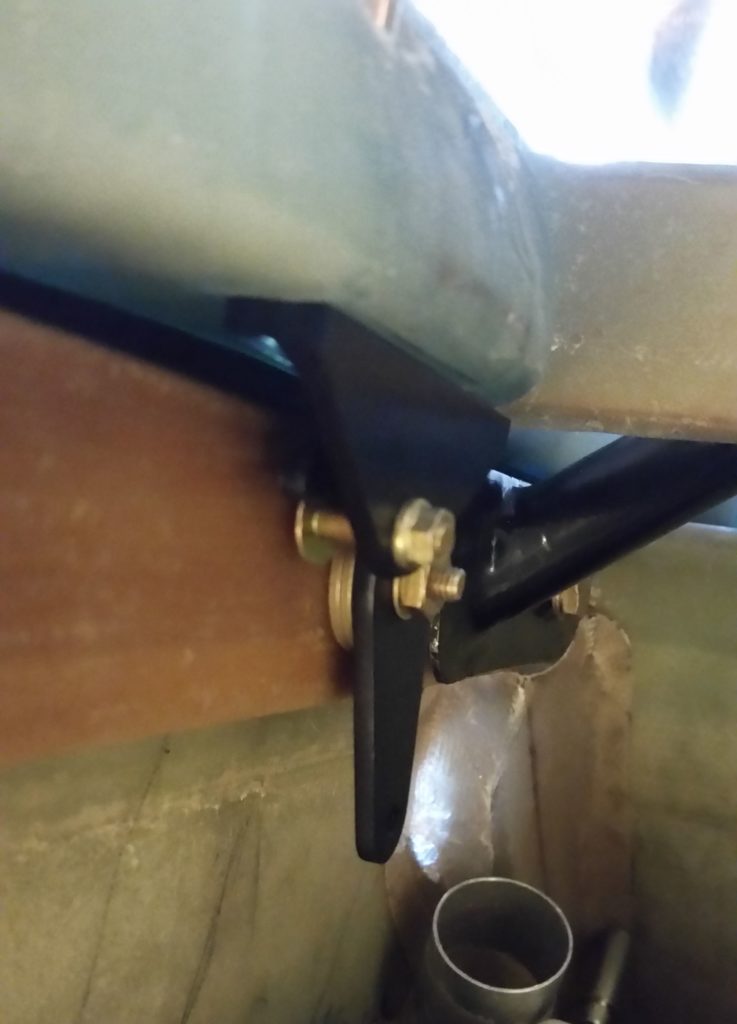
The C8 mounting placement on the #2 canopy hard point (just forward of roll bar frame) sits just under the actual embedded canopy edge, which leaves me no option to place the mounting screws either on the inside of the frame as I did with the aft two C8 latch plates (#3 & #4) below, nor on the external side of the canopy frame as I did with the very front latch plate (#1) . . . [Sorry, no pics this time of the exterior holes on #1].
I’m not surprised on the improvised method I’ll need to employ for C8 latch plate #2 install, since incorporating mods on an already-modified pseudo-French canopy install is going to call for some unique, out-of-the-box processes to complete.
The #2 C8 latch plate will thus get mounted by pre-mounting threaded pins to the C8 mounting holes and then floxing those pins and the C8 into place inside 2 holes drilled into the canopy hardpoint, much as we do on many other components of the build (elevator hinge plates, baggage pods, etc).
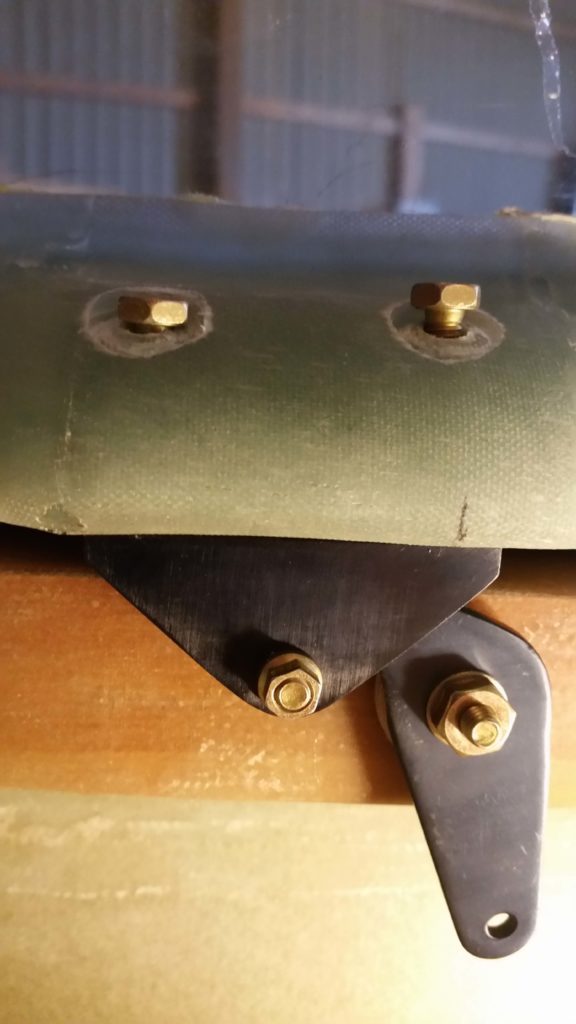
I have to say that I’m very happy with how the canopy hard points worked out for the aft pair of C8 latch plates spacing and configuration-wise.
My improvised method worked fairly well with only a couple minor SNAFUs.
First, with no proper drill bits on hand I stopped off at Harbor Freight and picked up a cheap set of bits. I mean, after all, I’m only drilling through fiberglass and foam. I have to say this was the worst purchase I’ve made at Harbor Freight, having used numerous drill bits from there before. I broke 2-3 drill bits literally within the first few minutes, and unfortunately one of these was in the forward hole on the #3 canopy latch hardpoint.
As frustrating as it is, I’ll have to punt on this #3 C8 install (below) and drill the broken bit out later with a good quality drill bit . . .
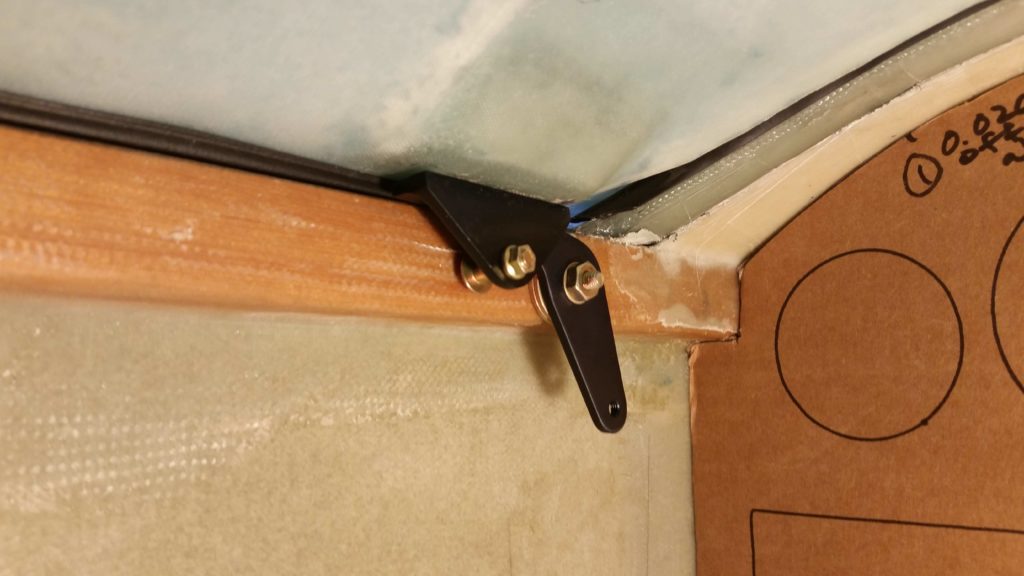
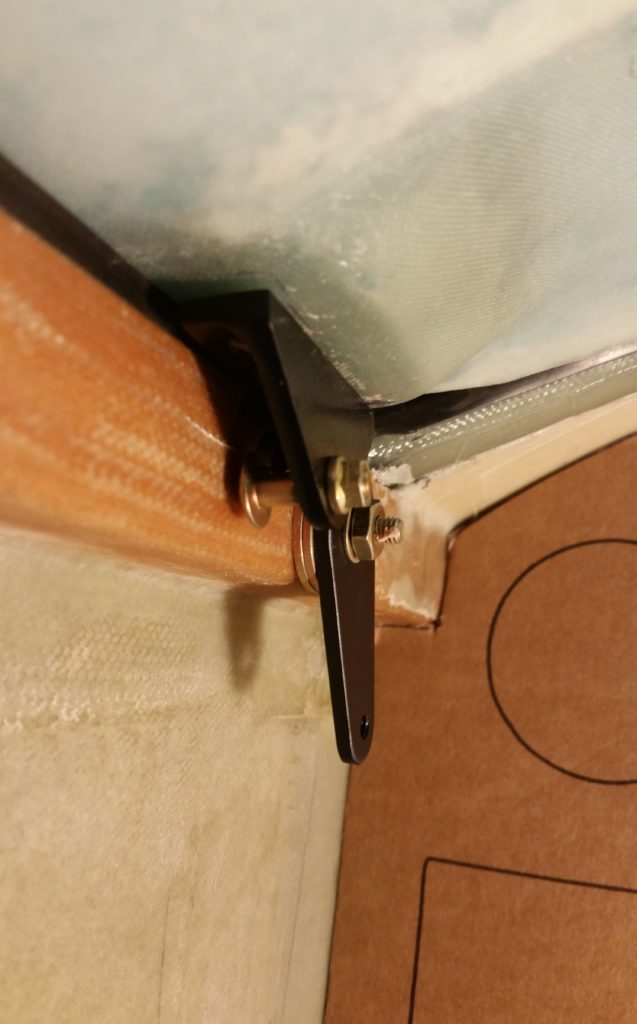
In addition, somewhat analogous to the countersunk screws required to attach the canopy frame to the canopy hinges… and my not having the correct lengths on hand when I needed them, so too did I not have all the correct lengths of button head screws required to install the C8 latch plates (again, this is not a standard plans canopy install). As you can see below I improvised with some AN bolts/screws I had on hand as I await the menagerie of button head screws to arrive from ACS.
Beyond some minor logistical and qualitative tool challenges, getting these C8 latch plates’ mounting locations nugged out was a big step. As with most things on this build, doing the initial install in any given area begins the iterative process of flushing out all the further required steps in acquiring correct parts, redos/repairs and prerequisite data collection for subsequent tasks.
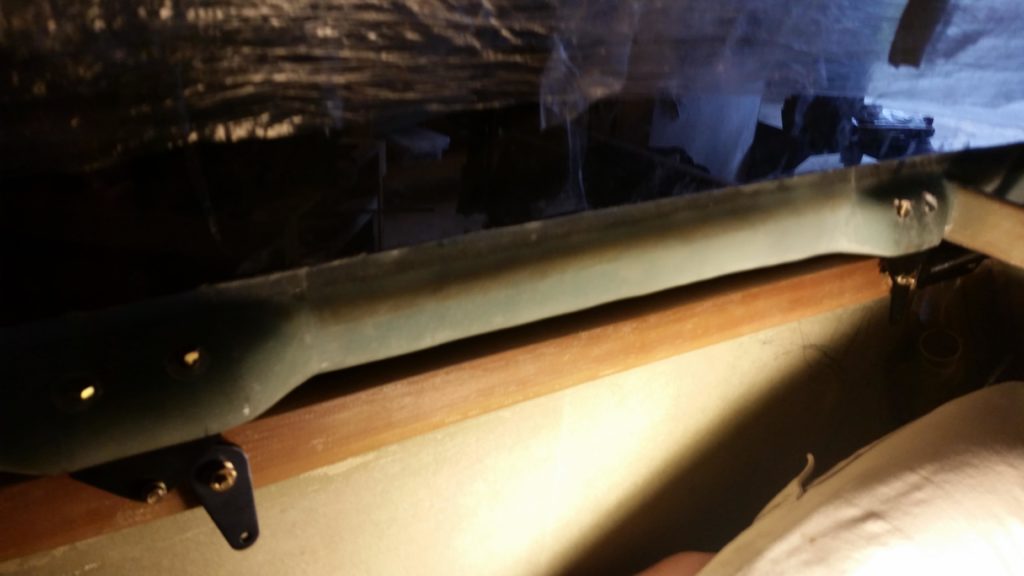
Here we have the aft pair of canopy C8 latch plates in place.

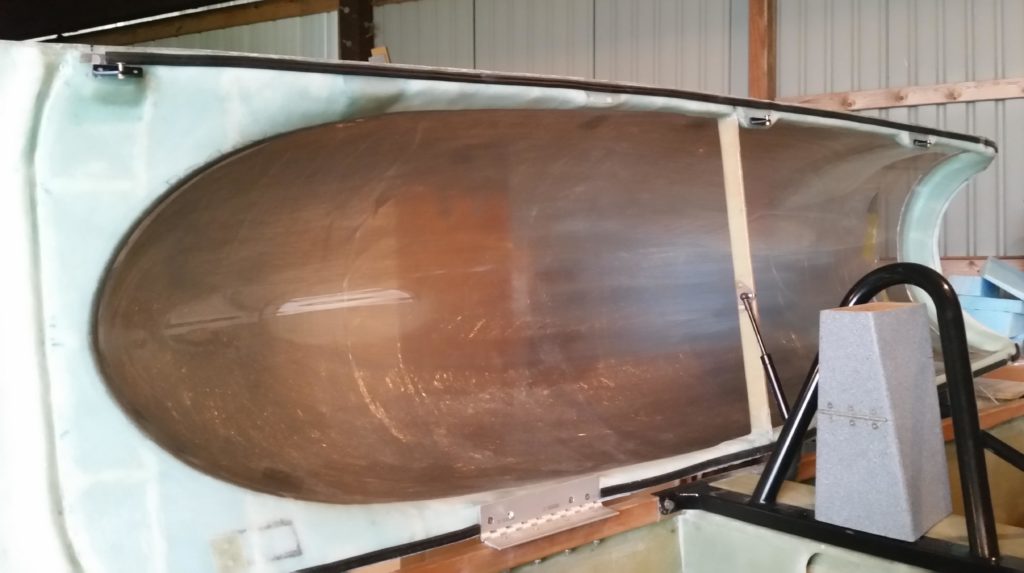
And here’s a shot of the #1, #3 and #4 canopy C8 latch plates in place.
Besides working on the canopy, I also performed some troubleshooting on the HUD with GRT Avionics’ tech, Mark, over the phone. Turns out there is a short somewhere in the system so I’ll be returning the unit so they can take a look at it and either repair it or replace it with a new unit.
Alas, this is the last of my plane building for at least a good 3-4 weeks. I will be working on some CAD drawings and possibly 3D printing a part here or there over the next few weeks, but my priority again will be on the house to get it on the market.