
Today I again focused mainly on the canopy latches to get them as far along as possible on this trip.
I started off by gathering up all the actual C2-L latch hooks, thin washers and standard nuts (to allow for removing the C2-L assemblies when it comes time to paint the longeron) and installing them onto the left longeron.
Here we have the front set of C2-Ls…
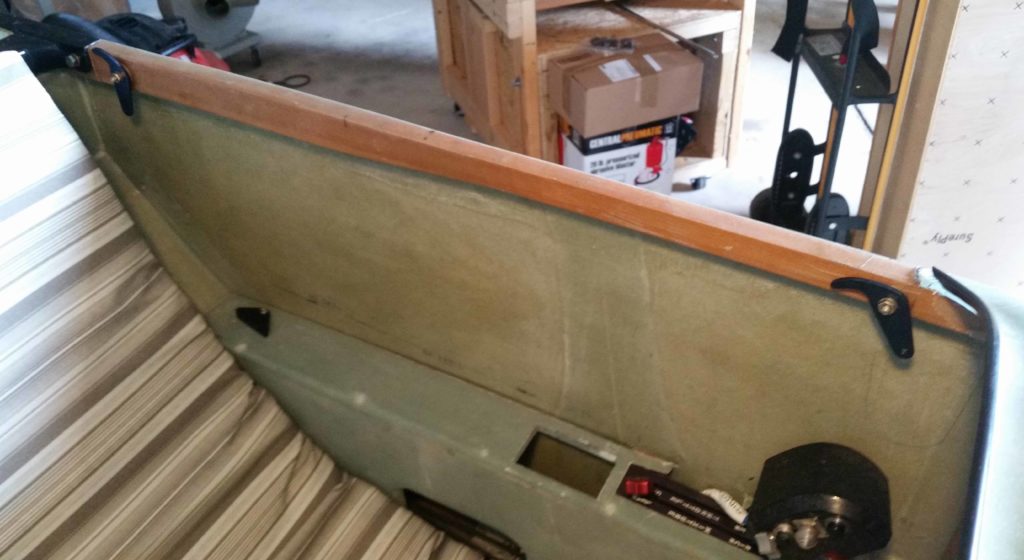
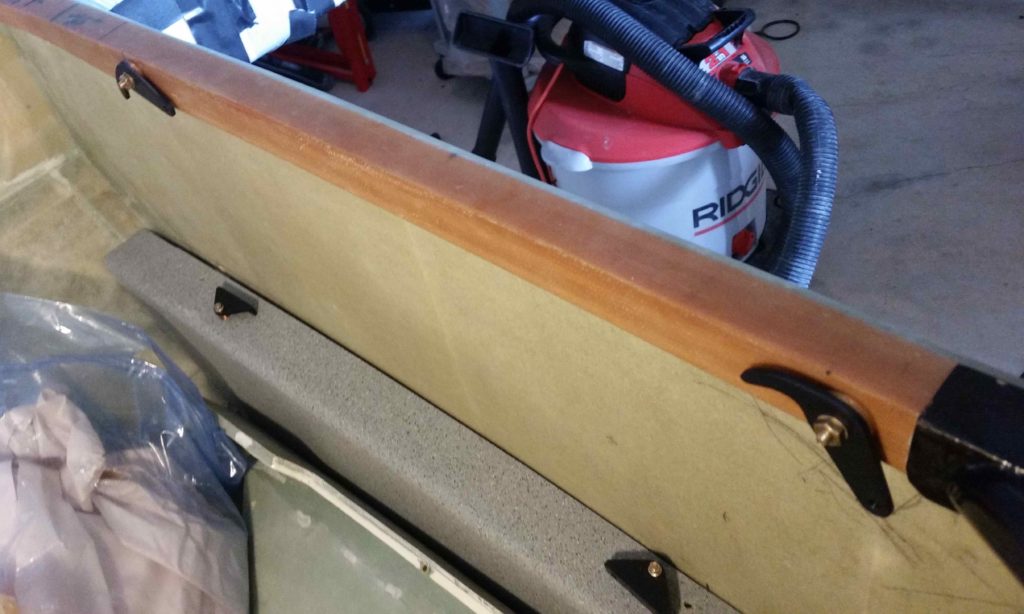
And below is a shot of the aft pair of C2-L latch hooks in place. As I mentioned in my last post, I had to swap out the AN3-13A bolts for AN3-15As for the aft two C2-L latch hooks since my longerons are about 0.3″ thicker from the front seat aft. With the bolt swap out the aft C2-L latch hooks, washers and nuts fit spot-on.
With all the C2-Ls in place I then measured the distance between all the latch hooks to determine the required lengths of the connecting tube segments that will link all the C2-L latch hooks together to be actuated simultaneously by the canopy latch handle.
I also took the opportunity to inventory all the parts I have on hand in an attempt to ensure that I have what I need to connect up the canopy latch system… unfortunately I don’t and will have to acquire/make a few parts.
NOTE: Remember my canopy latch setup is a bit different than the stock configuration.
I then got busy assembling the 4 canopy-side C8 latch catches.
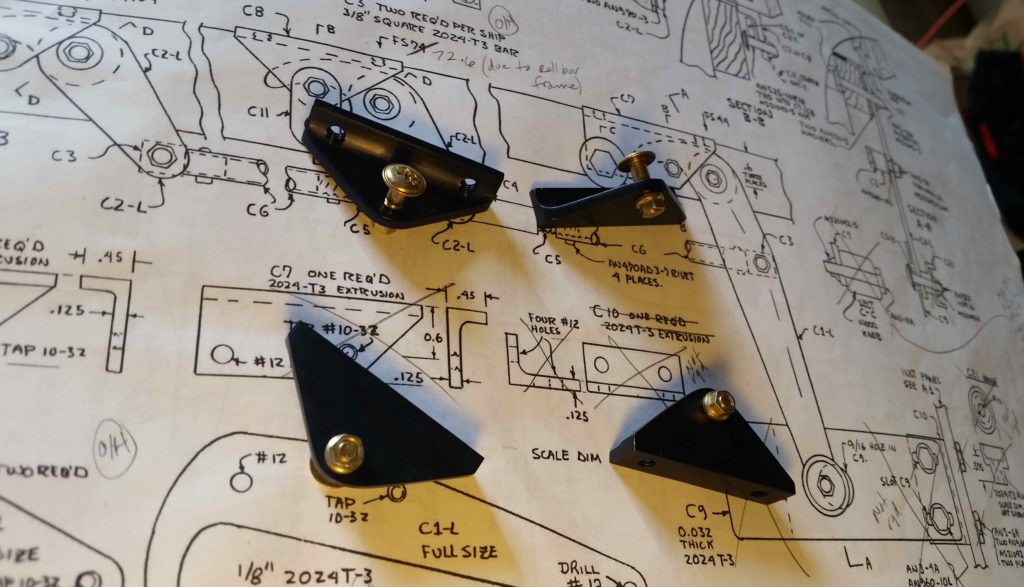
If I have time, tomorrow I’ll Bondo the C8 latch catches in place and then drill out the initial holes for their respective mounting screws.
In addition to the canopy latch assemblies I also attempted to fire up and test out the Hudly HUD system. Unfortunately, I’m having an issue with the glass fuse in the cigarette lighter power adapter that keeps blowing and thus preventing me from testing the configuration of the HUD components. I’ll contact GRT Avionics and try to troubleshoot the issue.