
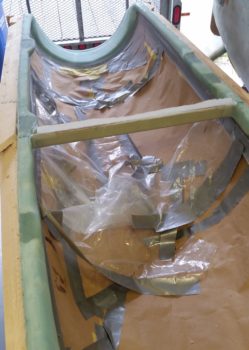
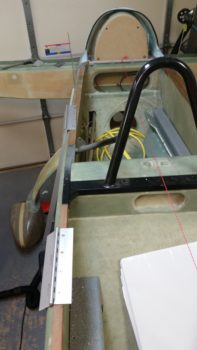
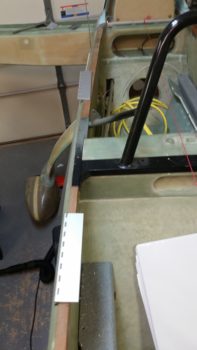
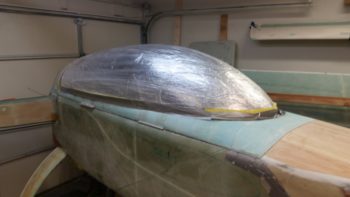
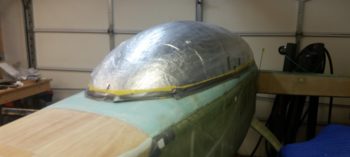
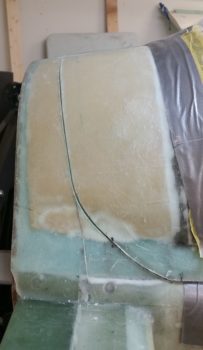
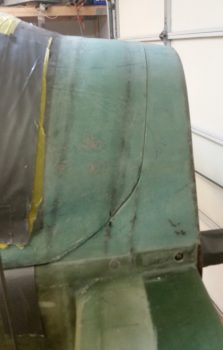
First off, I started off today by taking pics of both the front and aft intersection of the canopy to show how the intersections worked with the seals mounted on the flanged edge underneath. Overall, I’m really happy with the intersections thus far.
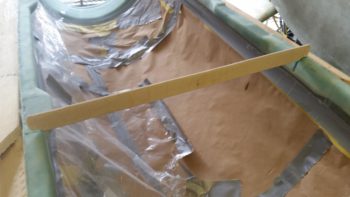
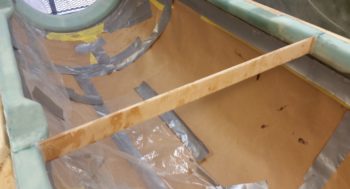
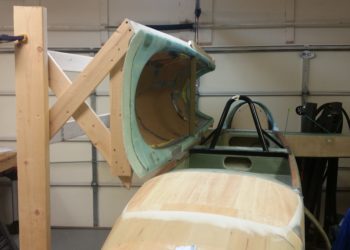
I then got busy getting the canopy cross brace installed. I started by measuring and marking the sidewalls at the canopy cross brace position.
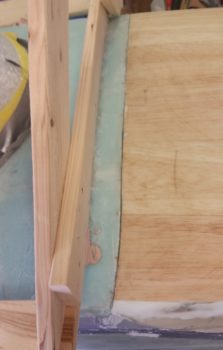
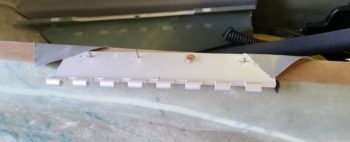
I then set the piece of 1/4″ Finnish Birch plywood (same stuff we use for the firewall) in place and took some notes on how it needed to be shaped. I then shaped each end in prep for installing it into the canopy frame.
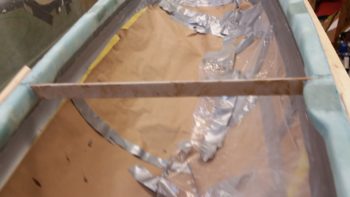
 I also drilled a couple of holes on each end for the cross brace to better grip the flox that it would get embedded into.

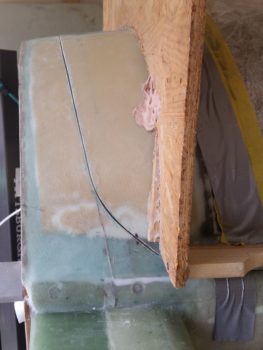
After making the slots in the canopy side rails with the Fein saw, I then test fitted the cross brace piece into the canopy frame.
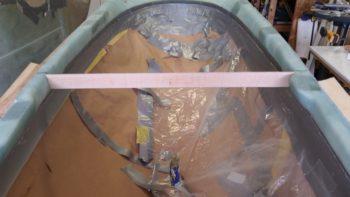
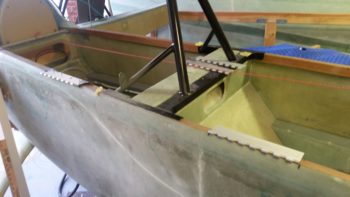
After verifying the fit into the canopy frame, I then slathered a bunch of epoxy into each side rail slot and installed the cross brace.
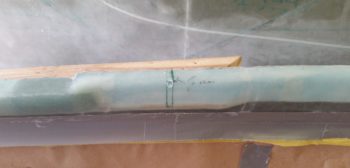
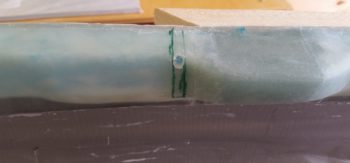
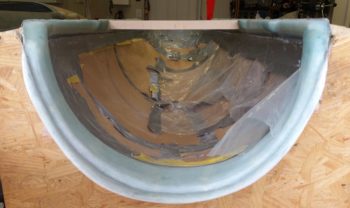
I first covered each side with a ply of UNI that overlapped onto each side canopy rail about 1″. I then wrapped the cross brace itself with a prepregged 2-ply BID layup twice, so that the end result was 4 plies of BID on both the front & aft side of the cross brace. Finally, since the 4 ply layup in the middle didn’t overlay up onto the side rails, I then laid up 2-ply BID tapes in the corners that overlapped an inch onto the cross brace and the side rail. I then peel plied the layups.
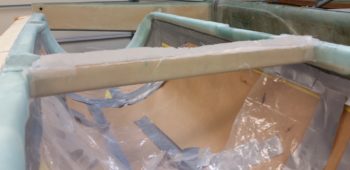
Another wider angle shot of the glassed canopy cross brace.
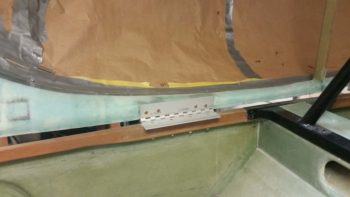
With the cross brace layups curing, I then got to work on hinges. After an hour of finagling the angles and trying to fit the proverbial square peg into a round hole –and conferring with both Mike Beasley and Nick Ugolini– I pulled the trigger and set the hinges in place.
Here’s the aft hinge getting the holes drilled for mounting.
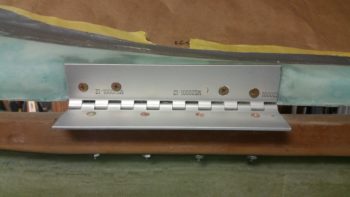
Now, when I mounted the aft hinge I actually screwed up during my drilling ops that apparently pulled the front side of the aft hinge inboard by about 1/16″. Instead of ripping out or messing around with repairing the geometry of the aft hinge, I set about to see if I could mend my mistake by setting the forward hinge inboard just a bit… I did, although it was a bit further inboard than I would have chosen, but I compared it to one of the original hinges and my pivot point was still outboard of the longeron line . . . barely!
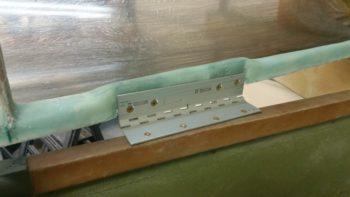
In the end my mistake worked serendipitously to pull the forward hinge in just a bit and lesson the issue I was having placing both hinges on the longeron equidistant from the CL. As it was, I was able to get the hinges lined up to each other (the front of the aft hinge is still maybe 1/64″ off) and, moreover, by pulling in the front hinge a bit I minimized the disparate difference from CL between the 2 hinges to just about 1/4″. Below we have the lower hinges mounted in both an open and closed state.
I had to run down to Home Depot before they closed, so before I left I slathered a few dabs of bonbo onto each hinge and then set the canopy frame in place atop the fuselage.
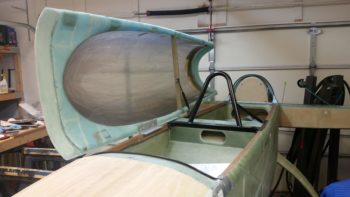
Upon returning from my quick outing, I opened up the canopy from the fuselage for the first time via the hinges! Before clamping and setting a screw in the vertical canopy support board, I cycled the canopy open and closed a number of times. Besides a very slight rubbing on the turtleback flange with the aft canopy, the intersections and hinge geometry seriously looked spot on!
So I then got busy drilling the screw holes in the hinges and countersinking the holes.
With the geometry and sheer size of my canopy, it really made me have to mount the aft hinge much farther outboard than I had planned, at a much more distinct angle as well.
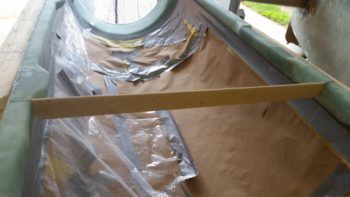
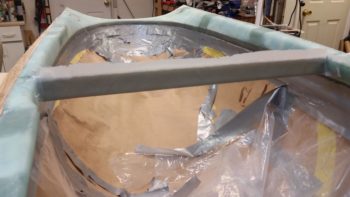
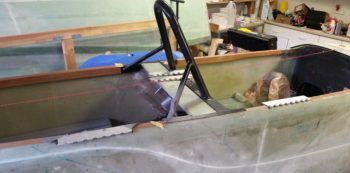
With the holes all drilled for the canopy bolts and the cross brace cured for a considerable number of hours, I then removed the wood support frame from around the canopy.
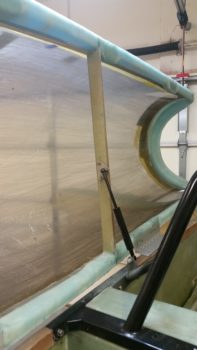
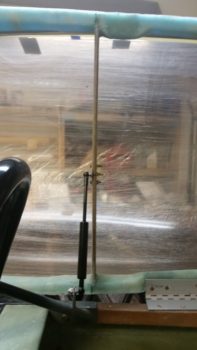
After a couple of trial runs I dialed in the open position of the canopy to set and drill the canopy gas strut attach bracket to the cross brace.
Here are some closer shots of the mounted canopy gas strut.
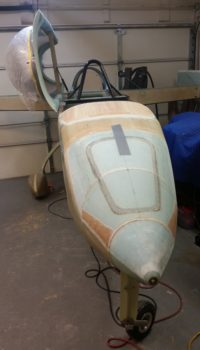
A good shot of the angle of the open canopy.
Finally, with the canopy mounted to the fuselage via hinges, I wanted to show once again how the front and aft intersections looked. Again, these pics are with the seal trim mounted under the transition flanges.

With the canopy virtually complete –except for the latch hardware– tomorrow is all about getting the fuselage loaded up onto the trailer I’ve had sitting in my driveway the past few days and getting it moved down to NC!