
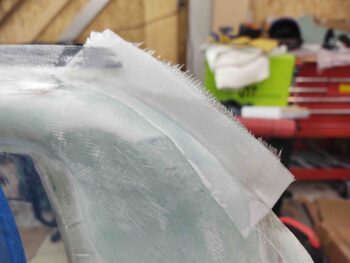
I started off today immediately laying up 2 plies of BID on each interior side of the canopy aft lower corner transitions between canopy and the Turtledeck. Besides aesthetics, I’m hoping this will keep the wind noise down and the rain out.
I then peel plied the layups to ensure they would be as ready as possible later in order to get the interior of the canopy painted.
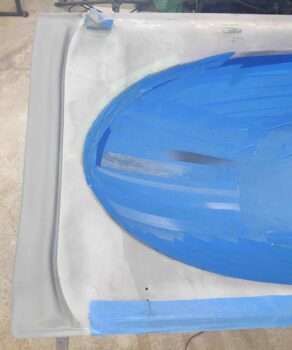
I then spent about an hour re-taping the canopy to protect it from the paint.
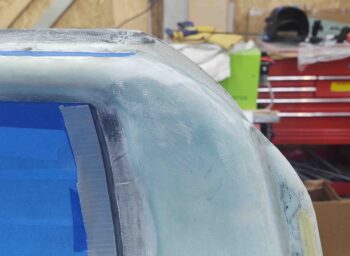
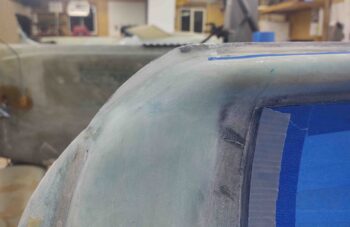
I then hit the canopy front lip with another 3 coats of dark gray paint + primer. There are still 2-3 slightly visible minor divots, but I’m calling this good and pressing on.
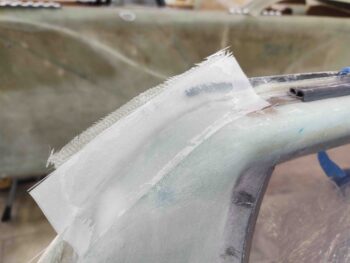
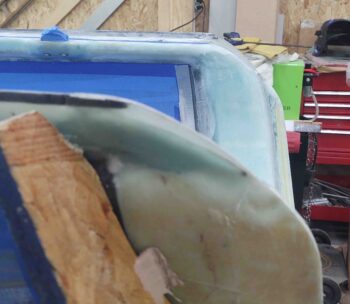
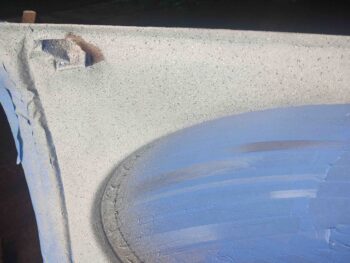
After all the canopy taping and re-painting the canopy front lip, enough time had passed that the canopy aft lower corner transition layups had cured. I pulled the peel ply and then marked them (free hand) for cutting.
I cut the glass with a Fein saw and then cleaned up the edges with a hard sanding block.
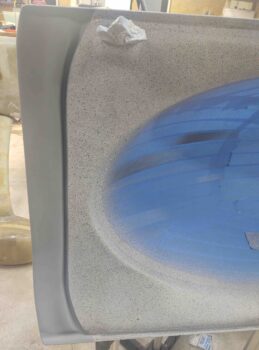
Here are shots of the separate sides.
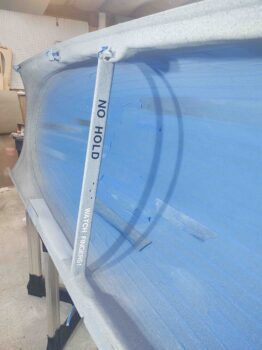
I then finished taping up the canopy specifically for the frame priming and painting. I also added some lettering for my caution placards on the crossbar. There’s actually black lettering on the black painted side of the crossbar.
I then took the canopy out in front of the shop and primed it first, then painted it with Rustoleum gray stone granite.
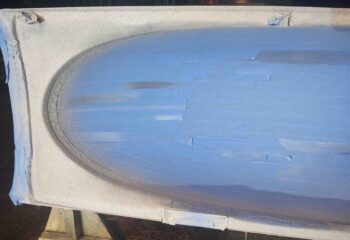
Here’s the front and aft side of the canopy after one coat. It looked good so I didn’t spray another coat.
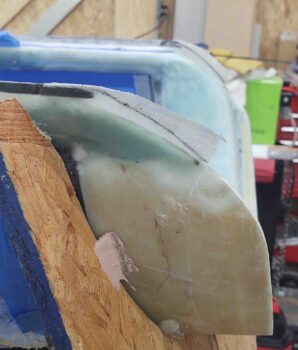
Once back inside, I removed the tape protecting the canopy front lip. I really like the contrast between the dark gray and the granite paint.
I did end up hitting a number of spots with another coat once inside and I inspected it with the bright lights on the canopy frame.
I also removed the caution placard lettering on the crossbar before the paint cured too much to then make them difficult to extricate.
Also, although I don’t have a shot of it, I was going to put the EXPERIMENTAL placard on the canopy where the light gray primer block is just forward of the crossbar. Once I pulled the tape I didn’t like how light it was. At first I planned on repainting it with the dark gray, but then simply decided that the placard would probably adhere fine to the granite paint, so I just hit that spot with a couple coats of the granite paint.
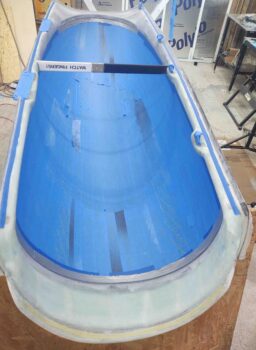
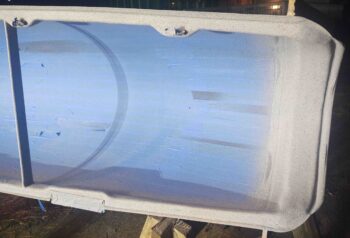
Here’s a wide angle shot of the entire painted interior canopy. It looks great and I’m really happy that I went with this paint, and even more that it’s done!

Since the gray stone paint requires 5+ hours to cure before clearing, I’ll shoot the matte clear coats tomorrow.