
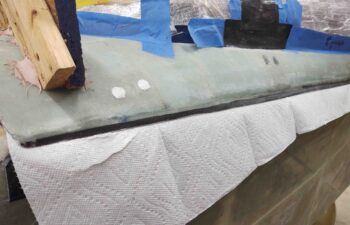
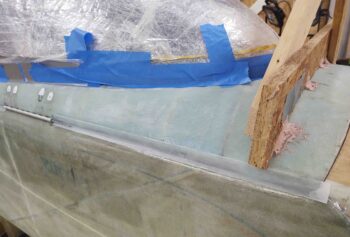
I started off today by trimming the canopy left side lip extension, and since I have black duct tape on the longeron for protection, I threw some white paper towels underneath for contrast (note: black = carbon fiber).
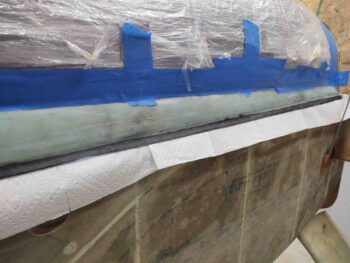
I then prepped the right side for glass. Now, I did cheat just a hair on the left side and went out 1/2″ (vs. 3/8″), but on the right side I have the front hinge constraining how far out I can go (note: here black = duct tape).
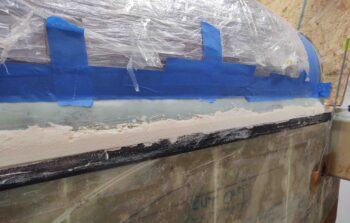
I then glassed the canopy right side lip. I had a bit of epoxy left over, so I whipped up some dry micro and filled the hinge screw counterbores.
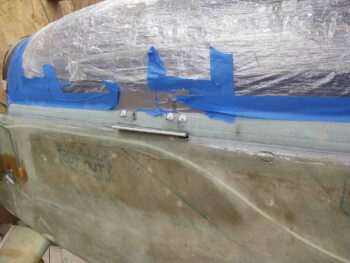
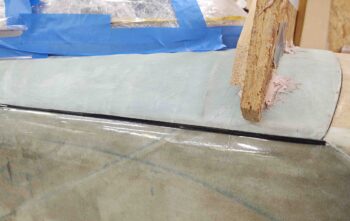
I took a close up of the left side to show an issue I’m contending with: when I glassed the canopy I had an indention that ran down the aft 3/4 of the canopy lip. It didn’t really effect extending the lip out, but it will need to be accounted for in the final shape of the canopy left side frame.

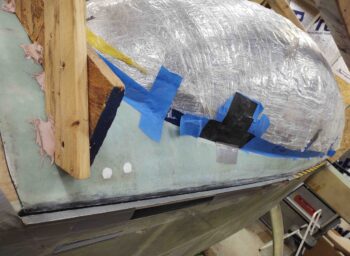
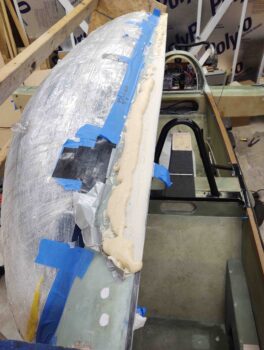
After assessing how much material needed to be added to shape the canopy left side frame, I decided to move forward with pour foam to fill & reshape it.
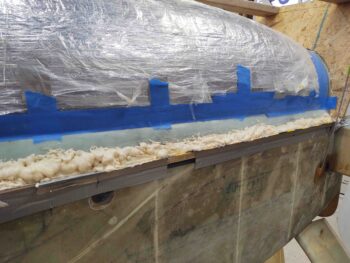
I added a mini-shelf with a couple pieces of angled aluminum.
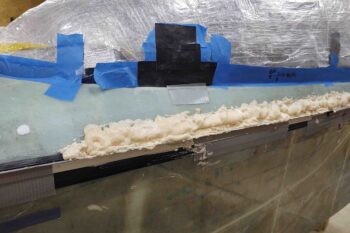
I then very sloppily added the pour form. I didn’t need it to be perfect here, just workable.
After the pour foam cured, I removed the mini-shelf.
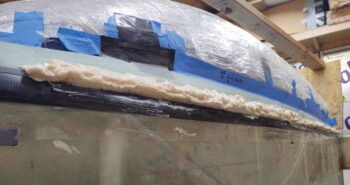
And then did a quick major foam removal with a hack saw blade.
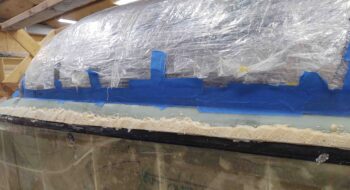
I then did round one of shaping with a sanding block.
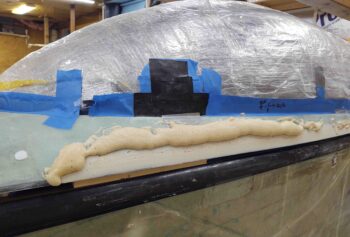
I decided I needed some more filling foam at the top edge of the foam I had just put on… but didn’t want to mess around with a bunch of forms, etc. So I opened the canopy and set the frame on a box to get the best angle possible for a “level” pour. I did make up one quick tape dam at the very front just to ensure it didn’t go running down the front of my canopy.
I then whipped up another batch and poured it out.
Here’s the canopy left-side pour foam application round 2.
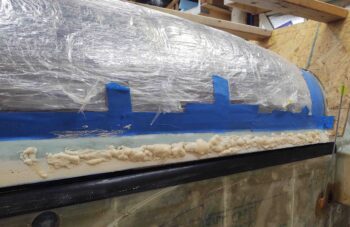
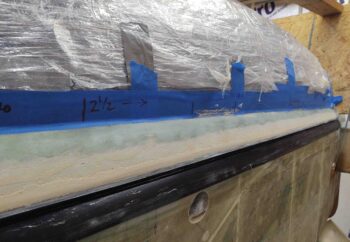
I then did a quick hack saw blade removal and sanding just like round 1. Here we have the canopy left side pour foam shaped and ready for glass.
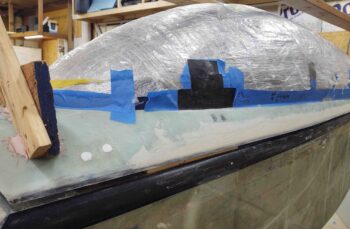
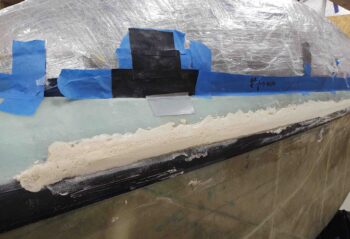
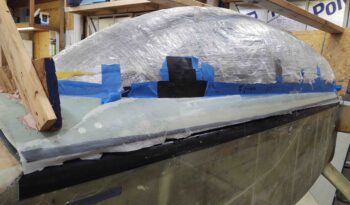
And here, 3 hours later, is the new canopy left side frame. Note the bottom edge of carbon fiber UNI (for strength and to add to the thickness of the flange). I then added 1 ply of BID to cover the carbon fiber edge and the pour foam side.
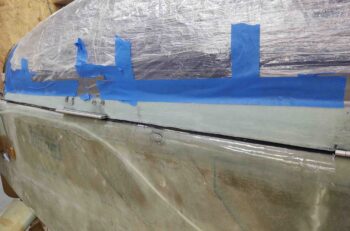
That’s pretty much it for the left side. I’ll of course pull the peel ply and trim the edge, but tomorrow will be all about working the canopy right side lip and getting it dialed in as close to the left as possible.