Today I started out spending about 4 hours in futility on the 3D printer trying to get a good print off of it. I don’t like doing multi-prong overhauls on a system since it expands so many variables, but my 3D printer required a new aluminum extruder assembly (I discovered the replaced plastic one was cracked), a new heated bed (I killed mine running too high of temps for PETG… this new one is 120V AC driven vs old 24V DC. Now it gets much hotter, much faster). And a new hot end (where the plastic is heated and laid down on the part/table).
Well, the first 2 component swaps appear to be good to go, but the latter is not performing well. I guess that’s the best of my repair scenario, since I had no choice as the extruder and heatbed were mandatory fixes, where I can clean and re-install my old hot end and make it work… which I will most likely do because I exhausted every parameter I could think of today and could not get the new one to give me a satisfactory print!
As I posted yesterday, I also was having concurrent issues with my plasma cutting table. I was dealing with Langmuir Systems –the maker of the Crossfire Pro table– on how to resolve the issues, and got some helpful replies back that allowed me to press forward with more satisfactory (not 100% though) plasma cuts.
My goal is still to get the canopy done. But again, as I mentioned earlier this week, as I await parts for the canopy latch handle I’ve been focusing on getting 3 systems online (2 BACK online!):
- 3D Printer (previously operational)
- Plasma cutting table (quasi-operational)
- Milling Machine (not yet installed)
Moreover, I need both the 3D printer and milling machine to finish the canopy latch handle. The 3D printer may be online in the next day or two, but we’ll see. It will take at least another week to get the mill online, especially working on it part time as I concurrently get plane build tasks completed.
Speaking of plane build tasks . . .
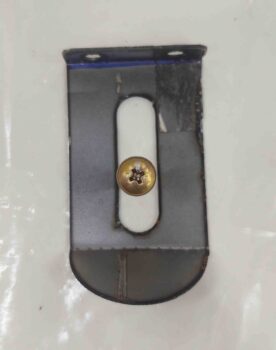
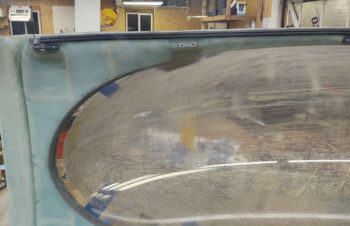
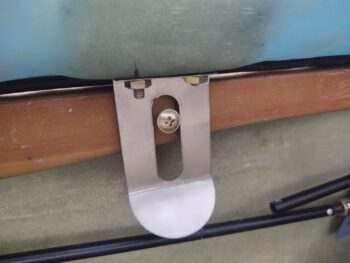
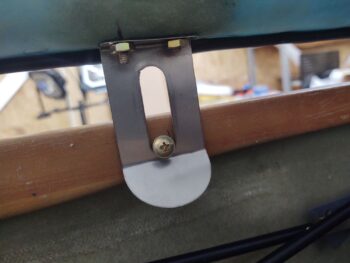
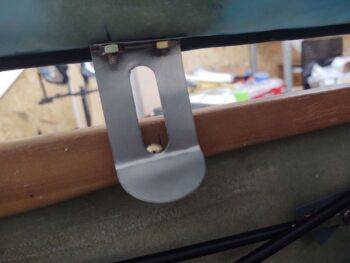
With an acceptable plasma-cut test SC-1 canopy safety catch part, MOD2, I was then able to test both fit inside/on the canopy, and clearance (tighter) of the center “racetrack” slot with and around the button head screw head . . . it looked good.
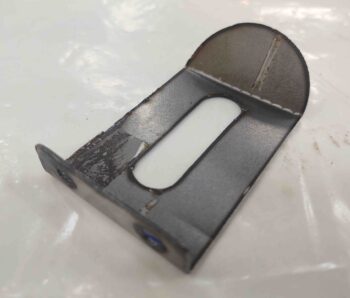
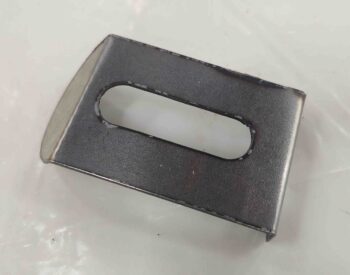
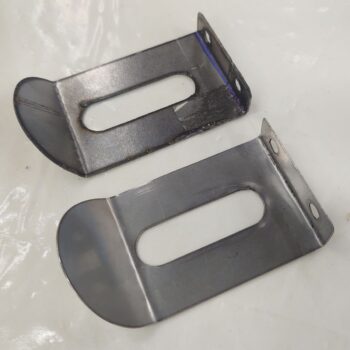
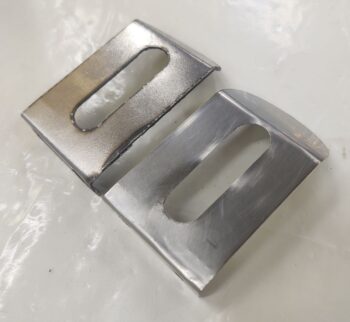
A couple more shots of the MOD2 SC-1. Note that while this may look like an acceptable candidate for a safety catch, it’s made of mild steel about 0.030″ thick. In other words, way too stiff to work for a flexible catch like the SC-1.
Knowing that my MOD2 upgrades passed the test, I was ready to cut the SC-1 out of stainless steel. The plans call for a 0.020″ thick piece of stainless steel, and this piece is pretty darn close to that.
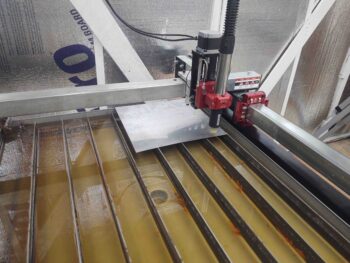
In prep for plasma cutting the SC-1, I placed the sheet of stainless steel on the far back right corner of the plasma cutting table.
Why?
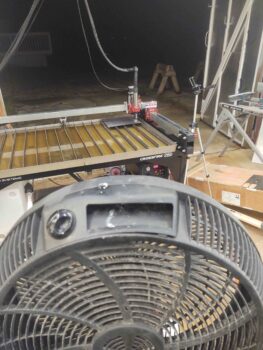
Well, plasma cutting stainless steel produces toxic fumes. In addition to my placement of the stainless steel sheet on the plasma cutting table, I also set up a large fan and opened up the big shop doors just behind the table. With such a small cut, this will do fine to mitigate and disperse any noxious fumes.
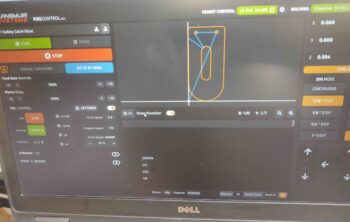
And here we have the SC-1 G-Code file loaded up in FireControl… ready for launch!
Yep, and here’s a short video of the SC-1 plasma cutout:
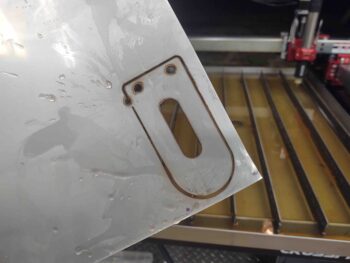
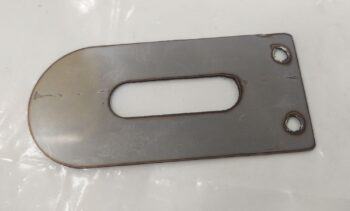
Here’s a still-frame shot of SC-1 cut out of the stainless still sheet. The incomplete perimeter cut is one of the issues I’m trying to figure out with Langmuir Systems. I was aware of that issue prior to this cut and simply chose to deal with the small tab using my trusty Dremel Tool.
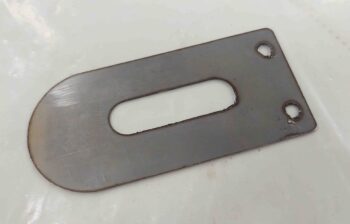
Here we have the SC-1 canopy safety catch:
And the other side.
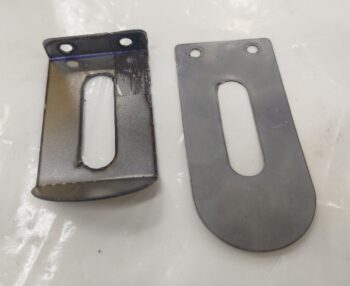
And the last SC-1 test mockup part (MOD2) with the actual new stainless steel SC-1.
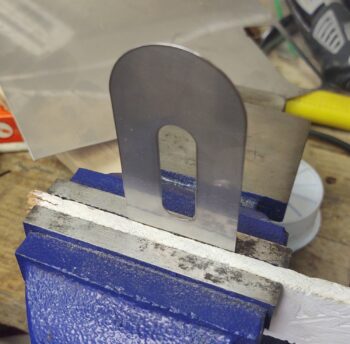
Bending top SC-1 bolt mounting tab 90º.
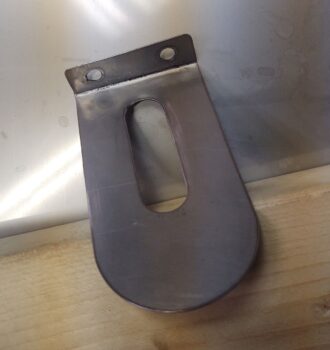
Voila, here she is!
Again, just for comparison’s sake… I got the 45º bend seam just a bit higher on the actual SC-1, but with the spacer sleeve that goes over the button head screw on the longeron it actually was a great fit.
I then drilled the 2 mounting holes in the SC-1 canopy frame hardpoint.
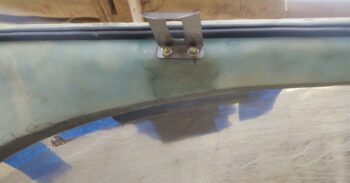
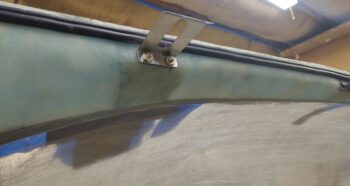
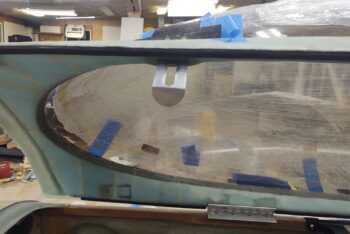
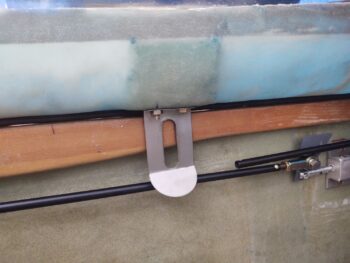
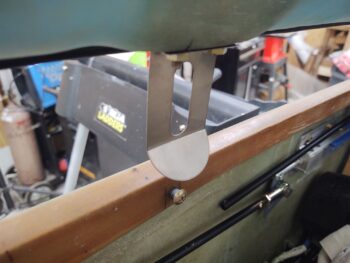
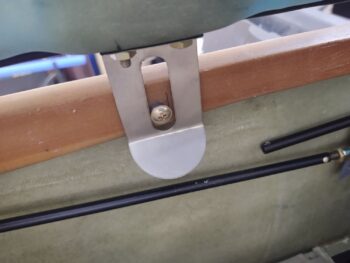
A couple shots of the temp mounted SC-1 canopy safety catch.
Here we see a good shot of the SC-1 as I’m lowering the canopy…
Going down . . . SC-1 clearance with longeron.
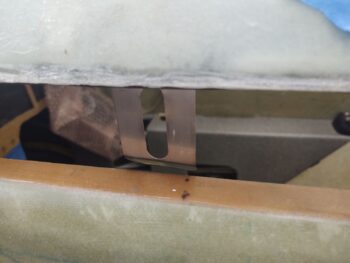
Interior shot of SC-1 . . . note clearance with longeron: just over the thickness of an AN970-3 washer (I wanted a decent gap for clearance with the interior cockpit paint).
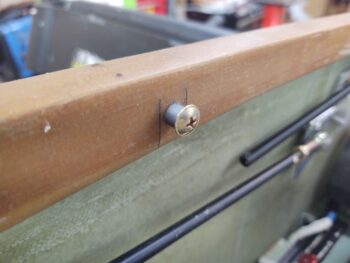
I marked and drilled the hole for the SC-1 longeron-mounted captive button screw, and then simply mocked this one up in place with the spacer sleeve on the screw.
SC-1 coming down over longeron captive screw, as per normal canopy-closing action.
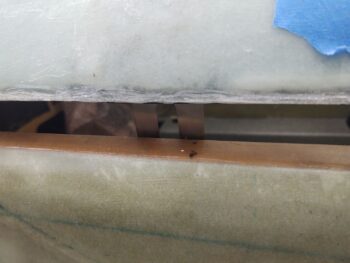
SC-1 with canopy in nearly closed position (a slightly larger gap showing than usual).
SC-1 operating as designed: catching the captive screw either when the canopy is being opened on the ground, or as an emergency catch if the canopy attempts to fly open during flight.
On the ground the SC-1 is simply pushed inward (like a car hood latch) to clear the captive screw to then be raised.
And that’s all she wrote for this evening folks!

