
I started out today cutting a scrap piece of 1/16″ 2024 aluminum for the nutplate backer for the SC-1 captive bolt. Not following the plans exactly as I’m using a nutplate for the SC-1 captive bolt (vs just a standard nut) so that I can install the captive bolt later on/whenever I want and still close up the hole on outside of the longeron/fuselage. Then I can mount the SC-1 upper plate without worry of it catching the captive bolt at some point… that point being exactly as I’m working in the back seat with the canopy closed!
No thanks!
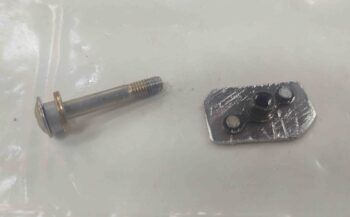
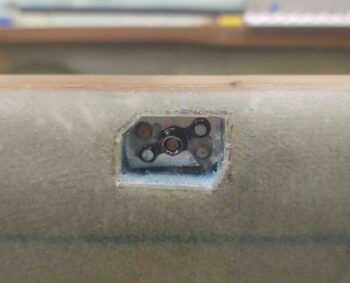
The back side of the SC-1 captive bolt nutplate.
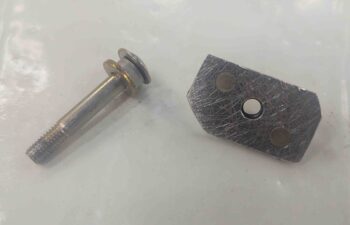
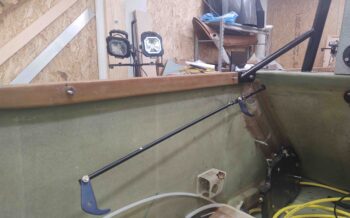
And the assembly sitting atop the longeron in the same configuration as it will be once all mounted.
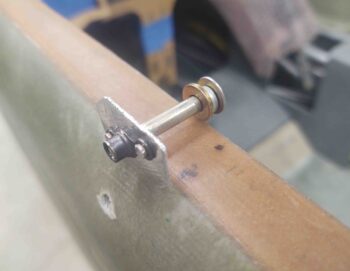
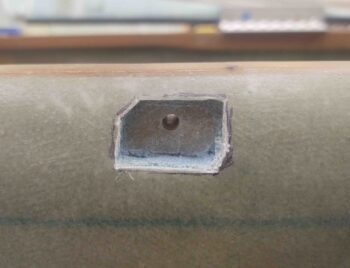
I then cut a notch out of the outboard fuselage top edge to mount the SC-1 captive bolt nutplate to the exterior side of the longeron.
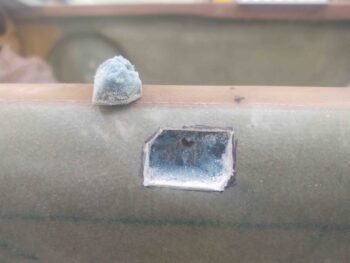
I then cleaned up the inside of the notch.
I then whipped up some epoxy and made up just a tad bit of epoxy-alcohol mix to swipe the hole to seal it… which keeps the bolt from eventually soaking up moisture from the wood and rusting.
I then floxed all 4 longeron-mounted C2-L hook bolts into place, this pic showing the aft two.
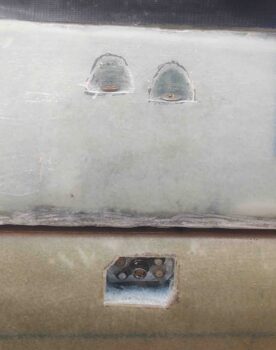
A bit later I floxed the nutplate in place. Note that I also drilled 2 holes on opposite corners and floxed 3/32″ rivets into the longeron to ensure that the nutplate can be torqued.
I then left all the longeron-floxed stuff to cure as I got to work on the upper canopy frame SC-1 screw/bolts counter bores. Here I’ve marked them.
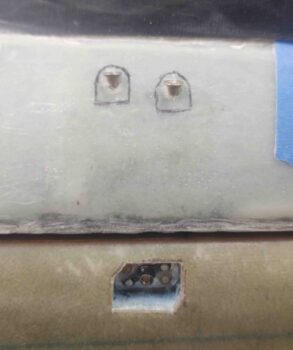
And then notched them out with the Dremel Tool.
I also did some cuts on the plasma cutting table… some good, some not so good. I’ll try to report on all that within the next 2-3 days.