
On the mill base leveling that is. But more on that in a bit.
I started out the day spending a good hour on swapping the 3D printer hot end from the new “and improved” spiffy one back to the stock one. I was able to heat it up and get a giant ball of jammed plastic out of it. Hopefully that does the trick.
I was due to have my little 11 year old shadow for a good portion of the day, so I called it quits on the 3D printer after realizing my bed leveling probe was going to have to be reprogrammed starting back at square zero <sigh>. But I am getting closer!
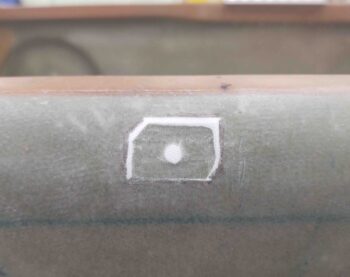
Later in the afternoon I brought the munchkin to the shop, where she ventured off on a project that involved tin foil, glue and tape… lot’s of all of it. But she was content so it let me replace the upper outer fuselage chunk that I had removed to embed the SC-1 captive screw nutplate into the upper exterior fuselage sidewall, mounted to the longeron.
Here’s a pic after I micro’d the piece back into place, then covered with a piece of peel ply before some heavy duty duct taping to hold into place.
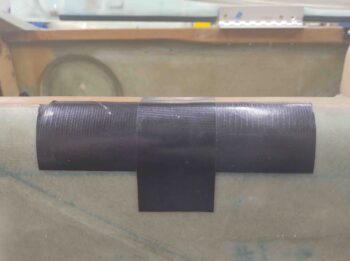
Quite a few hours later, this was the result. BTW, not wanting to waste MGS on this, I used West epoxy for the micro.
Again, with the little one content on her unidentifiable arts and crafts project, it gave me well over an hour –and two distinct iterations (3 total)– to level the milling machine base as best as I was able. And let me tell you, with an extremely un-level shop floor and imperfect mill base top surface… it was quite the challenge.
The word of the day was definitely compromise as I had to pretty much learn the contour of the mill base top and shop floor to dial this in as close as possible. Again, with compromises to get the best overall result.
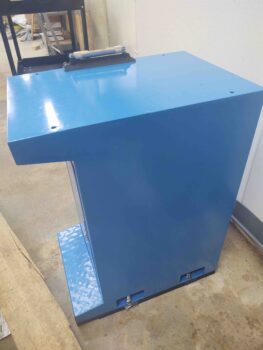
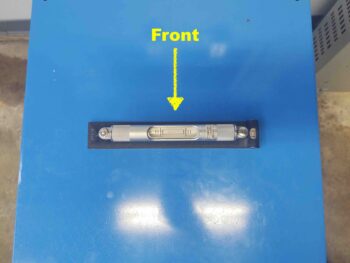
Bottom line, here are shots of both sides of the mill base bolted down to the shop floor.
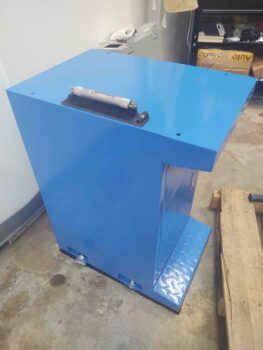
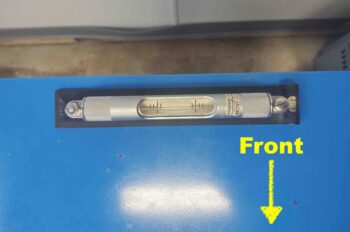
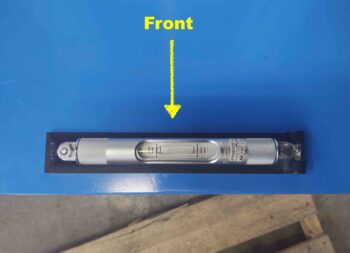
Here we have shots of the machinist level (very sensitive) showing the front-to-back readings of the base. The right side (looking at it head on, pic #1 below) is definitely the worst of all the checks I made.
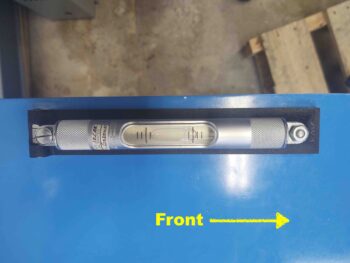
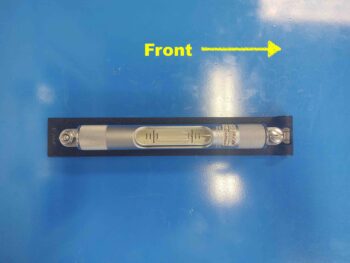
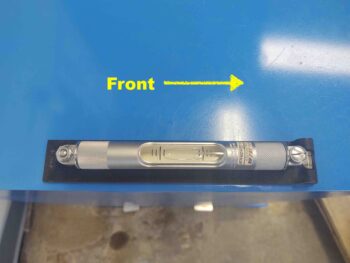
After the first round today (with one previous round earlier), I resigned myself to a looser standard of just getting the bubble between the main lines. I have to note that this is still pretty darn good when using a precise machinist’s level, but still some precision left to be desired for sure.
That being said, my primary concern was side-to-side vs front-to-back on the level readings, and I think I met that goal. Moreover, I can build upon this base level effort and level the coolant pan and actual mill base even more using shims (as I did here).
Moving forward . . . .