
I started out today doing a quick mod on the canopy latch handle triangular interconnecting piece and then 3D-printed it out (sorry, no pic).
Out in the workshop my first task was to first do the final install on the canopy lower aft hinge half to the longeron.
I then moved forward and did a temp install on the canopy lower forward hinge half to the longeron. I will be adding a form-fitted HUD mount here that will mount in part with the hinge screws on the underside of the longeron. Thus, these screws will come out and be replaced with longer ones.

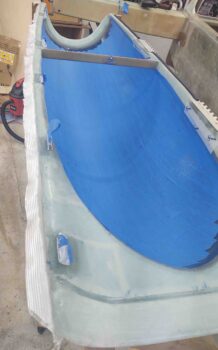
I added this pic of the canopy work just because I like it . . .
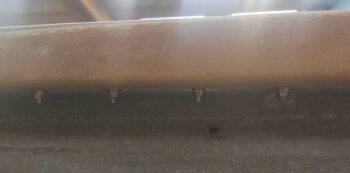
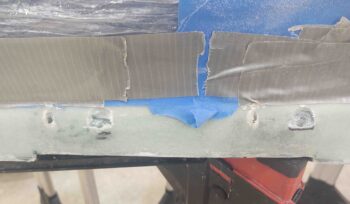
As you can see from above, I flipped the canopy back upright so I could Dremel out the final 2 hinge screw counterbores in the canopy frame. Here’s the aft hinge area BEFORE.
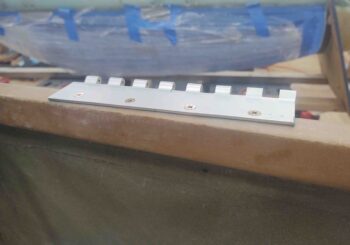
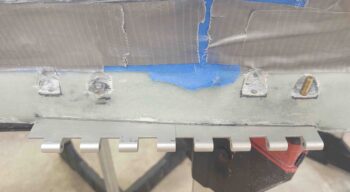
And then AFTER I cut the screw counterbores. I then proceeded to mount the canopy upper hinge halves to the canopy frame (see below).
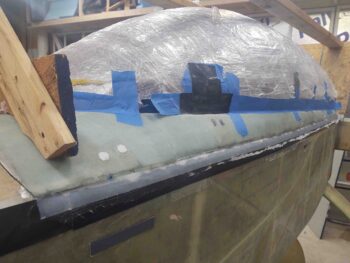
When I original built the canopy I did so with a designed 1/8″ gap built in between the canopy frame and the longeron, to give the right compression for the “B” seal that I was using. On the left side especially, the final shape of the canopy exceeds that 1/8″ gap (read, “air gaps”), so I need to reestablish it.
To do so, the plan is to simply tape up the longeron with 1/8″ aluminum spacers on top. Then apply flox, or micro, or better yet: flocro to the underside of the canopy frame as it is pressed up against the 1/8″ aluminum spacers atop the longeron.
Ok, a wrinkle to that is that I am also extending the canopy frame’s overhang onto the fuselage a bit, for even more stoppage of unwanted incoming air. I bantered how I was going to do this in my mind, so this was somewhat of a gametime decision. I went with a bit riskier half wet, half dry layup (for a good bit) to get the initial layer for the overhang attached directly to the underside canopy frame, and UNDER the added flocro 1/8″ spacing layer.
So I glassed a 2″ strip of BID onto the left underside of the canopy frame, but only wet out the portion touching existing glass (somewhat like the very aft layup on the fuselage pan).
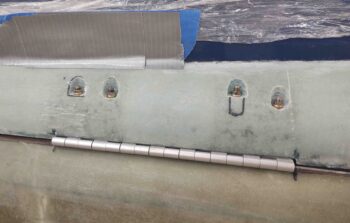
I then added the 1/8″ aluminum spacers to the top of the longeron and taped them up, with some tape down the side of the longeron for protection and glass release.
I then piled up a decent-sized bead of flocro all the down the outboard edge of the 1/8″ higher “longeron.”
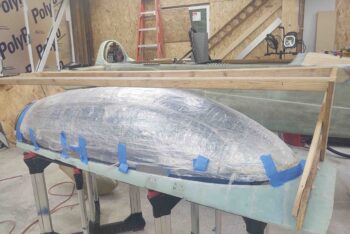
I then set the canopy back in place, replaced the hinge rods, and then wetted out the overhanging (dry) BID onto the upper fuselage (I’ll add more glass and shape this side and the right side over the next day or three).
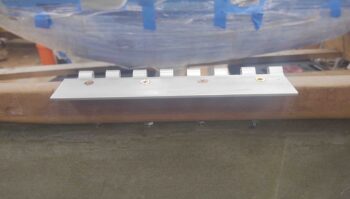
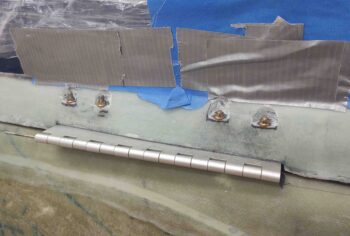
Here’s a couple shots of the officially mounted canopy upper hinges: first the aft hinge, and then the forward hinge.
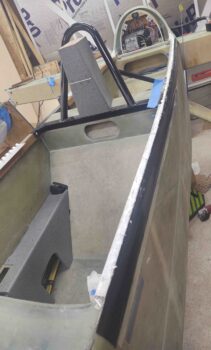
I went out to visit some friends for a few hours, and when I returned I was curious to see what was going on inside the canopy/cockpit (without opening it of course)… so I peered in through the back hole in the GIB seat. After looking around a bit, I thought this would make a great pic, and it did . . . IMO.
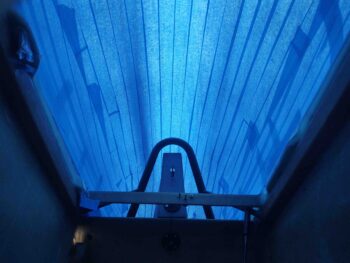
Pressing forward.