
Back off the fuselage that is! (Get it?? You never do!! . . . <sigh>)
Well, I found out late last night that the issue with my plasma cutting table is not the table, but in fact the plasma cutter. It has a bad voltage divider board. So I called the company, PrimeWeld, this morning and literally within 30 seconds of being on the phone they confirmed who I was and had a new unit being shipped out to me. Wow! Simply awesome customer service!
I then actually started out my time in the shop taking some video footage of both the panel and the canopy latch handle for a video I’m compiling on both of those… I should have it done in the next few days.
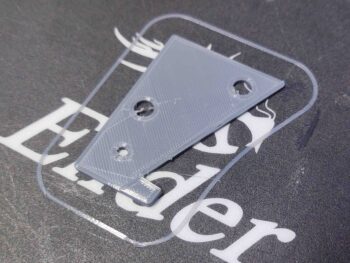
I then jumped onto Fusion 360 CAD with some of my newfound canopy handle knowledge, and kicked off a 3D print of a new triangular connecting piece.
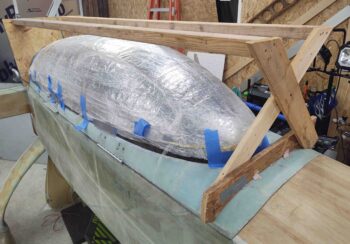
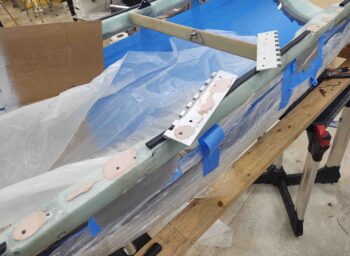
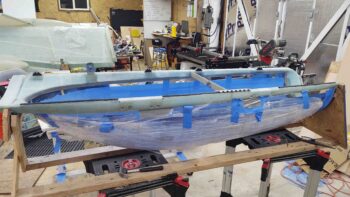
I then went out to the shop, finished cutting some wood and constructing my canopy protective/supporting frame. Here’s a couple shots.
After I was done, I went back into the house and grabbed my completed canopy latch handle triangular connecting piece. I then spent another good hour assessing my canopy latch handle system. I honestly believe I’m pretty darn close to cracking the code. I came away with 2 more mods that I think will either get me to where I need to be on this handle, or really, really close!
I’ll cover my findings in the video because it’s much easier to explain in that medium.
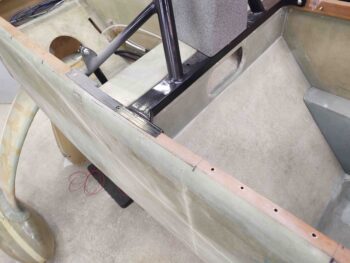
After feeling comfortable with how close I am on the canopy handle configuration, I then removed the canopy from the fuselage. First time since it’s been mounted!
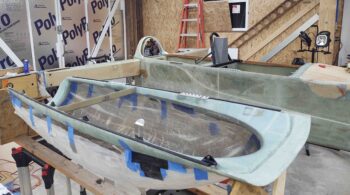
I removed the lower hinge halves from the longeron, then whipped up a small amount of expoxy + alcohol solution and sealed the canopy screw holes in the longeron.
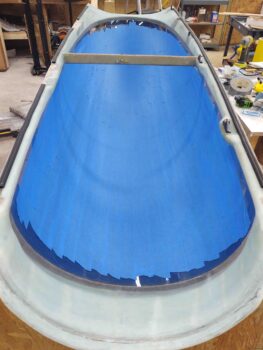
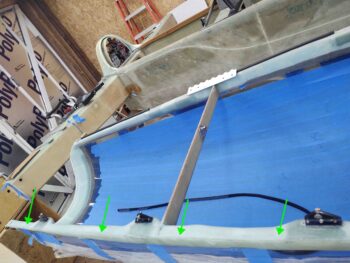
Next, I taped up the interior surface of the canopy with blue painters tape.
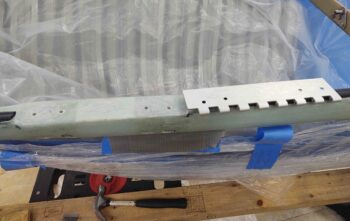
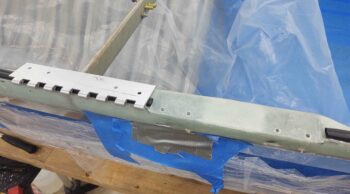
I then removed the hinges off the upper canopy frame.
And cleaned the Bondo off both the hinges and the canopy frame.
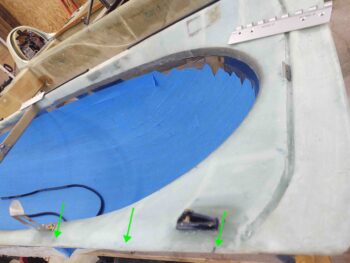
I then removed the canopy left-side “B” seal from the canopy frame (green arrows). I also took a bit of time to get rid of the adhesive gunk left behind. This will allow me to level out the surface of the canopy frame to get a better, consistent seal on the left side of the canopy.
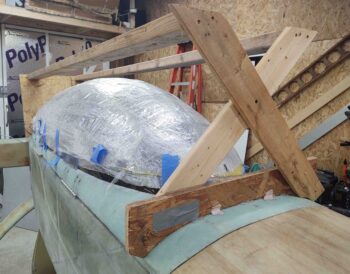
Finally, here we have one last shot of the canopy in its protective/support frame, and also in its final prep/work stage before it will go back onto the fuselage… when it will be all ready to go (except exterior paint).
Rockin’ on!