
Today was all about working an aggregate of smaller jobs, which together really do help me get that much closer to a finished bird.
To get some glass curing right off the bat, I started on the inboard wing aileron pocket edges by first marking them . . .
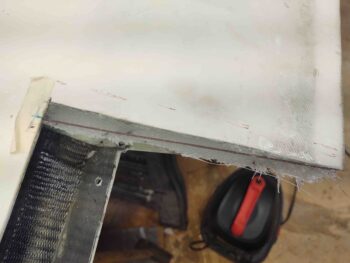
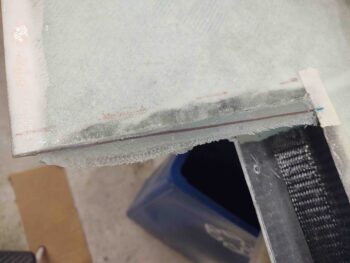
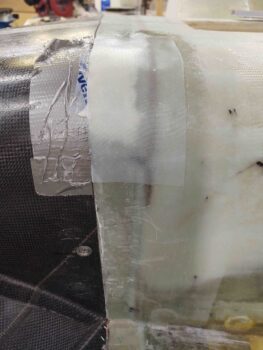
And then trimming and sanding them to very near final configuration. I then sanded the cured glass edge for one final ply of BID . . .
Which I then laid up here, overlapping onto the wing surface both along the forward short edge and long side edge. I then peel plied the layups.
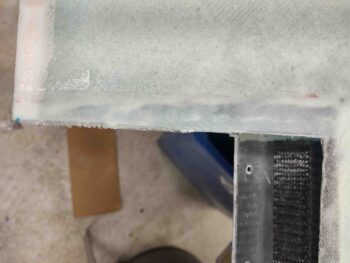
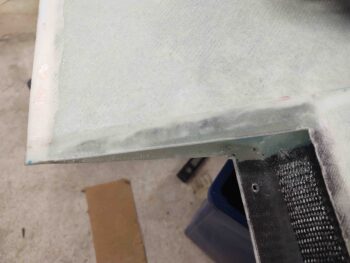
Jumping ahead quite a few hours, here are the new extended edges of the aileron pockets. I’m very happy with these fill-in edges and am confident they’ll work a treat when the ailerons are re-installed.
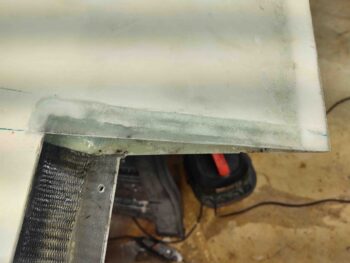
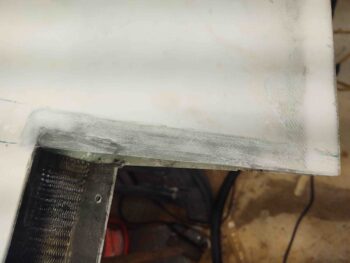
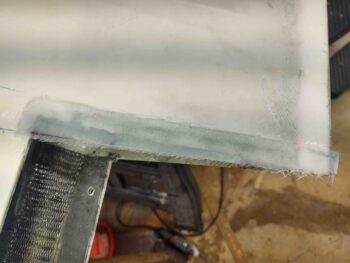
After I got the glass laid up on the aileron pocket inboard edge, I then removed the bottom cowling to reveal the 1 ply BID flange-to-wing layup I did last night. At this point, the layups looked fine.
I then pulled the peel ply, trimmed the edges and re-drilled the 1/8″ pilot holes. I have to say that these 1-ply overlap layups actually came out better than I expected… I wasn’t overly thrilled about a ply of glass traversing a hard edge, but it worked out fine.
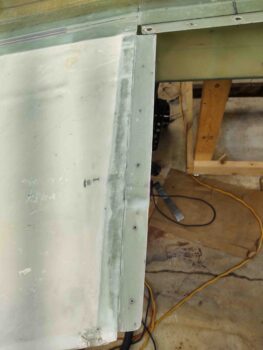
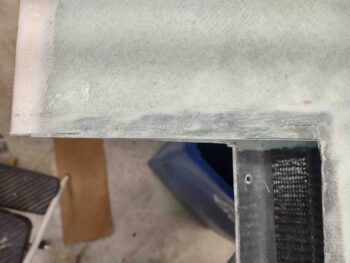
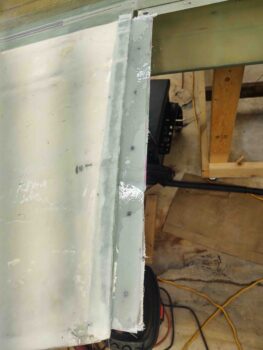
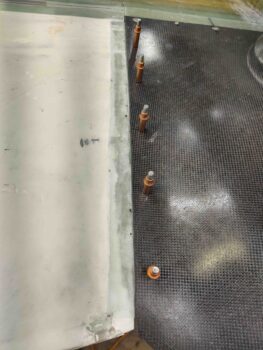
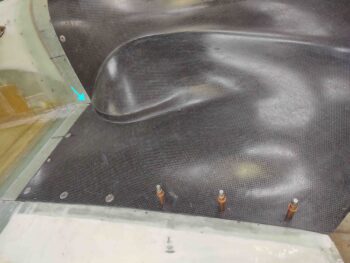
I then set the bottom cowling back into place for a test fit. Again, all looked good with some very minor tweaks required: the surface elevation of the wing flange needs to be a scant higher along where the #3 and #4 cleco is along the right side (left pic) and a bit higher as well on clecos #4 and #5 along the left side. 3 plies of stepped BID should take care of both of these nicely.
I then started on installing the forward CAMLOCS on the bottom cowling sides.
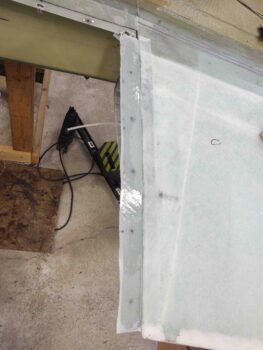
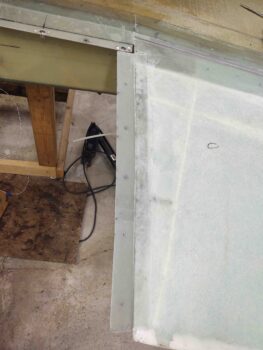
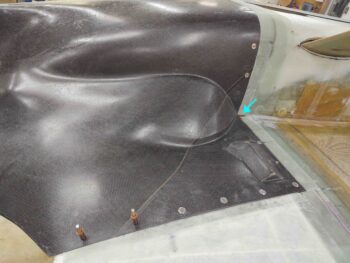
Here you can see the front 2 CAMLOCs installed on the right side bottom cowling (pic #1) and the front 3 CAMLOCs installed along the left side of the bottom cowling (pic #2) (clearly I’m not counting the very forward corner CAMLOCs here).
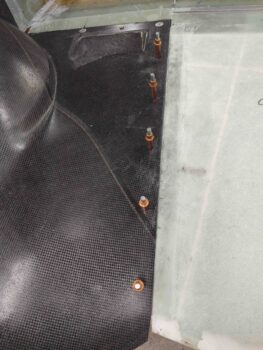
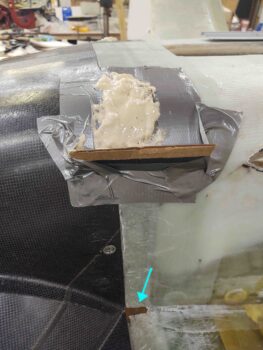
Note the existing gaps in the corners between the original plans 1.6″ flanges [light blue arrows].
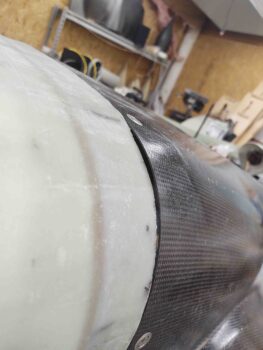
I actually remembered to get some BEFORE pics of the aft fuselage/firewall corner gaps with the adjoining bottom cowling . . . clearly some filling is required here to mitigate these gaps.

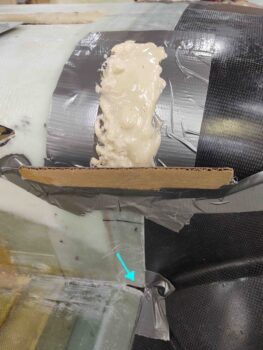
Which I promptly did with pour foam, after taping up the surrounding fuselage and cowling to protect these surfaces from any errant foam.
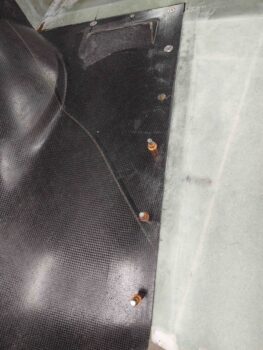
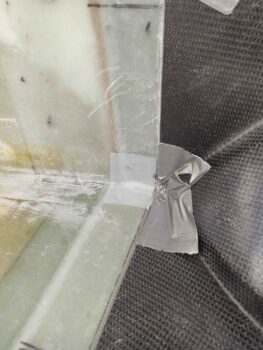
Again, note the corner gaps denoted by the blue arrows…
Which I then glassed over with 3 plies of BID: 2 plies to overlap onto each side, and smaller ply as filler to help fill in the hole a bit.

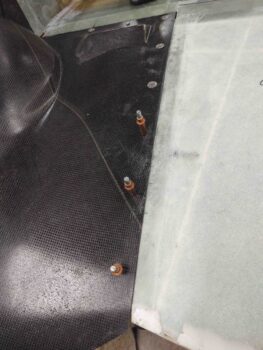
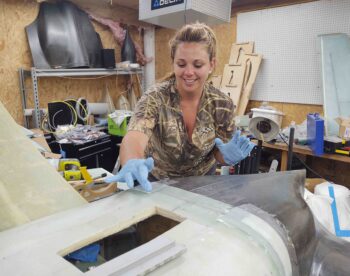
A bit later my smart, beautiful and talented shop assistant, Jess, stopped by to help me layup the 2-ply BID corner layups over the foam I had just knocked down, sanded and shaped (no pics of just the foam).
Jess did a great job on the layups and is really getting to be a pro on a myriad of plane building tasks! Working in my shop she clearly holds the line on standards and wasn’t satisfied leaving these layups bare and thus demanded that they be peel plied! <grin>
And here are the layups. After they cure I’ll of course dial in the matching elevations and shape betwixt lower aft fuselage/firewall corner and bottom cowling.
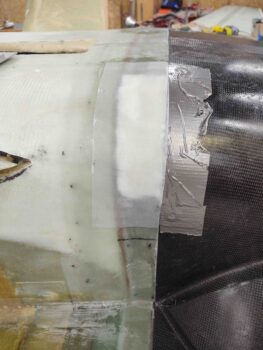
With that, we left these layups to cure and called it a night.