
First, I started off today by cleaning up the garage & began the initial tear down of the shop for my upcoming move. I dismantled the canard jig and did some maintenance on some of my shop tools, including putting a new velcro pad on my orbital sander (for the second time since I’ve been in Germany).
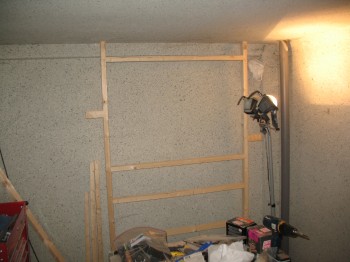
I also took down all the tools from the wall organizer rack on the back wall and then I dismantled the wall rack.

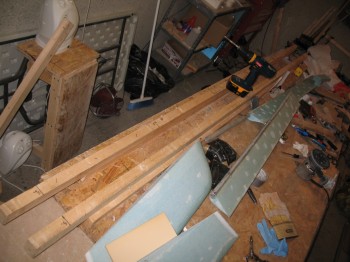
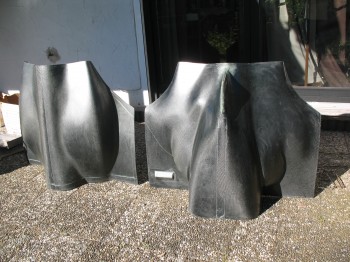
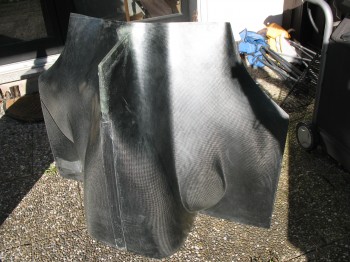
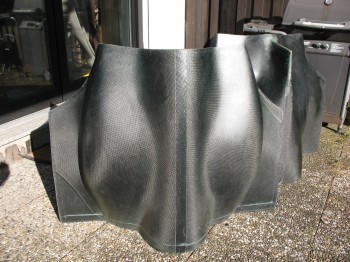
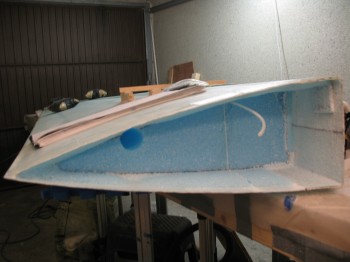
I took a moment while I was cleaning & organizing everything to pull my top & bottom engine cowlings out to take a look at them. These Carbon Fiber cowlings came off the same molds that were from Mike Melvill’s cowling halves, used as the original plugs.
This story is all detailed in the Canard Pusher newsletters (#’s 86 & 93), but in short before Mike set out on his around-the-world trip in 1997 with Dick Rutan, he wanted to solve the ever-present high engine & oil temps that had plagued his Long-EZ from day one. After talking with Berkut designer, Dave Ronneberg, Mike decided to try the Berkut-style armpit coolers. He was so impressed with the cooling that he designed a new cowling incorporating the new armpit inlets. Since he was manufacturing a whole new cowling, he decided to make it out of Carbon Fiber, which drastically reduced the weight, halving it from 26 lbs. down to just 13 lbs. He handed the forms over to Larry & Mike at Feather Light who now make & sell the carbon fiber cowling.
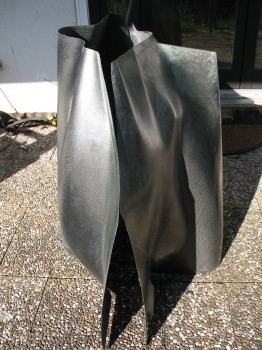
One thing to note (which I did not until I played around with the cowling) is that Mike Melvill had a NACA scoop inlet for his engine which he simply filled in and glassed over when creating the new cowling. So the new bottom cowling hangs down 4 inches lower than a stock firewall.
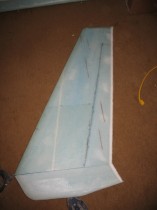
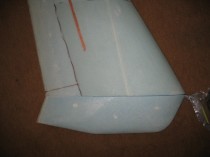
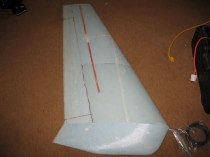
After snapping some pics of the cowling, I then sanded the Left & Right elevators and the Left & Right lower winglets, then cleaned them up, vacuumed up the dust and took them down to the basement in preparation for getting packed up, shipped off and stored for a year.

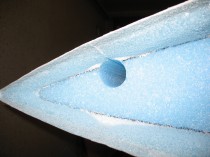
Once down in the basement, I took another opportunity to check the fit, finish & look of the lower winglets “mounted” to the upper winglets:
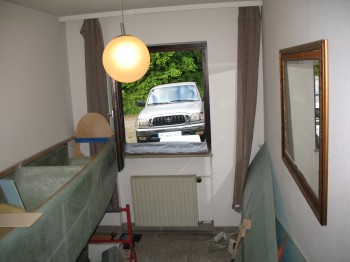
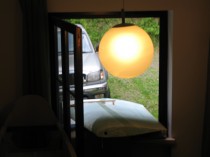
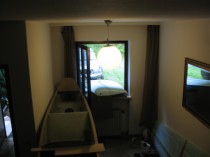
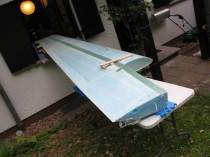
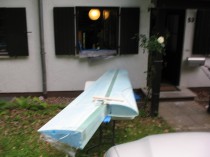
I then started preparing to knock out the wing root rib layups for both the Left & Right wings. To do this, I obviously needed to get the wings out of my environmentally controlled storage facility and into the garage. Going out the front door required not only a doctorate’s degree in trigonometry, but even more than that, I could have used another person. So I was forced to do some out-of-the-boxing thinking: Hmmm, let’s review our adages . . . one saying is that “when God closes a door, he opens a window.” Works for me.
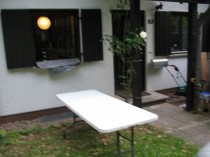
I prepped the “receiving end” of my thru-the-window transfer outside of the house by placing my trusty fold out table in position, with some cut foam floor mats to cushion the “landing.” Of course I prepped the window sill area to protect the wing from getting tore up. Then through the window the wing went (say that fast 5 times).
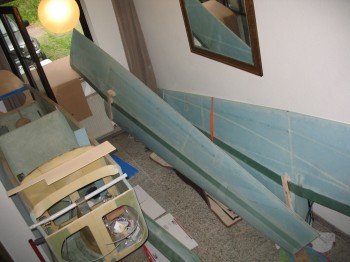
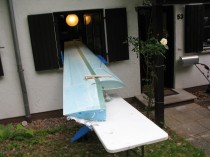

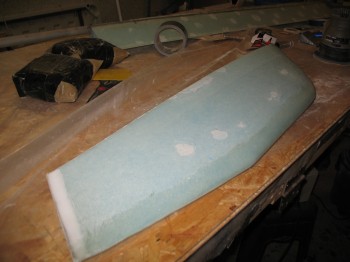
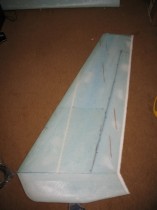
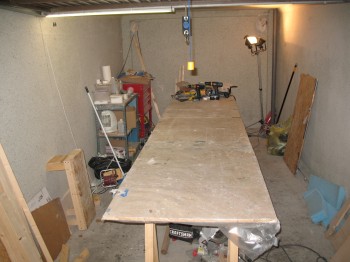
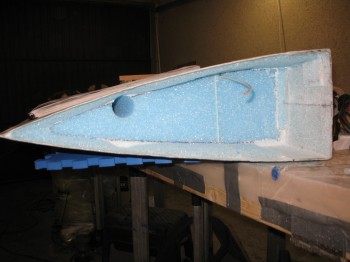
I moved the Left wing into the garage & placed it on the newly cleaned & cleared work bench.
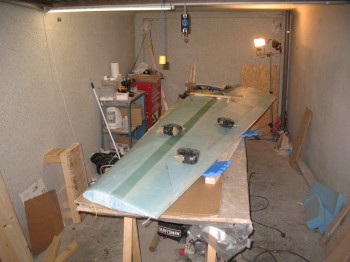
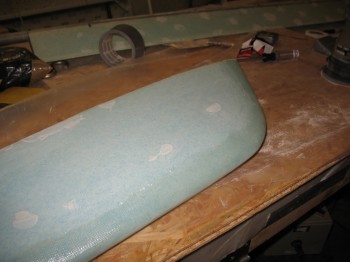
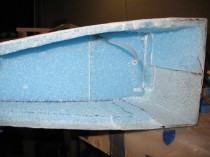
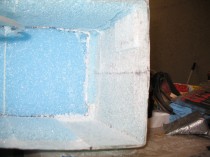
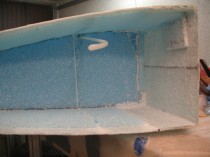
I pulled the protective foam plug from the wing root to expose the entire wing root area that I’d be shaping & glassing. I then reviewed the plans again one final time before starting work.
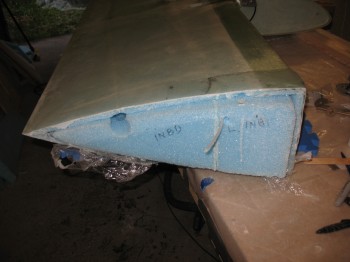
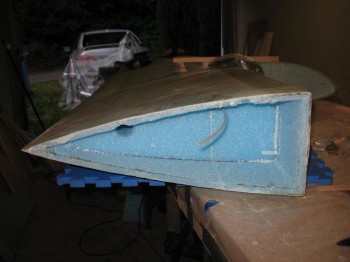
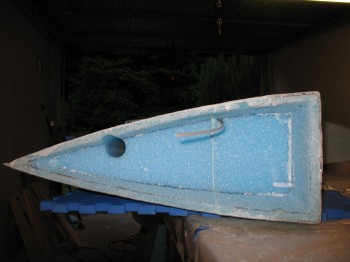
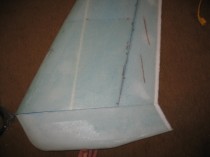
I marked up the areas where the foam required shaping & cutting, then went to work with my razor knife, Dremel Tool & PermaGrit tools.
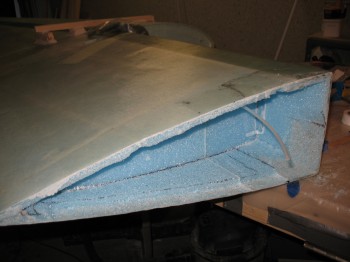
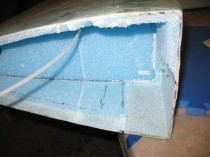
I worked a couple of hours at cleaning the left over foam residue and dead epoxy off of the exposed glass for the upcoming glass-to-glass layup. However, it was late on a Sunday night & I didn’t want to rouse the neighbors with my Dremel tool, so I finished up what I could of the wing root work by hand.
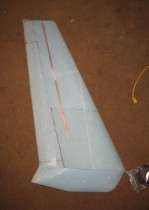
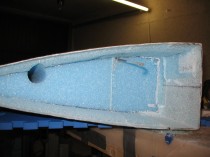
I finished up the evening by taking the long aluminum “board” with sandpaper on the edge & giving the Left wing TE a good sanding. I also re-checked the measurements & shape of the TE.
I then measured, marked & drew out the aileron outline for planning.