Ok, maybe not “heavy” metal, but definitely adding some 2024T3 aluminum extrusions to the wing build today. And 2024 may not be heavy, but it is some very tough stuff.
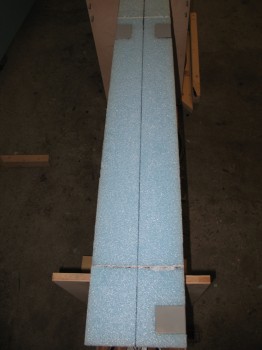
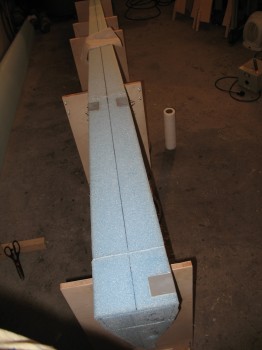
So far so good… everything looked straight and the micro seams were looking good.
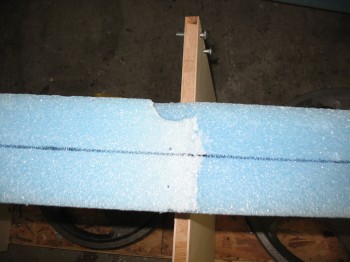
I did have one minor issue, and again I think it comes back to how the wing cores are hot- wired (notice how I can use this as a root cause to the problem since I didn’t hot-wire the cores!). When FC4 & FC5 were sitting so they were butted end-to-end, there was a small gap between these two foam sections, but only on one side of the seam. I looked to sand the seam straight, but it would have caused either the inboard or outboard section to be short, and thus the front half of the wing short by just a tad. After playing around with it a little bit, it didn’t really seem like that significant of an issue… at least nothing more than a little extra micro wouldn’t take care of. In the end, after the 2 cores were micro’d together, there was about a 0.1″ gap in areas between the seam of the foam cores. Nothing horrific, but enough to warrant injecting some more micro in the seam between the FC4 & FC5 foam sections. Kind of like Botox, after a few injections it all looked pretty good!

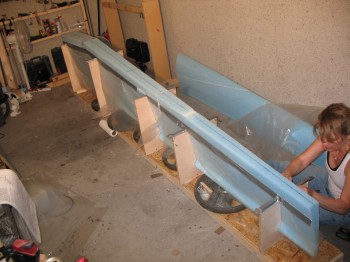
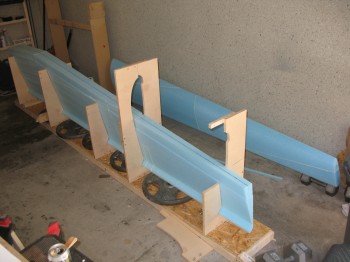
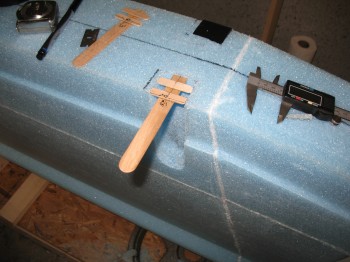
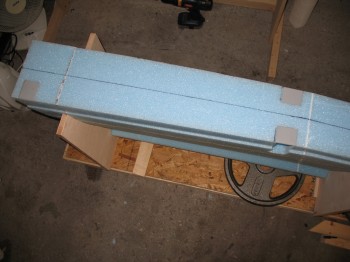
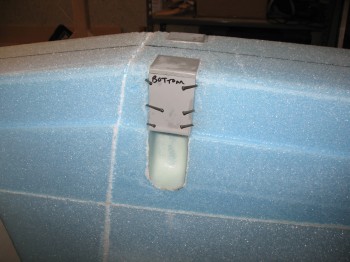
On FC1 there will be 3 hard points for attaching the wing to the CenterSection Spar. Two of these hard points are Outboard (still on FC1 though) & one is very close to the Inboard edge of the wing. With the previous cutout at the end of the wing (end rib), obviously there is easy access to the single hard point at the very Inboard edge. But the 2 Outboard wing attach bolt hard points need an access point to put a wrench into the wing, at an angle nearly parallel to the surface of the wing . . . this needs to happen both on the top & bottom of the wing. So troughs are dug into the foam and glassed, but then all but an access hole is left when thick aluminum plates are added where the bolt will go through, and a thin “L”- shaped piece of aluminum covers up the majority of the trough and will subsequently get covered with a lot of 3″ UNI tape that makes up a very thick (comparatively, we’re talking 1/2″ . . . of pure fiberglass!) wing spar cap that runs from the inside edge all the way to the outboard end of the wing, both on the top and bottom of the wing.
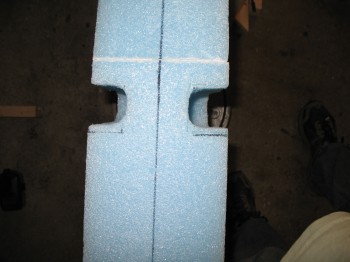
I prepped the foam for the wing access bolt hard points in all 3 locations on FC1. I cut out the foam and shaped the channels for the access bolts on both the top and bottom of the wing on the Outboard side of FC1 (both the front & back side when it’s sticking straight up in the air).
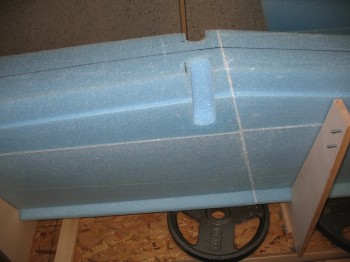

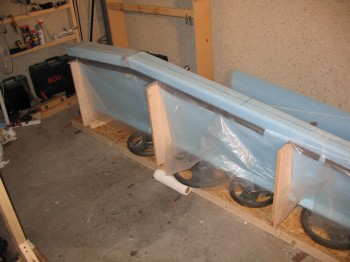
After prepping the foam with a coat of thicker micro, I glassed in a 2-ply BID layup into each channel. I then micro’d in the two 2024 aluminum extrusions (LWA4) so they sat level with the top (front) of the wing assembly as it was then situated. I also micro’d in the lone aluminum extrusion (LWA6) on the Inboard edge so it too was flush with the top of the wing assembly.
After the BID layups had cured somewhat, I knife cut them so they were even with the foam surfaces on each side of the wing. I then floxed in the thin “L”-shaped pieces to what will be the top and bottom surface of the Shear Web & Spar Caps, and held them in place with finish nails while the flox cured.

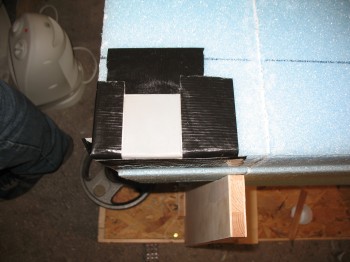
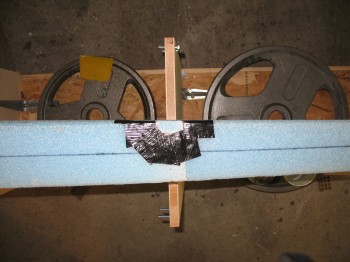
Meanwhile . . . while I was messing about with the wing bolt hard points, Gina was busy helping to fix a boo-boo that was right on the face of what will be the shear web. She fashioned a foam plug to match the rather large chip that came off one the junctions of the major foam core sections at a top point where the foam was tapering very thin. She taped off the area and when I had some micro whipped up for the bolt access channels, we micro’d the fix plug in place.
After that was all taken care of, I focused on digging out the dead micro in the seams where the Shear Web will get glassed, while Gina taped plastic around all the wing areas OTHER than–and at edge of–the Shear Web to protect those areas from errant nasties while laying up the Shear Web.