Today I got to do something on the build I haven’t done in a while, as you may have noticed . . . I only worked on one thing out of one chapter! No multitasking!!
So, being military I like to name the major parts of the build and often make references in my notes by those names. Thus, I have a codename, if you will, for the building of the wings:
OPERATION GOLIATH
Ha!
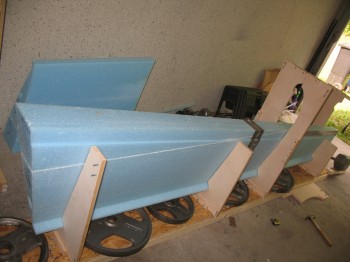
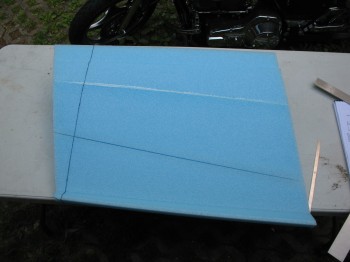
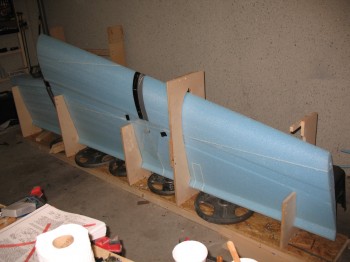
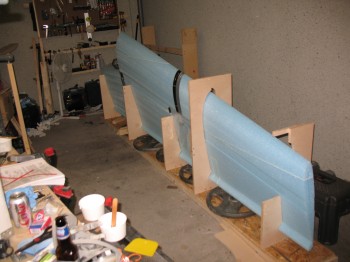
Ok, so let’s get to it… today I bonded FC2 & FC3 together in the jig.
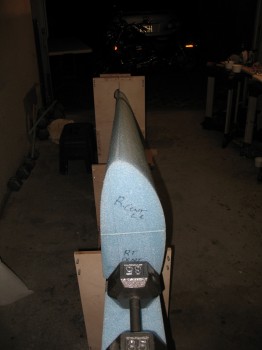
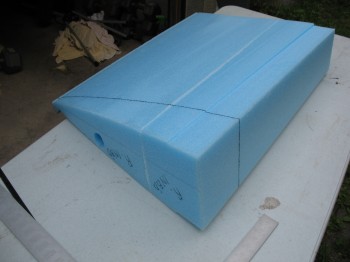
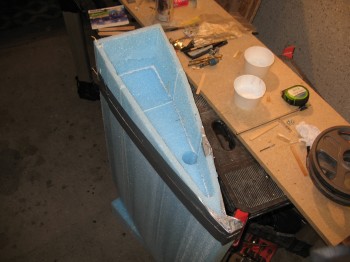
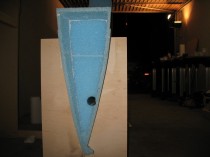
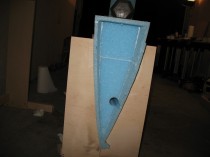
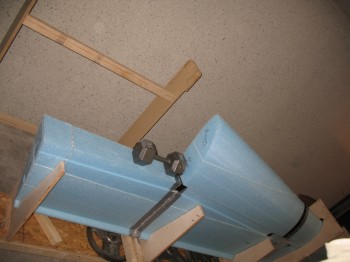
Now the next step is something that is a pretty cool process, as Burt has many in his designs. When the wings are finished, the inboard area on the back half of the wing (FC1) is recessed so that the aileron control components have somewhere to live. This recessed area will be glassed on the top and bottom exterior (the wing upper and lower surfaces) and top, bottom and front (it’s a 3-sided piece-of-pie shape) on the interior. This is done by chopping off the inboard side of the wing with a wood saw (no kidding!), cutting away a big middle wedge so that only a 0.6″ of the top, bottom, front wedged-shaped “ring” is left (what will be the surfaces for glassing) . . . observe:
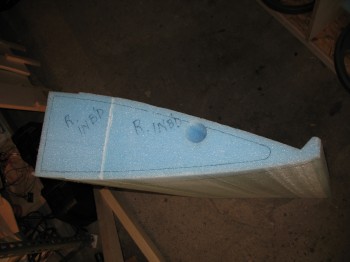
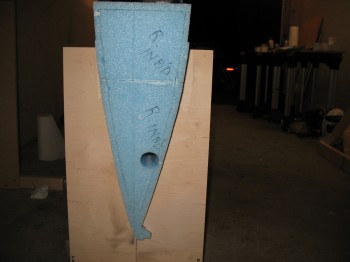
You’ll notice, in true Wade fashion, that there’s a couple of extra “seams” when I micro’d it back together. At some point in cutting off the outer 0.6″ edge it all came apart on me and ended up in two separate pieces. No worries, foam is easy to get back together with that wonderful stuff we call micro! The inside bottom of this pie-wedged shaped trough (as it sits in the pic below) will make up the inboard rib of the wing. The hole in the pic will eventually house the aileron control tube.

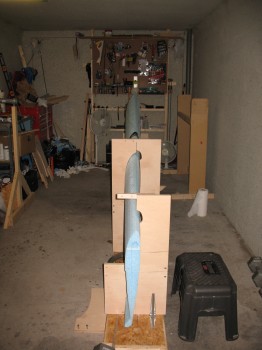
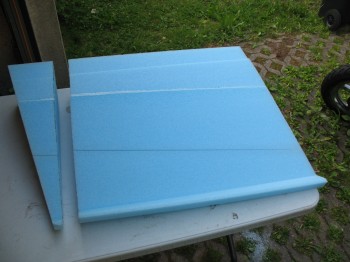
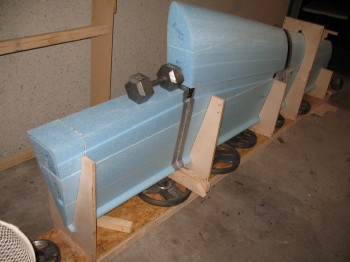
You can see in the background of the pic above that the top piece that makes up the corner of FC4 is micro’d to the main part of FC4. At this point FC4 & FC5 are resting on FC2 & FC3, but they haven’t been attached to any other sections.
As you know, from time to time here in Germany some very friendly visitors stop in to check out what’s going on… here’s another one!

After I put FC1 back together and got ‘er micro’d all up, I took some time to scrub down all the primered aluminum wing extrusions with Simple Green & 3M Scotch Brite pads.
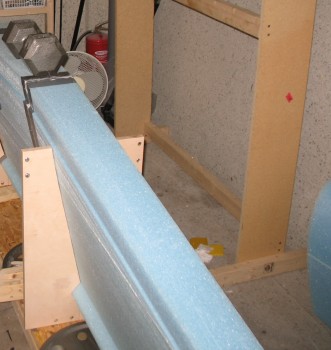
I then came back to FC1 after the micro had cured, placed the big hunk of foam back into the middle of the end rib area to strengthen and protect the currently fragile foam and proceeded to bond FC1 to the FC2/3 unit.
This is probably not a surprise to anyone, but the wing cores were not cut to perfection and some monkeying around comes into play when getting not-perfect wing core pieces to go together in non-perfect wing jigs! So, I had to play around a bit with the jig and FC1 to get it to line up on the end of FC2 just right. That entailed propping up the trailing edge of FC1 a little bit to make sure it all stayed aligned.
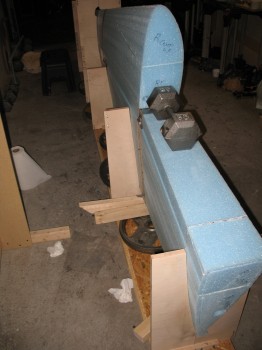

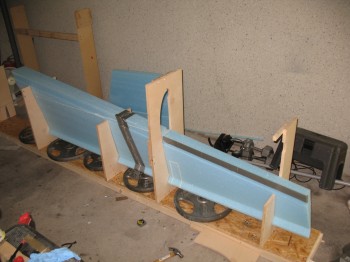
After getting the back half of the wing all put together, with FC1 attached nicely to the FC2/3 sections, I bonded the front parts of the wing, FC4 & FC5, together with micro.
I also took some shots going up & down the leading edge.