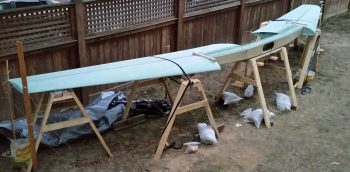
Yes, my friends, the wings are officially mounted! Today I bolted the wings to the CS spar for the very first time! How?! Well, read on dear readers! Read on . . . !
Last night I was in a bit of a quandary. I had been thinking late into the evening on how exactly do I trim the LWA9 bushings to length? In the plans it says to “face” them… not sure what that is. I don’t have a lathe, but I do want some nice cuts on the “face” of these LWA9’s. Hmmmm. I attempted to do some research online, but to no real avail. Everyone in the universe seems to know how to trim these suckers up except for me! (I guess this is a common occurrence when building an airplane, eh?!).
So I did what I quite often do when faced with a problem… I went to breakfast!! (this morning, not late last night…). Ah, it was there that I wondered upon the idea of using a pipe/tubing conduit attachment as a clamp to hold the LWA9 in place. I would then use my mojamma Bosch miter saw to cut these suckers. Yep, a plan was developing!
So I went to Home Depot and picked up some of those pipe/tubing conduit attachments. The smallest they had was 1/2″, so I picked up some friction tape as well. I wandered around the Aviation Electrical section for a few more minutes to see what I could find interesting, when I happened to sight some Adel clamps hanging at the end of the aisle. Hmmm, could also be an interesting proposition . . .
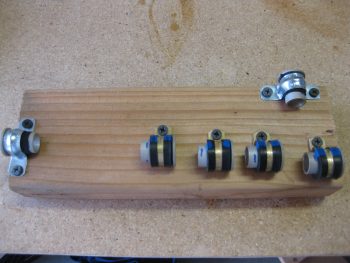
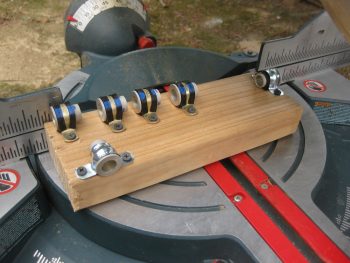
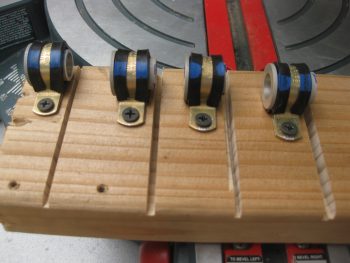
When I got home I “clamped” a couple LWA9s to a scrap 2×4 piece, and then rounded up some -10 Adel clamps & mounted those as well. I call it the “poor man’s lathe.”
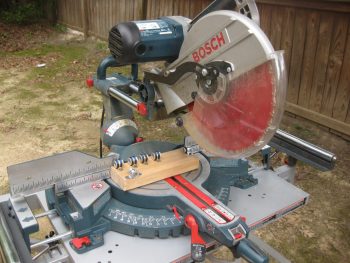
I then pulled out the Bosch mojamma miter saw to see how this all would work.
Ready!
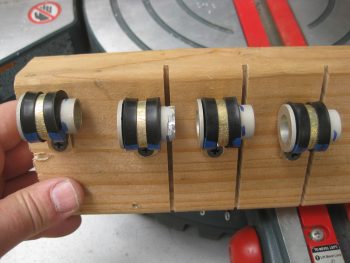
Well, it worked great for the LWA9s in the Adel clamps! Not so much for the pipe/tubing conduit attachments…. Ooof! Check out the second LWA9 from the left. This was round #2 and I took out the 4 freshly cut LWA9s and replaced them with 3 new ones and this mangled one from an attempted cut while mounted in the pipe/tubing conduit attachment. Luckily it didn’t do any damage inboard of my original cut line, so once I trimmed it in the Adel clamp, there was no trace of the horrors that it had just previously endured!
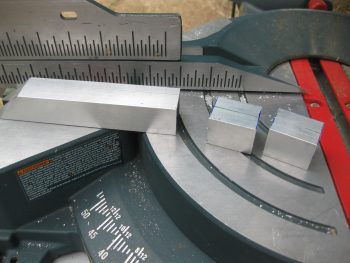
And here are those same 4 LWA9s after getting a trim. I tell ya, with a nice sharp saw blade this thing works like a champ!
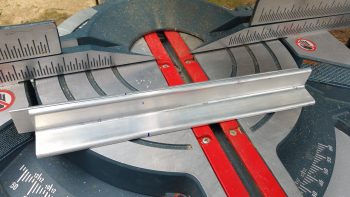
While I had the saw out, I went ahead and cut my lower 3/16″ thick angled 2024 engine mount extrusions.
Here you can see I cut the lower engine mount extrusions to the plan’s 8″ length.
In addition, as I was brainstorming (just prior to trimming the LWA9s) on all the stuff I needed to cut, to optimize my saw time, I worked up a quick off-the-cuff solution for a bracket to mount inside the CS spar in order to reverse my outboard wing bolts. This has them essentially permanently mounted sticking aft out of the spar. The report from many builders who did this is that it makes mounting the wings infinitely easier & faster. James Redmon –from Berkut 13 fame– did this on his bird, a pic of which I shamelessly stole from his website:
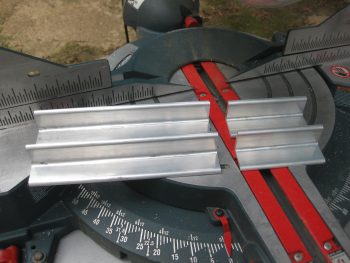
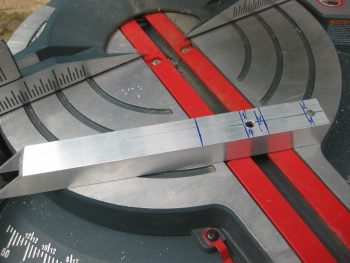
Note that the pic above is of a Berkut, not a Long-EZ, but the concept is the same. However, as with many things on this build I had to go and complicate it by adding in my 1″ electrical cable conduit hard-mounted inside the spar. That means instead of simply screwing in a single piece of U-channel, I’ll have to build a more intricate one with a “bridge” to cross over the electrical conduit. The smaller pieces that will make up one side of the bridge are what I’m cutting below. Consider this a teaser on the ‘Reverse Wing Bolts Mod’ . . . more to come later!
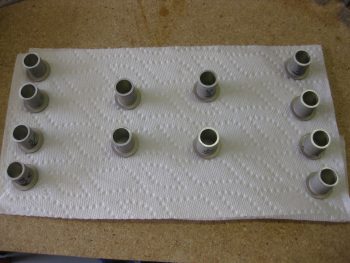
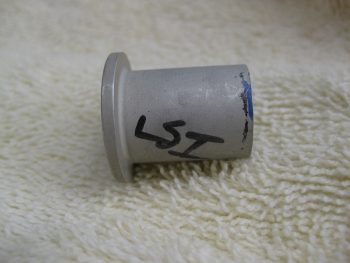
Moving on, here’s a shot of all 12 LWA9s after I sanded the trimmed face of each one, and then quickly chamfered the outer & inner edges of the new faces. I also gave them a good bath in Simple Green.
When I went back to the spar & wings my first task was to pick up the spar and flip it around to give me better access and a better angle to work on installing the LWA9s. And then the darnedest thing happened!
As I was lifting the spar up over my head, it shifted hard to one side and I almost dropped it. I got a hold of it as I was facing the low end of the spar just above the ground. And that’s when I saw a TON of water pouring out one end of it! Not only was it water, but the aforementioned aluminum soup (which I had cleaned out)! Of course at that point I tipped, flipped and swirled the CS spar every which way but loose (like what I just did there!) to get all the water out.
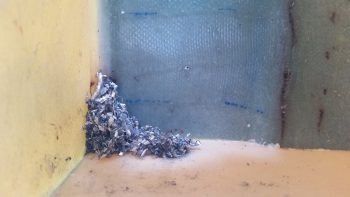
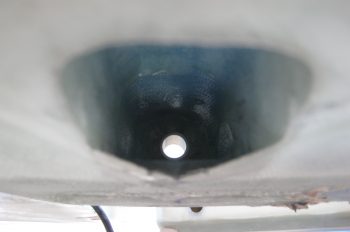
When I finished on the spar, I checked out the end of the spar where the water came out, and this is part of what I found! I went back into the shop to retrieve my shop vac and proceeded (again) to vacuum out this beast.
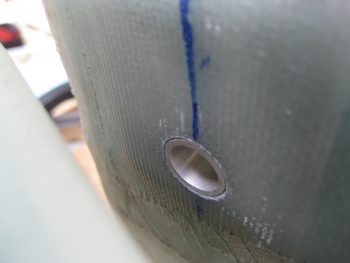
After giving the spar and the wing bolt hole channels a good cleaning, I then finally got a shot at what I was originally looking for in the first place! The left wing’s upper outboard LWA9. I was checking it for fit since I can’t get my hand up there to feel the edge to ensure that it either matches or is lower in height than the surrounding hard point extrusion.
Here’s the left wing’s inboard LWA9, nice & flush!
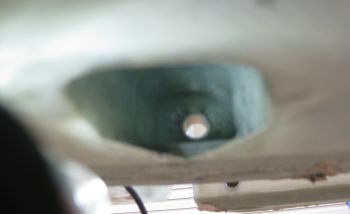
And here’s the left wing’s upper outboard LWA9 test fitting… lookin’ good! (I have it installed backwards to check the depth as you see in the pic. Final install was the correct orientation).
Out of 12 bushings I only had to recut one, and that was the left inboard LWA9 in the CS Spar. Actually, I had to cut it 2 more times before I finally got it to the right depth!
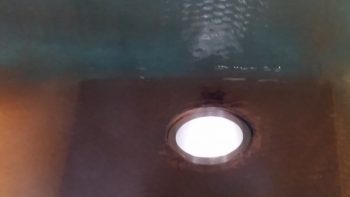
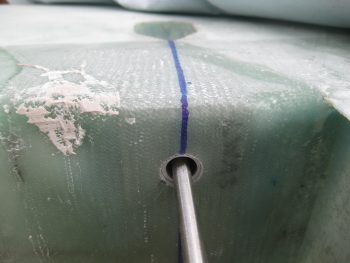
Here’s a couple shots of the left wings’s lower outboard wing bolt hole channel with an LWA9 mounted in the bolt hole. The upper pic shows the bolt hole channel a little bit better, while in the bottom one you can make out the LWA9.
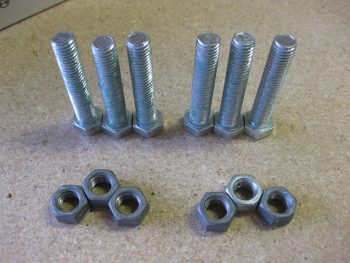
Here are the temporary wing attach bolts. I don’t know where I got the info from, but like a maroon I already ordered the big bolts, and guess what?? Yep! Way too short! So even my mock-up bolts were way too short so I had to run to Home Depot to buy 2-1/2″ bolts just before I got started on all this! Once I got home, I quickly waxed all the bolts with Turtle Wax.
Here are the measurements of the matching LWA9s back-to-back, which of course is what is used to determine required wing mounting bolt lengths.
………………………….LEFT WING RIGHT WING
Inboard 1.67″ 1.66″
Outboard Top 1.59″ 1.58″
Outboard Bottom 1.62″ 1.61″
With my LWA9s squared away, I then started on installing all 12 LWA9s and bolting the wings to the CS spar for the very first time!!!
I mixed up some MGS 285 epoxy and threw in just enough flox to give it a tad bit thicker consistency. I then inserted all the CS Spar LWA9s with the wet flox.
I then mounted the LWA9s in the inboard wing bolt holes, slid the inboard bolts in place and lightly tightened a nut in place to ensure the spar stayed put. I then mounted the outboard LWA9s/wing bolts and tightened them up. Thankfully, there were no real issues with installing the wing bolts.
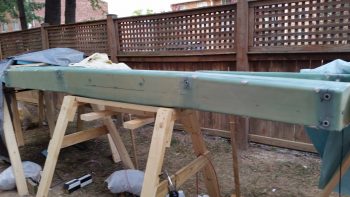
And here’s a shot of my wings now hard-mounted to the CS spar!!!
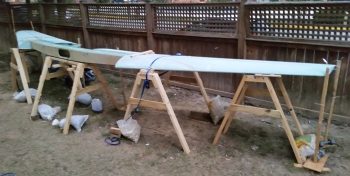
And the same thing from a different angle… again, amazing feeling getting this done & under my belt!
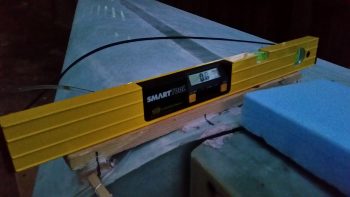
I then rechecked the water level markings and also the wing level board…. seriously, all the numbers still looked really, really good!
Here’s the final shot of the evening with my wings. Since it’s starting to cool way down at night, I threw some heat blankets over the wings and fired up a couple heat lamps to keep this thing cooking all night long!
Tomorrow I’ll be working to get the fuselage mounted to the CS spar (at a minimum, prepped to be mounted!). I’m thinking it’s going to be yet another long day!

