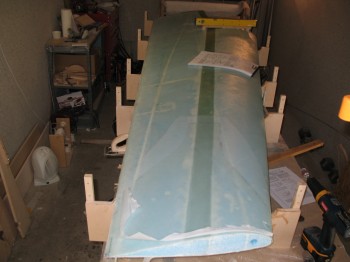
I started off today by knife cutting & finished glassing around the wing bolt access channel holes.
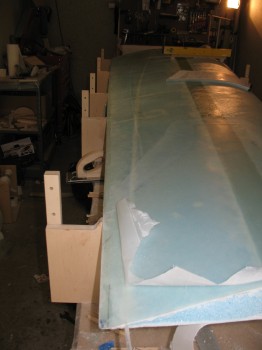
I cut the Trailing Edge (TE) on the Right wing, then sanded it & cleaned it up a bit.
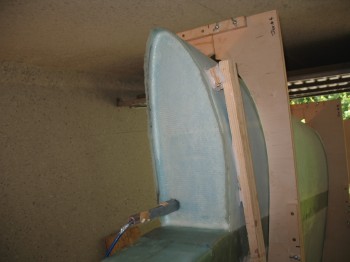
I stood the jigged wing up on end to glass the BL 55.5 rib.
 I pre-pregged 3 large pieces of BID, micro’d the foam and filleted the inset corner between the glass & foam with dry micro. I then laid up the BID plies into the BL 55.5 rib inset.
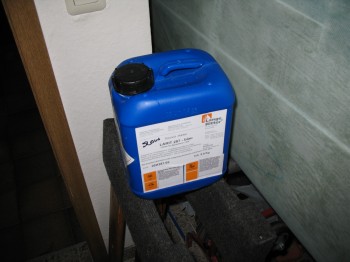
I ran some errands while the BL 55.5 rib layup cured. A few hours later, after the epoxy had set some, I knife cut the edges. The BL 55.5 inset rib was fairly cured after some preparations & staging of materials for the upcoming Left wing build, including refilling all the epoxy & hardener bottles. As you can see below, since I’ve been in Germany I’ve used almost 1.3 gallons of MGS slow hardener:
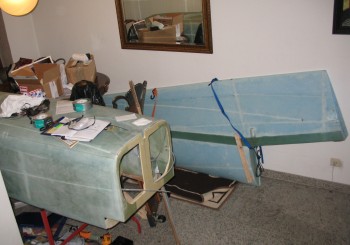
I moved the Right wing into the climate controlled storage facility with the fuselage (again, my dining room!).
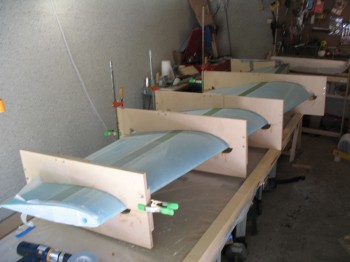
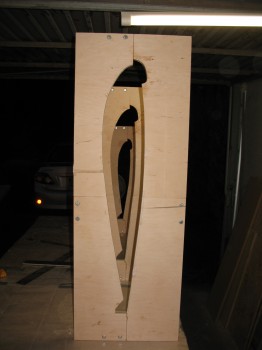
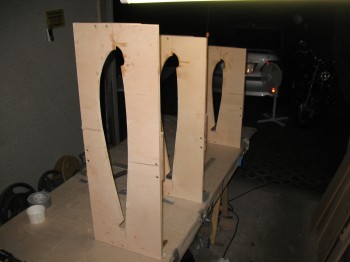
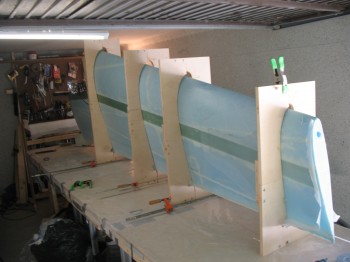
I proceeded to set up the Left wing jigs #1 thru #4. This time, since the work table was now a quasi-permanent fixture, I just mounted the jigs on top of the table.
And again, in keeping with my modus operandi, while inserting the FC2 & FC3 wing sections, I realized that the pieces that make up the Outboard aft section FC3 and the Outboard front section FC5 where bonded together incorrectly. In my haste to multitask, I had micro’d the thin bottom wedge of FC5 to the top of FC3. There was no way around redoing this, since it would completely mess up the Shear Web layup. So I took my wood saw, and very carefully hacked off the incorrect top piece of NC3. I re-micro’d the piece back onto FC5, replete with it’s 0.1″ micro encrusted bottom face (I would deal with that tomorrow). (Pictures to follow)
To end the night on a positive note, I micro’d the pieces of the Left upper winglet together… correctly! (Lucky for me there’s only 2 pieces to it!)

