
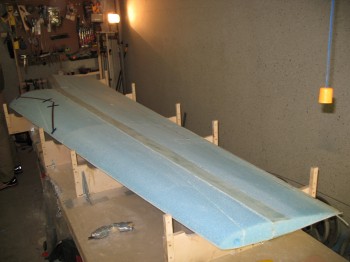
I started out today by vacuuming the entire top of the wing.
I also refilled my slow hardener bottles & restocked my blue glove supply.
I used a 50:50 slow/fast for the thick micro on the deep fill areas. I used wet flox on the TE & 70:30 micro/flox on the LE. I used 80:20 slow/fast microslurry for the foam fields.
My buddy Kevin helped me by working the epoxy station, and he also helped layup some of the glass as well.
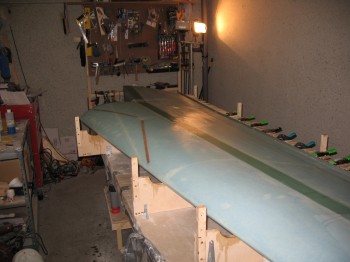
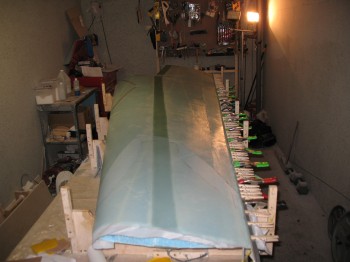
After I got the foam all micro’d, I laid up the wing UNI glass that I had pre-cut.

I peel plied the Outboard extrusion area “V” that borders each side of the wing bolt access hole. I also peel plied the front face of the extrusion (LWA3).
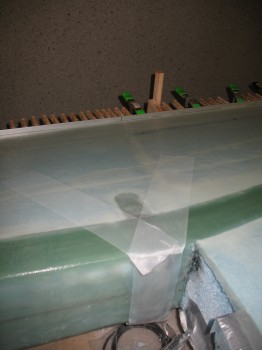
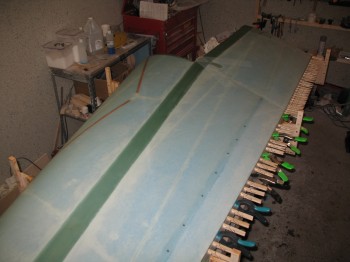
I laid up the 14″, 10″, 6″ plies of UNI over the Inboard extrusion/wing bolt hardpoint & overlapping up onto the wing (just like the Right wing).
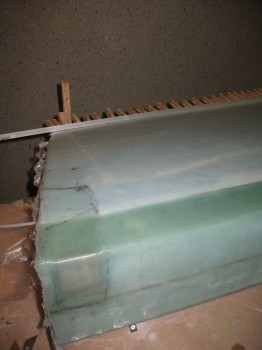
I laid up the triangular ply of BID reinforcement on Outboard end of the wing & peel plied it.
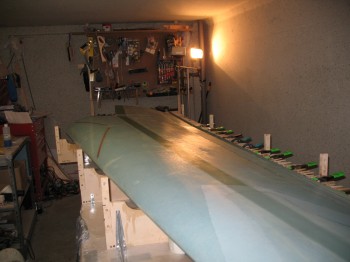
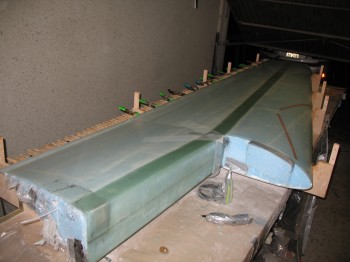
I clamped & clothes-pinned an aluminum L-bracket–lined with duct tape–to the TE to keep it as straight as possible as it cures.
 I trimmed the excess glass from around the edges & since the weather had turned much cooler, I turned on 2 heaters to keep the shop temp above 70° F.
I came back to check the layup about an hour later. I had a couple of quarter sized bubbles that had developed right at the front edge of the spar cap. I worked those out & re-checked the entire wing layup. Everything looked good!