
Today was all about getting a really good idea on all the upcoming associated configurations regarding the upper winglets, lower winglets, rudders, internal bellhorns and even the Nav/Strobe lights.
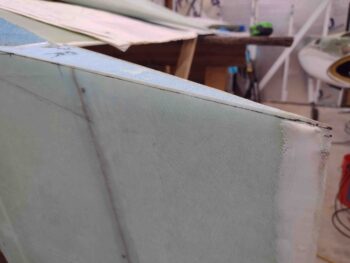
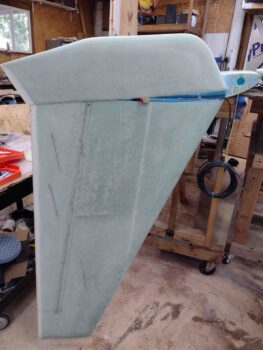
I started by getting a grasp of how the lower winglet will attach to the winglet/wing structure. I know these pics look pretty much the same, but I added in some extra spacers to assess how these lower winglets will integrate. Note that the lower winglet TE doesn’t exactly align since the lower winglet nose can’t go further forward currently without significantly digging into the blue wing foam.
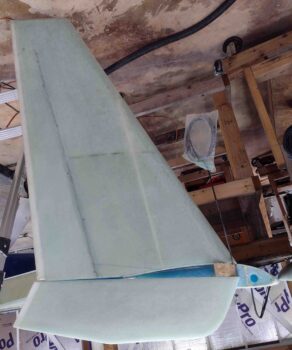
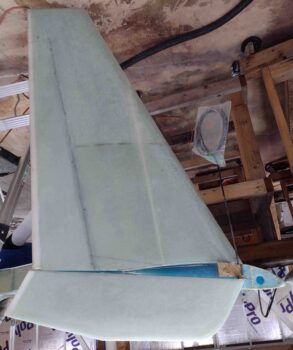
The key reasons I started with the lower winglets fitting is in determining where the bottom rudder cut line will be, in conjunction with the internal bell horn configuration and fit into the bottom of the rudder.
The High Performance Rudder plans show the angle in the rudder —where the upper and lower winglets meet on the trailing edge— is located at W.L. 18.4. In maximizing surface area on the winglets and rudders, I set the upper/lower winglet TE dogleg angle at W.L. 18.2… 0.2″ lower than the plans rudder angle break.
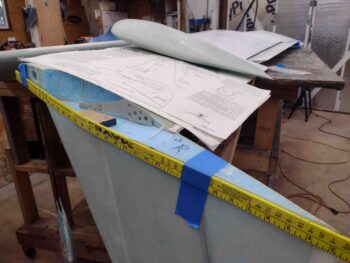
Here we have the bottom of the upper winglets marked for cutting at W.L. 18.2, which will be the bottom edge of the respective rudders.
The rudders I’m building are based off of the dimensions Marco derived off of his flying Long-EZ to implement on his project Long-EZ, which will provide almost the same amount of rudder surface area as the High Performance Rudders without using any of the lower winglet or having a kink in the trailing edge of the rudder. See Marco’s write-up here.
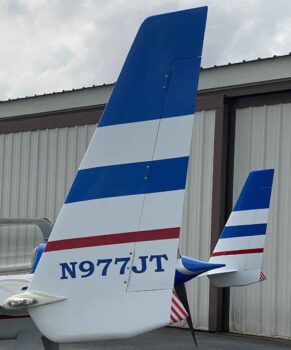
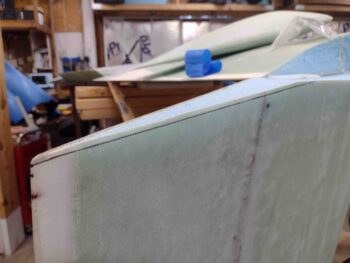
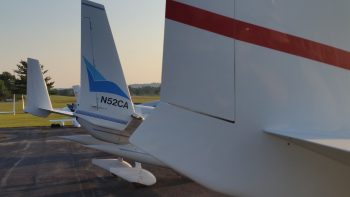
Moreover, both the top and bottom rudder lines will be level and parallel to the waterline/longerons vs. perpendicular (90°) to the trailing edge as on a stock Long-EZ [as in the background in pic below].
After I cut and sanded the bottom edge of each winglet/rudder, I measured out and marked up the rudders on the winglets. Here is the rudder marked out on the right winglet. My rudder, starting from W.L. 18.2 is 40.2″ high, 8.5″ wide at the base and 4.9″ wide at the top.
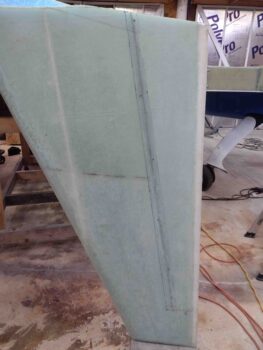
Here we have the left winglet with the rudder lines marked, as well as the left lower winglet set into place.
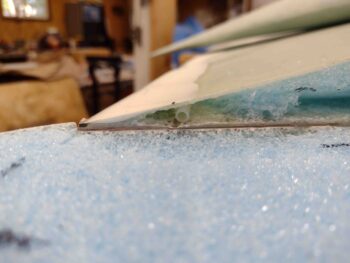
I then got to work cleaning out the foam and cured micro around the rudder cable conduits. I also trimmed down the rudder cable conduits as deep into the wing as possible with a razor knife.

I then started cleaning out the foam on the left wing for the winglet inside Layup #1. Yes, I didn’t get very far before heading out to dinner for a little break.

In taking a look at the engine before I headed out to dinner, I noted that the mounting holes for the Electroair electronic ignition’s coil appear to have the coil unit interfering with the SD-8 backup alternator.
After dinner I returned back to the shop with the Electroair coil unit in hand to temp mount it to check its clearance with the SD-8 alternator. It definitely couldn’t be mounted with the spark plug connections on the lower side, since it couldn’t fit between the SD-8 and firewall.
However, flipped over —with the spark plug connections along the top edge— it fit with just enough clearance (about 0.3″).
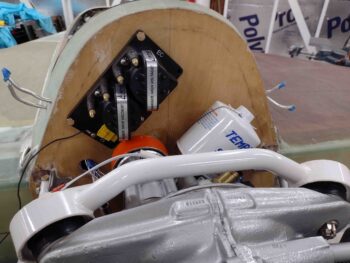
Here’s a side view of the mounted Electroair ignition coil’s clearance with the B&C SD-8 backup alternator.
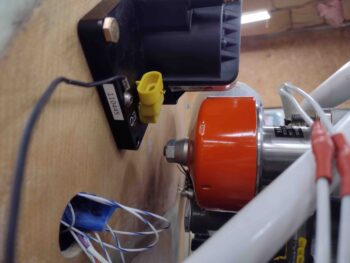
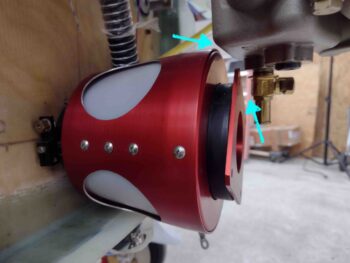
Speaking of tight clearances, here’s the clearance between the top aft edge of RAM air can and the front bottom corner of the engine’s oil pan. Not much, about 1/4″, but just enough to squeeze everything in!
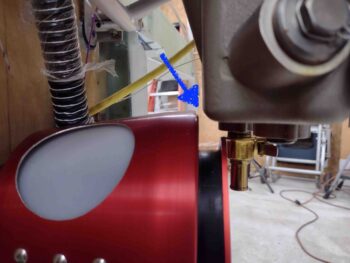
Lastly, here’s a shot of the aft side RAM air can again, with clearances shown between both the oil pan and also the oil quick drain. Again, not much… it’s definitely tight but there is just enough clearance (at least so far) for things to fit.
Tomorrow (Friday) the weather is forecasted to be pretty darn cold here in NC. Thus I plan to finish all the sanding and prep of the wingtips and winglets to allow glassing Layups #1 and #2, which I’ll do on Saturday when it’s much warmer. If I have time tomorrow I’ll work more engine stuff as well.