
Today I started off by spending literally almost 3 hours going over the finite details of how I was going to install the winglets and all the associated accessories, mods, plans changes, etc. As in High Speed Rudders (modified), Internal Rudder Bellhorns (the big questions were here!), layup sequences, etc.
Out in the shop I started out by finally finishing a task on my strake to-do list that I had overlooked: the final 2-ply BID layup on the underside of the left longeron and sidewall bare foam, overlapping onto the underside left strake skin.
Now, this layup is normally a 1-ply BID layup, but since I needed to sand off and remove the original 1-ply layup that bunched up along the seam of the top skin edge and longeron wood and foam, I am replacing that initial layup with yet another ply of BID. Thus the 2 plies vs just one.
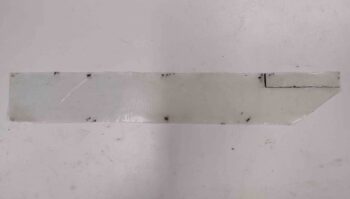
After I laid up the 2-ply BID layup on the underside of the left aft longeron —at the GIB strake opening— I then peel plied the layup. I’ll note that after I took this pic I cleaned up the layup a little bit.
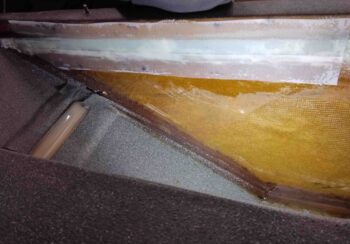
Since I removed the protective tape over the GIB strake window in the right baggage area, I went ahead and grabbed a shot of that as well.
I then prepared the fuselage for the 100-yard trek to the garage to mount the engine by adding in a bunch of weights, about 150 pounds total, in the nose area.
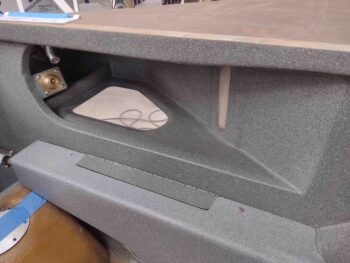
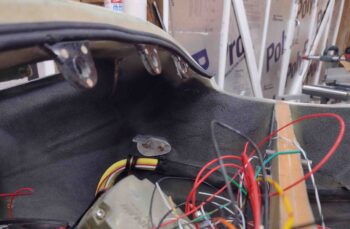
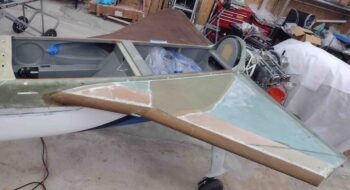
I also taped up (with Jessica’s help) the nose area to allow me to hit the inside surfaces with the gray speckled paint I’m using for the interior nose… since this is one of the last reasonable opportunities I’ll have to do so.
I would have liked a bit more coverage inside, especially under the “nose bridge,” but I couldn’t get the can to fire upside down. So I did what I could and called it good. It looks way better than before, so I’m fine with the interior nose paint results.
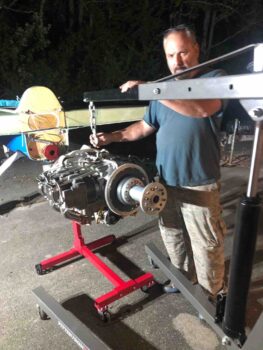
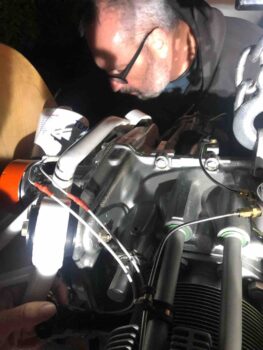
Again with Jessica’s help, I spent over 3 hours moving the fuselage to the garage driveway, setting up work lights (it was dark at this point), flipping the engine back upright, removing the engine from the engine dolly and slinging it from the engine hoist.
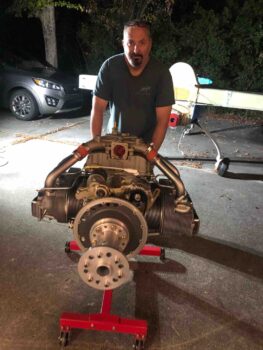
At one point we realized the engine hoist just didn’t have enough hydraulic fluid to lift the engine high enough to mount it onto the firewall extrusions, so we had to set the engine down on the wood engine stand I made for hauling the engine down here to NC from N. Virginia. I then added more hydraulic fluid —which did the trick— and pressed forward with mounting the engine to the firewall engine mount extrusions.
Thankfully after just a little finagling, the holes lined right up and we bolted ‘er on!
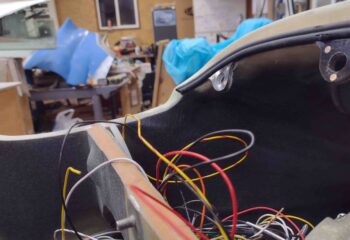
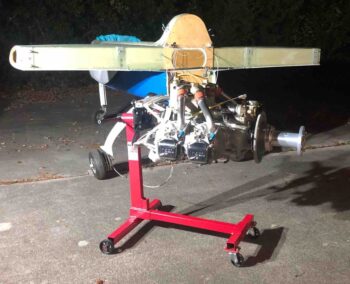
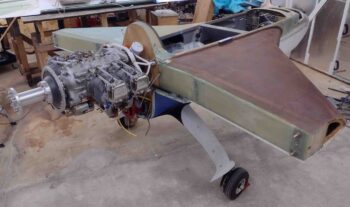
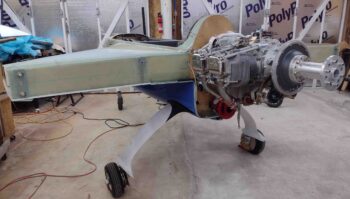
With the engine slung onto the firewall, we then made the trek back to the work shop. And here she is… many things to do on the engine and of course having it mounted to facilitate the upper cowling install.
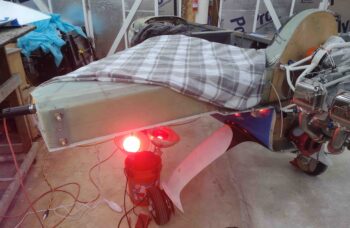
With the engine mounting squared away and the fuselage back in the shop, I then hooked up the heated blanket and set all the heat lamps in place to post cure the left fuel tank as best possible, ala Gary Hunter.
And with a good build day under my belt, I called it a night at a somewhat reasonable hour! Tomorrow I plan on throwing myself completely into the winglet install prep and internal corner layups.